Anyone looking at this Blog would clearly know that I mainly shoot people. However that is not to say that I will turn down the opportunity to shoot other things. Especially if the process is challenging.
That happened when a lady we knew through the church asked if I was willing to photograph her artwork. She wanted to put the digital images up for sale.
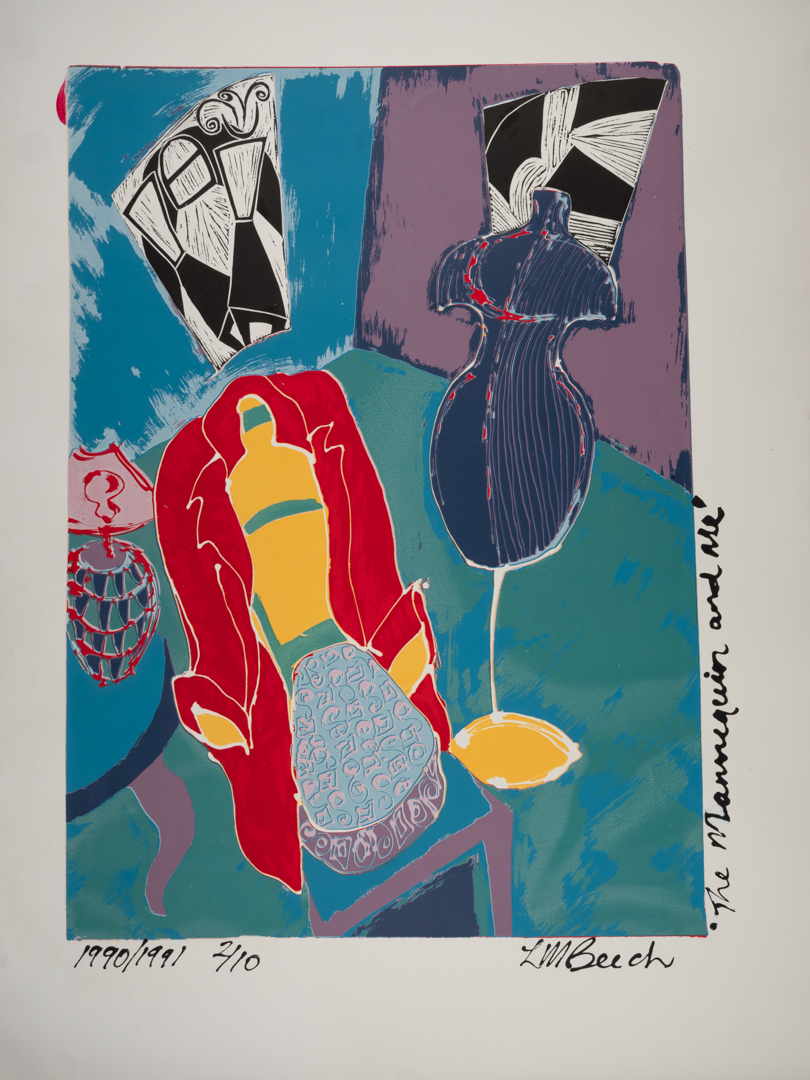
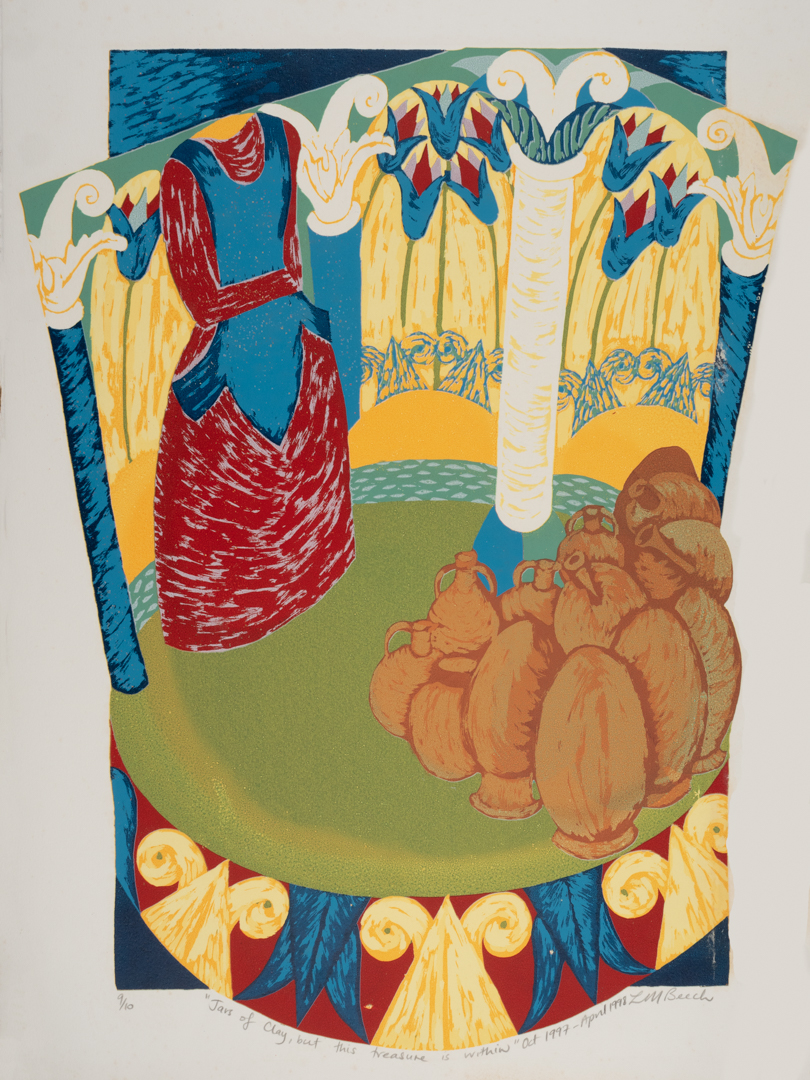
I had done something similar in the past with the work of a local upper Hutt artist. I had learned lots through that process that I applied this time. The big difference was that previously I had been photographing canvases. This time it was screen print on paper. This meant that they could not be supported on an easel and therefore had to be laid flat.
The key to photographing art is to ensure both consistency of colour and secondly consistency of light across the piece. You want to avoid hot-spots at all cost. The first requirement is met using a colour checker card and setting up a profile on the computer. The second was achieved by my lighting set up.
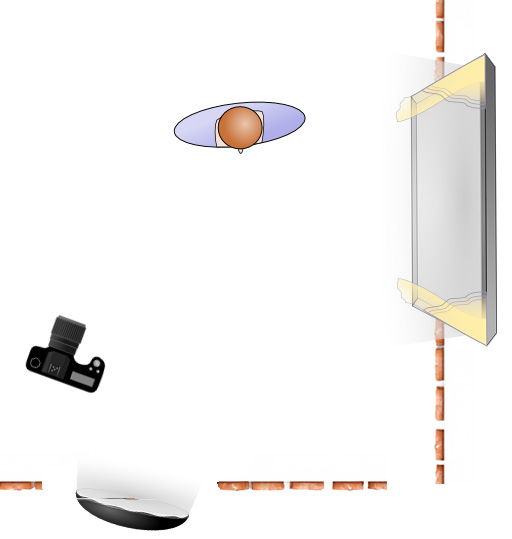
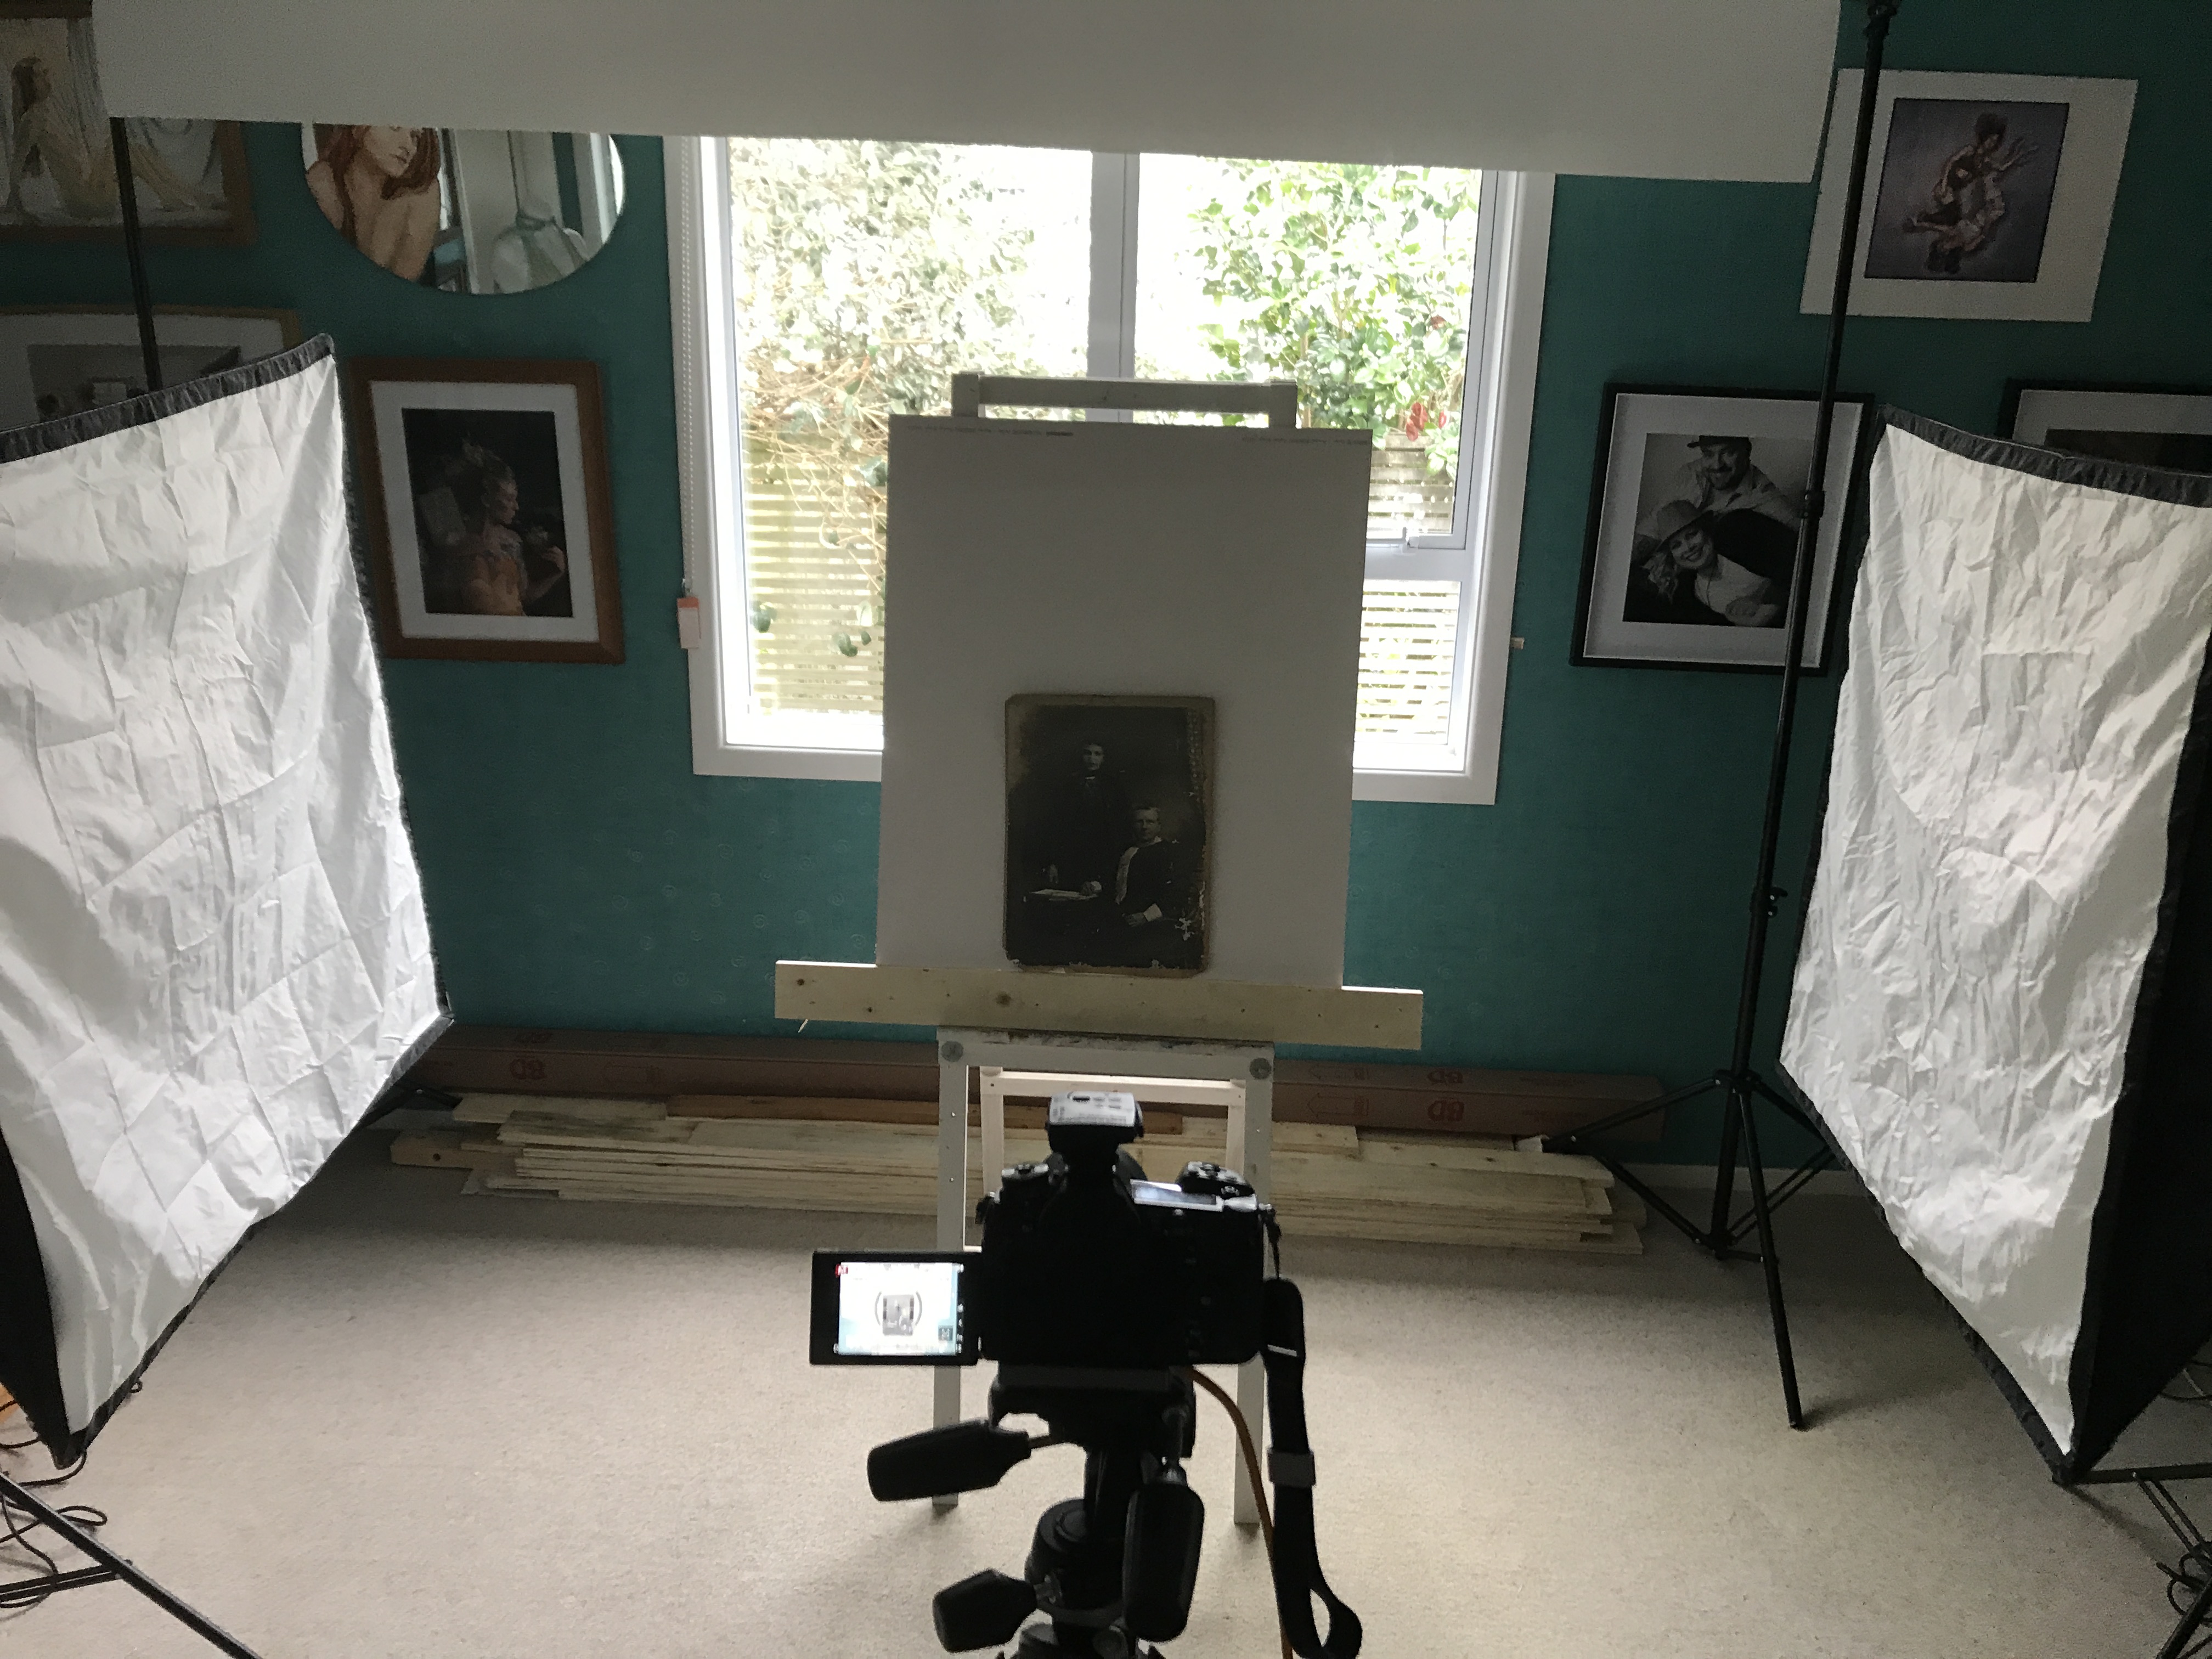
I positioned my two Elincrom D 400 lights fitted with one meter square soft boxes. Both were fitted with inner diffusion panels as well. The lights were at 90° to the art meaning that there was no direct light falling anywhere. I was aiming to shoot at f10 so that I would have a good depth of field. I used a light meter to test the light at various points around the piece of art. Then, I adjusted the position of the soft box to ensure it was consistent. You will note in the image below that the left soft box is further back than the right. This is because there is an inconsistency between the two lights at the same setting.

The camera I was using was my Lumix G9 position on a boom head overhead. It was tethered into the computer using the Panasonic Tether software. I have mentioned in previous posts that I like to shoot tethered. It has the advantage that you can see the image much larger then on the back of the camera.
This particular tethering software has another advantage in that you can like grid lines into the live video. You can make fine adjustments to the camera’s position. This ensures that it is perfectly square to what is being captured. This removes the need to correct distortion in post. The software loaded the images into a folder on the computer. I had set up Lightroom to monitor that folder. As soon as the image appeared, it would copy the image into its database.

We set the camera height based on the largest print that we needed to capture. This meant that once it was set we did not have to muck with the Camera. I was using the equivalent of a 50 mil Lance as this again meant we had no distortion to factor..
The table that we were using had a metal surface on it. To hold the prints down we used a combination of magnets hands.
The first image took some time to set up. Once that was achieved, the other images were shot very quickly. My wife would place the paper on the table while I watched the computer monitor. I would then get her to make slight adjustments to align to edges to the grid. We did not bother trying to get all four edges. We discovered that the art paper that had been used was not always completely square. With each pace I generally only took 2 to 3 images.
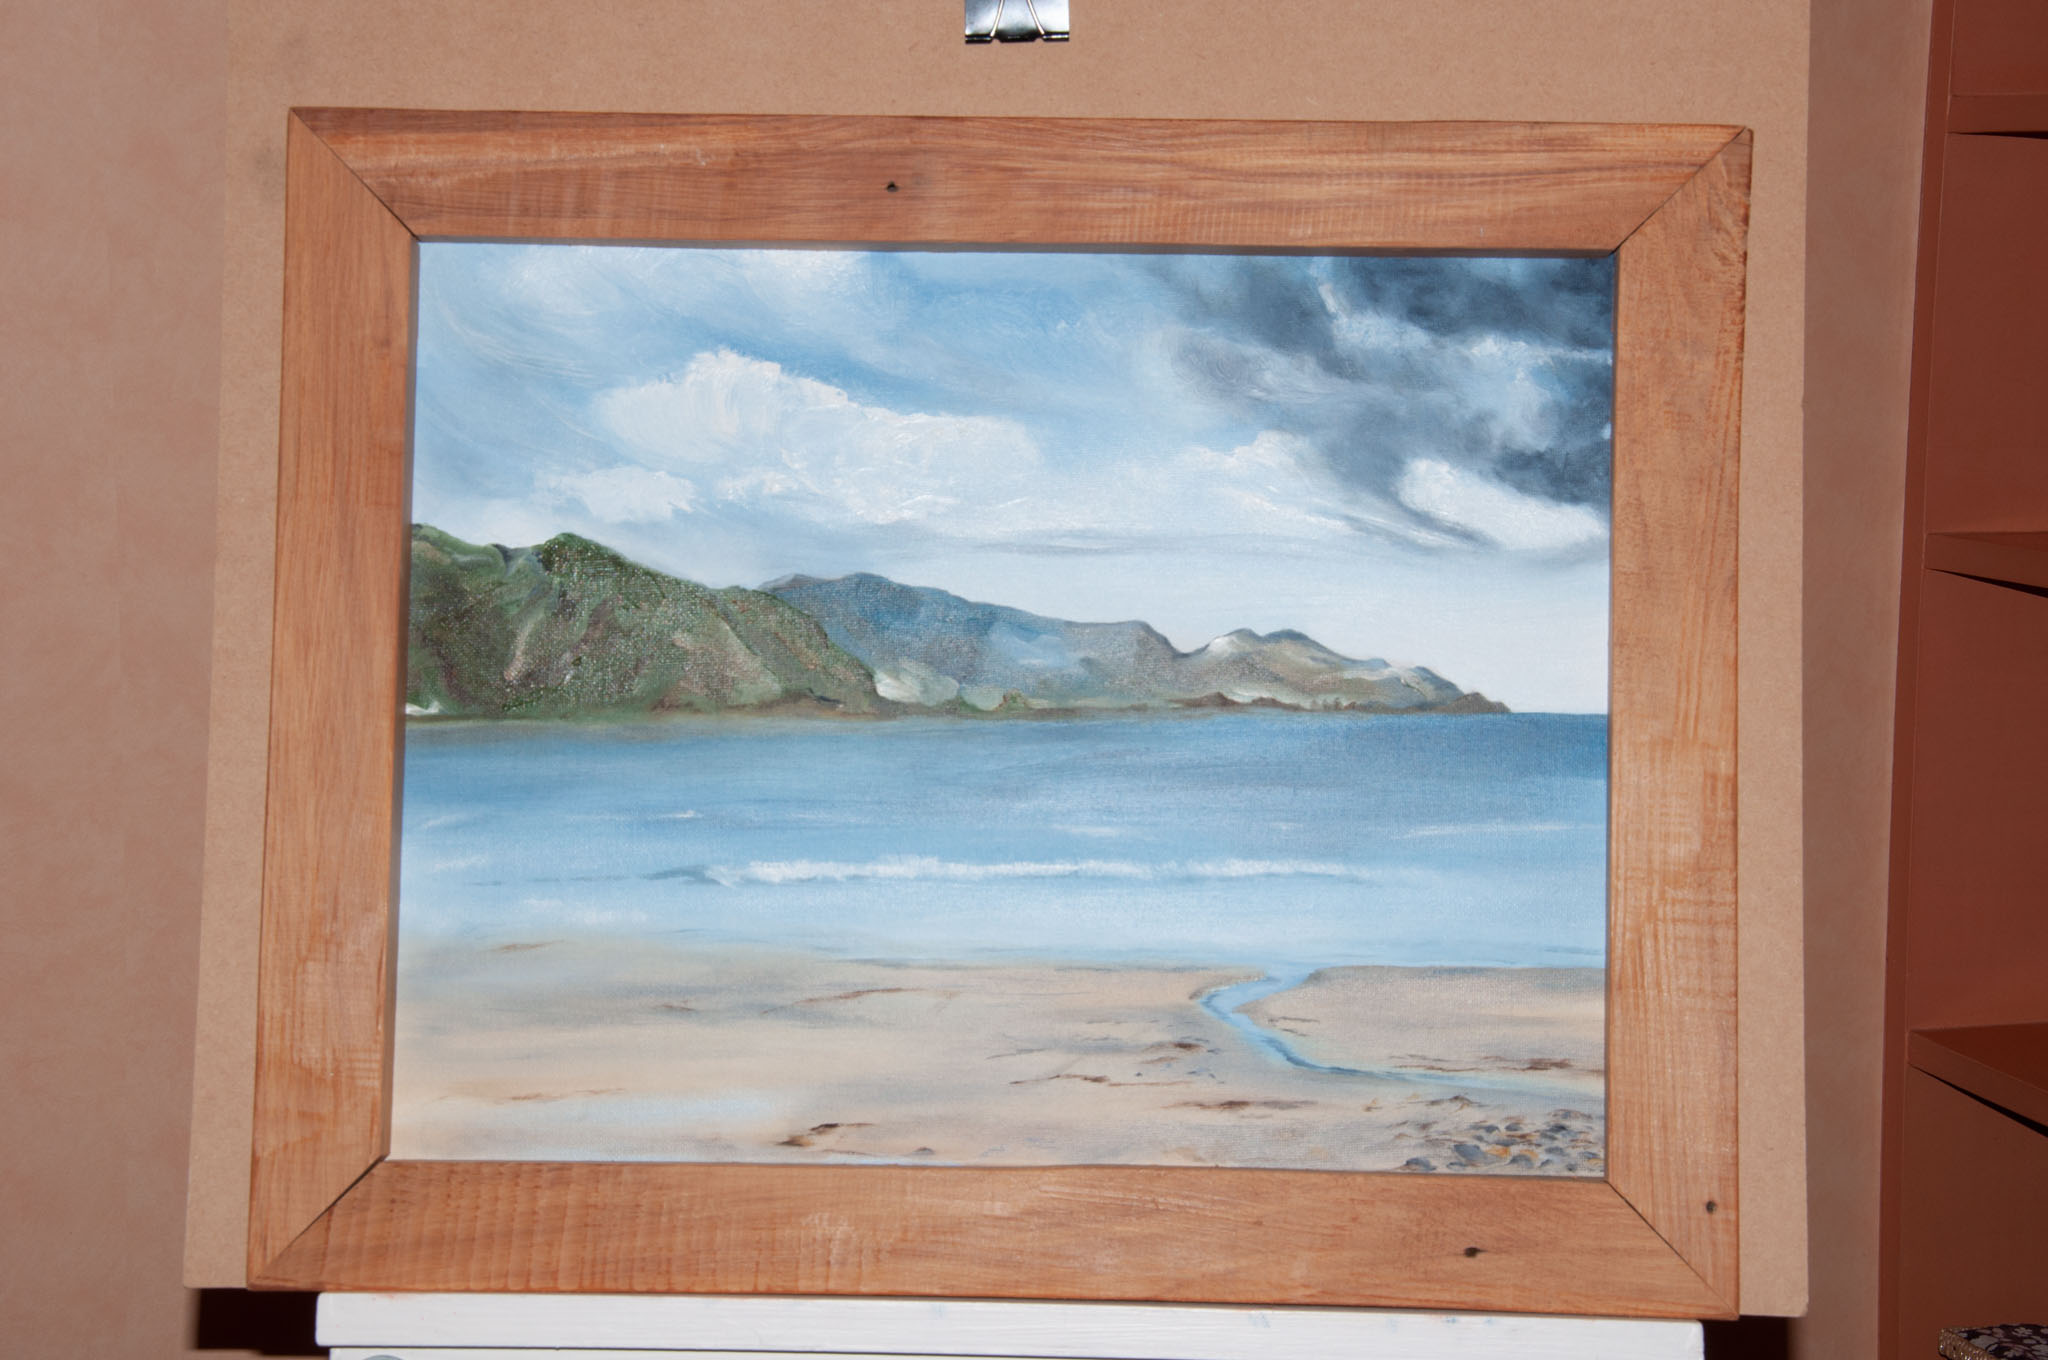
Once I had all of the images captured, I selected the best one. I then did final edits in Photoshop. As we had taken the time at the start this was not a difficult process. It mainly involved squaring off the images and removing either the magnets or fingers used to hold them flat.
I delivered the images to Lisa in a high resolution version suitable for printing. I also provided a low resolution version suitable for display on her website. She was very happy with the results.