Over the last year there has been a lot of discussion about AI in photography and particularly the threat that it poses. Well, this may appear to be a recent event. The reality is that the tools we have been using have been getting smarter for a very long time. It was just that previously they were given different names.
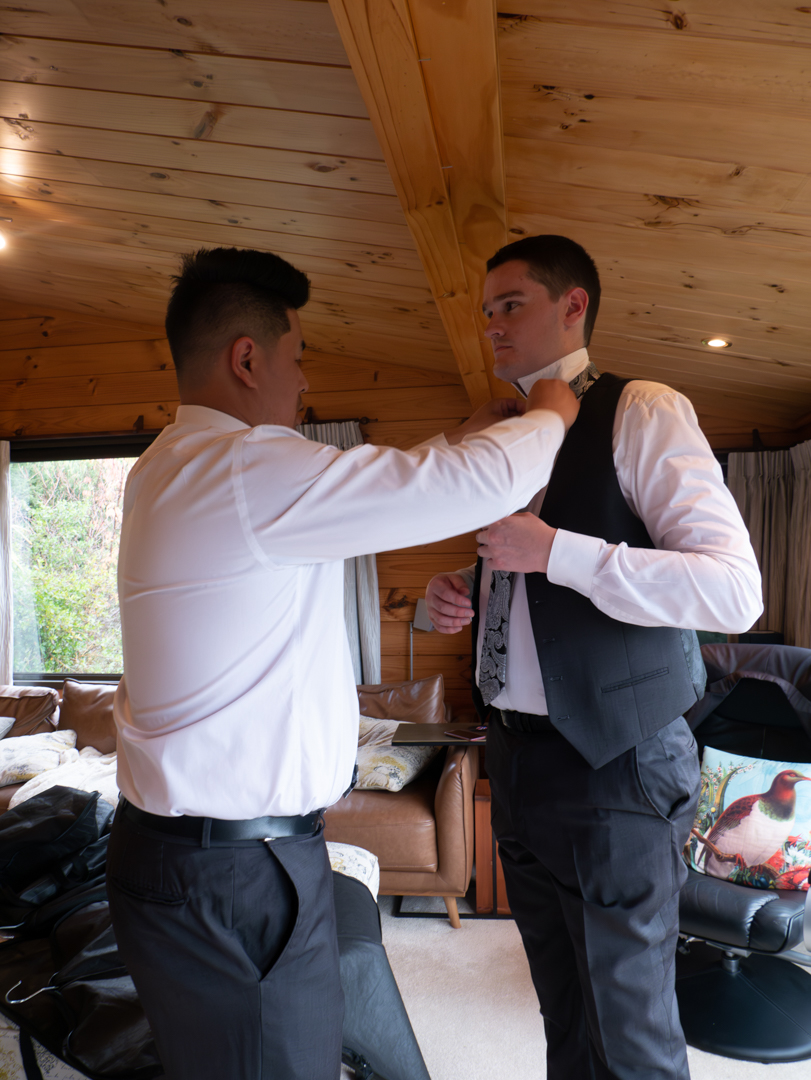
Around the time of the wedding, Adobe introduced the Remove tool into Photoshop. This was powered by AI however at the time it did not use any form of generative fill. It was a superior tool to Content Aware Fill that it existed for a number of years.
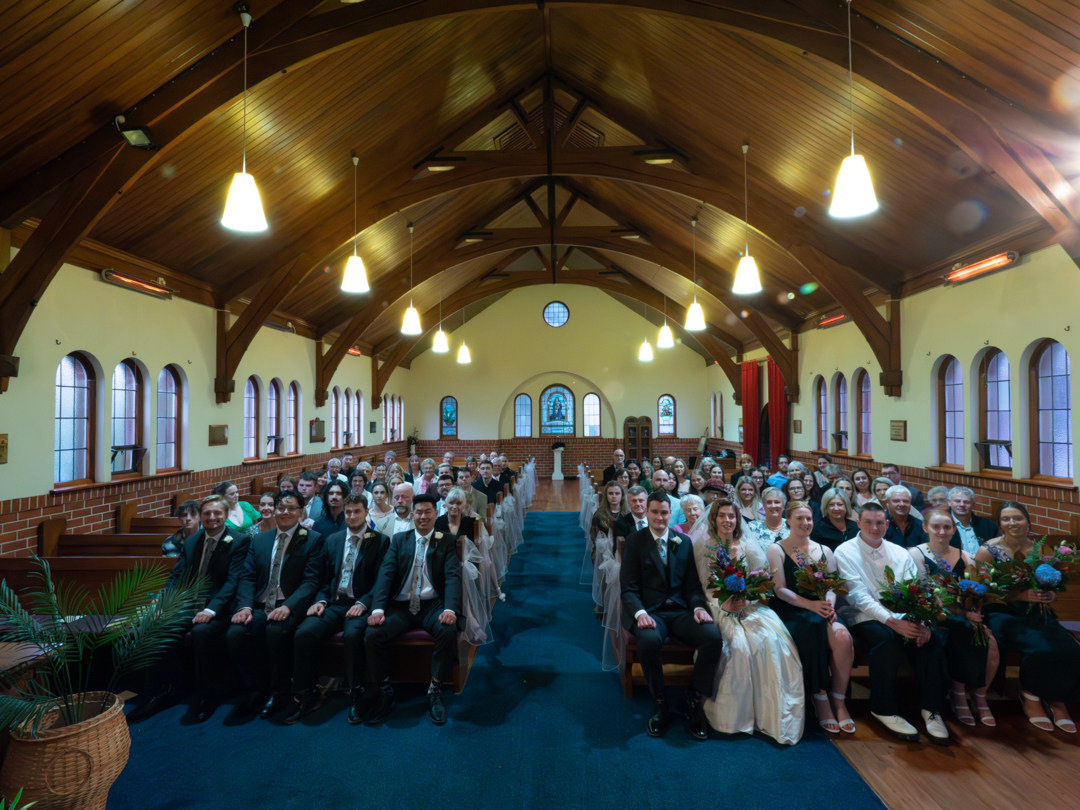
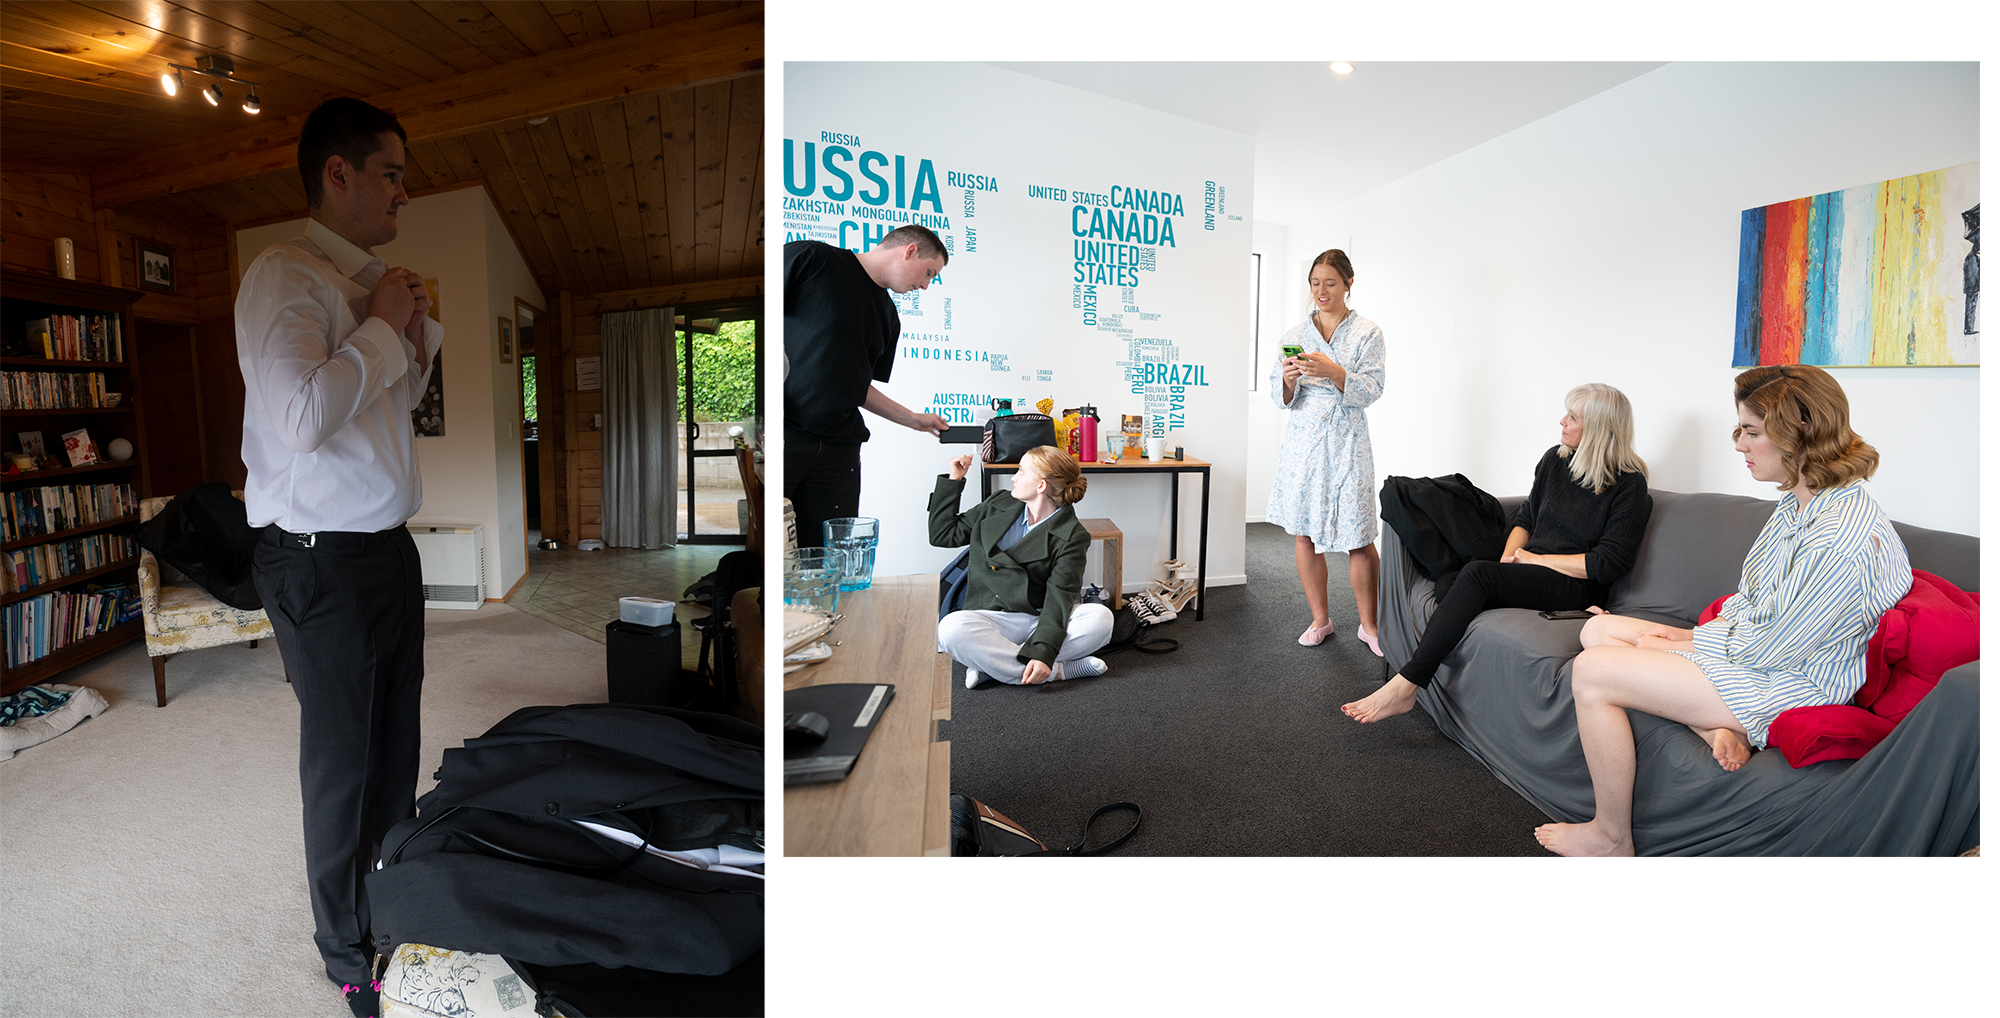
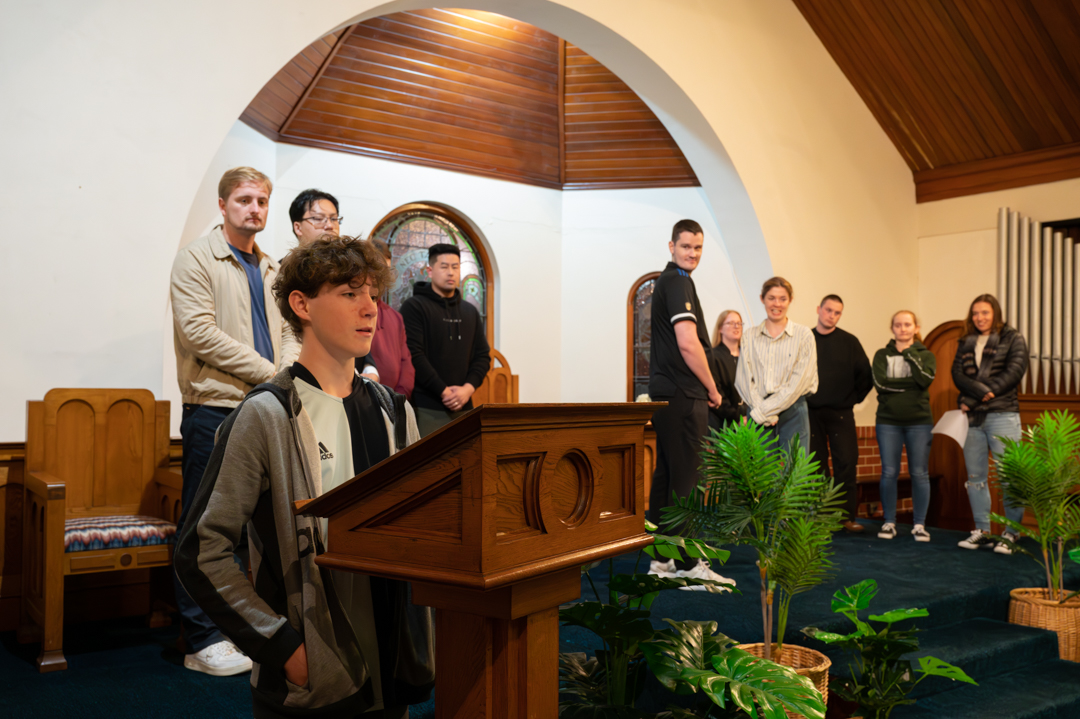
As often happens when you are shooting in tight spaces it is impossible to get a clean area without some major furniture moving. The remove tool made it possible to create such shots without going to that much effort.
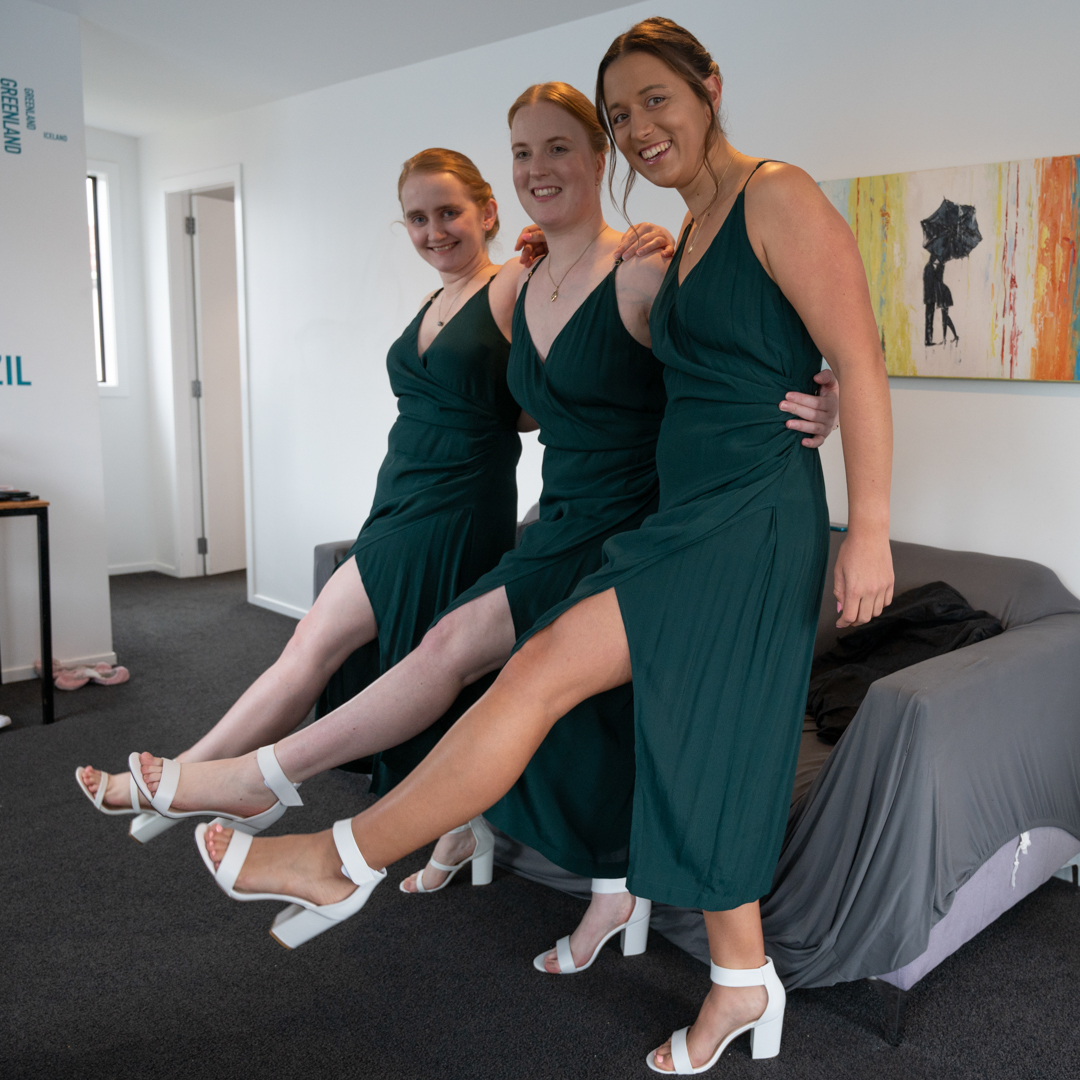
The image below was taken with the brides party just before they left for the church. As you can see the sofa was getting into the shot. There was not enough room to move it so I had not option to keep it in.
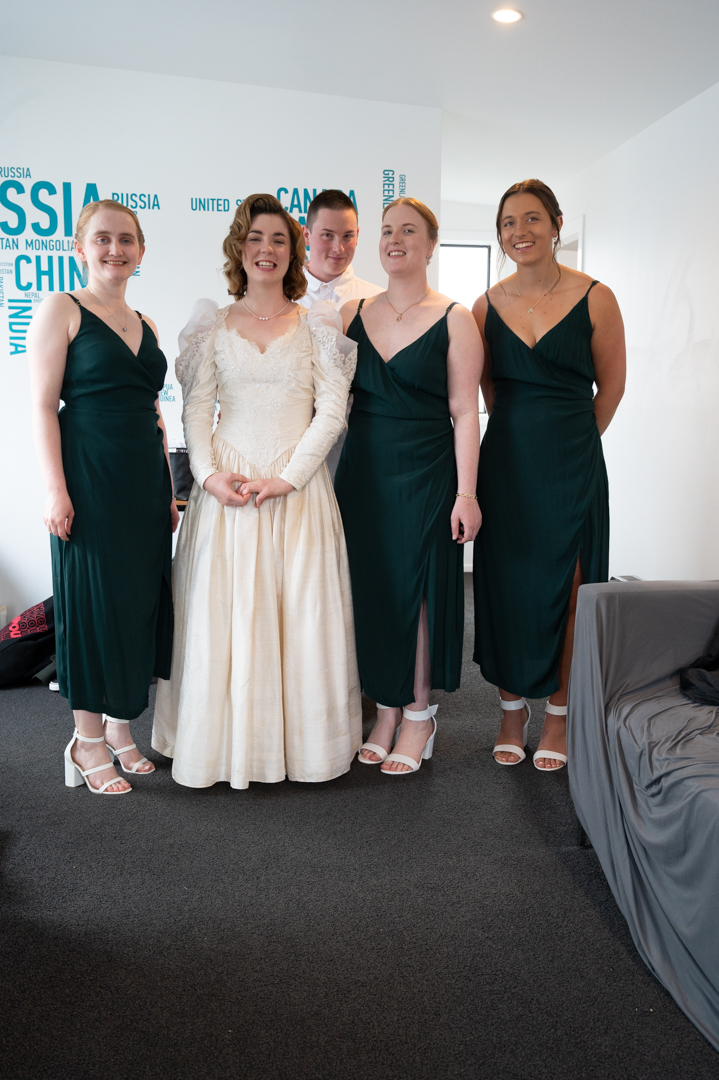
In the past it would have taken a lot of time to remove it, but with the new tool it was a simple matter of selecting the area and clicking the tool. I think that you will agree that the results are pretty good.

At the same time, the first version of generative fill was introduced. For anyone not familiar with the way it works you select an area and then in a text prompt type what you want the program to place in that area.
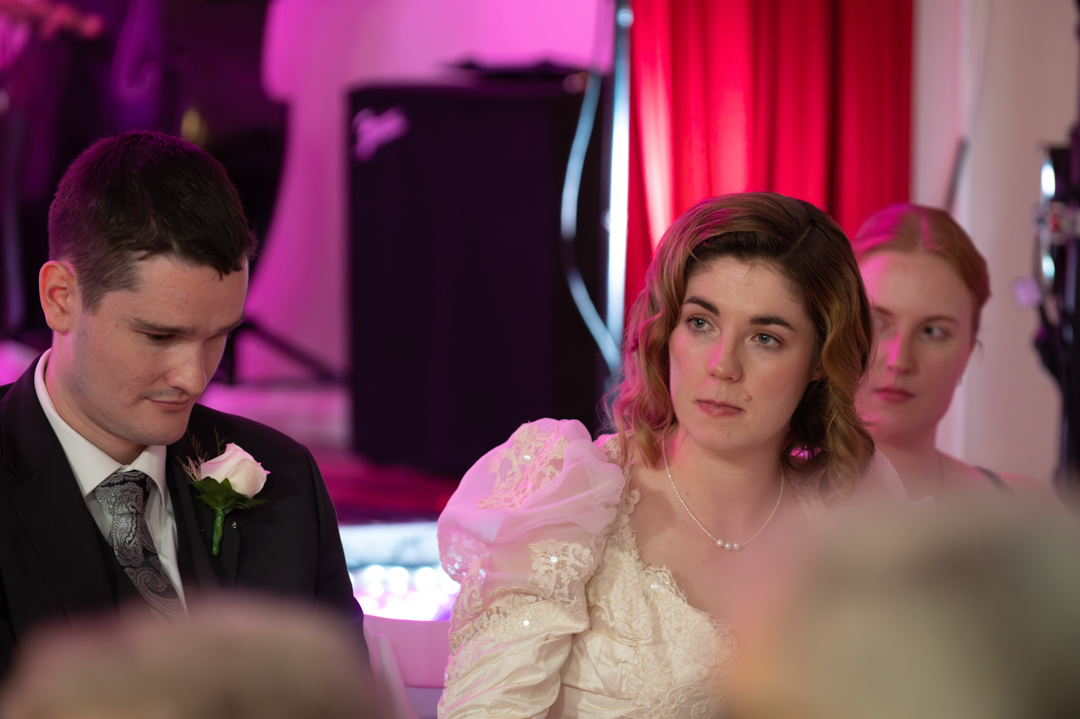
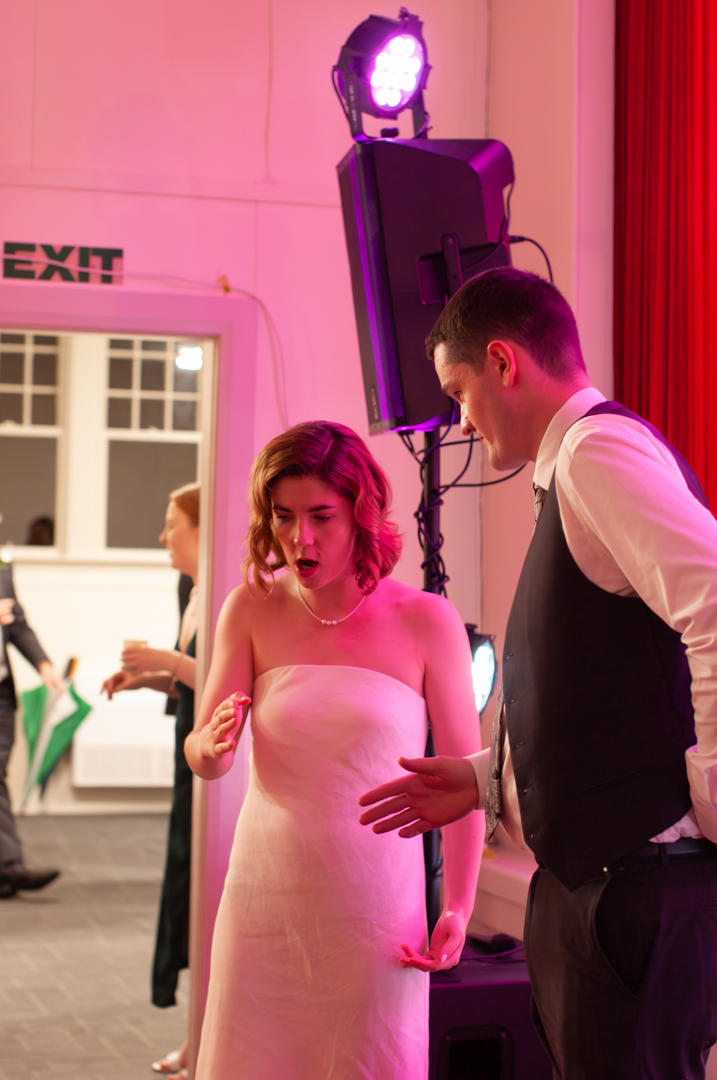
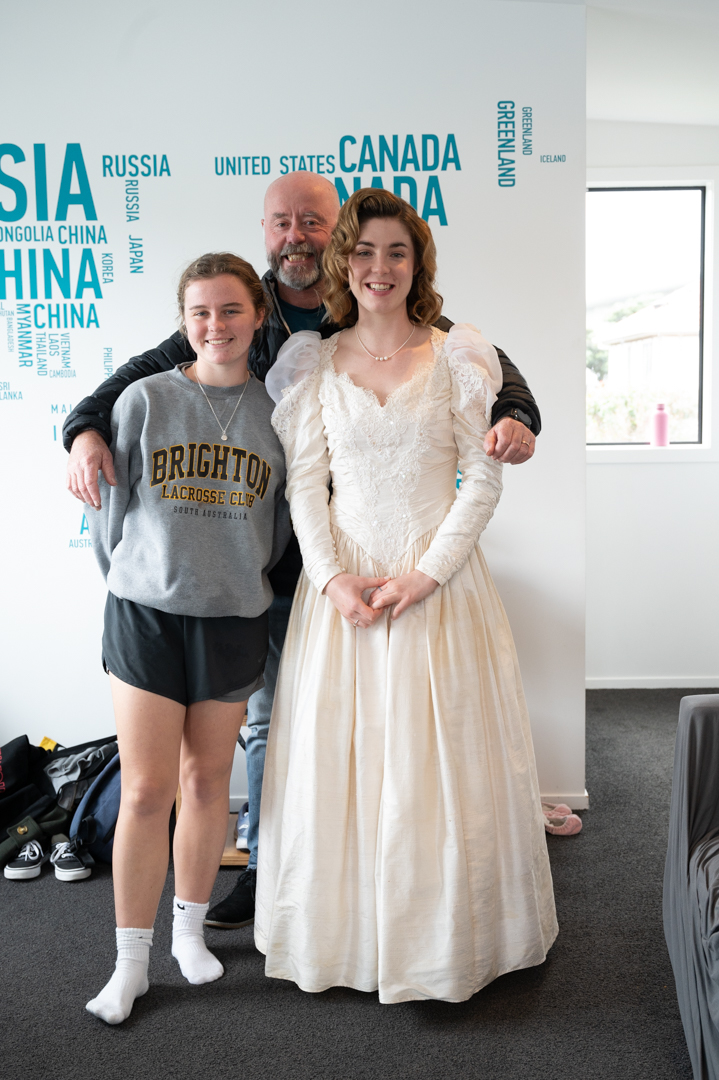
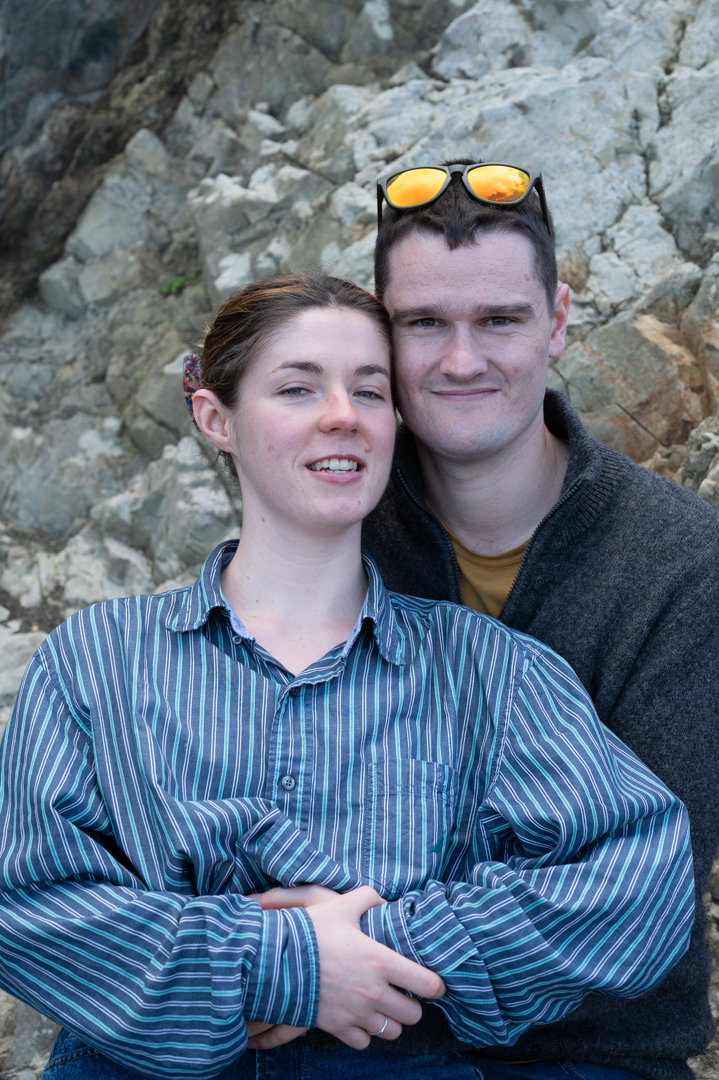
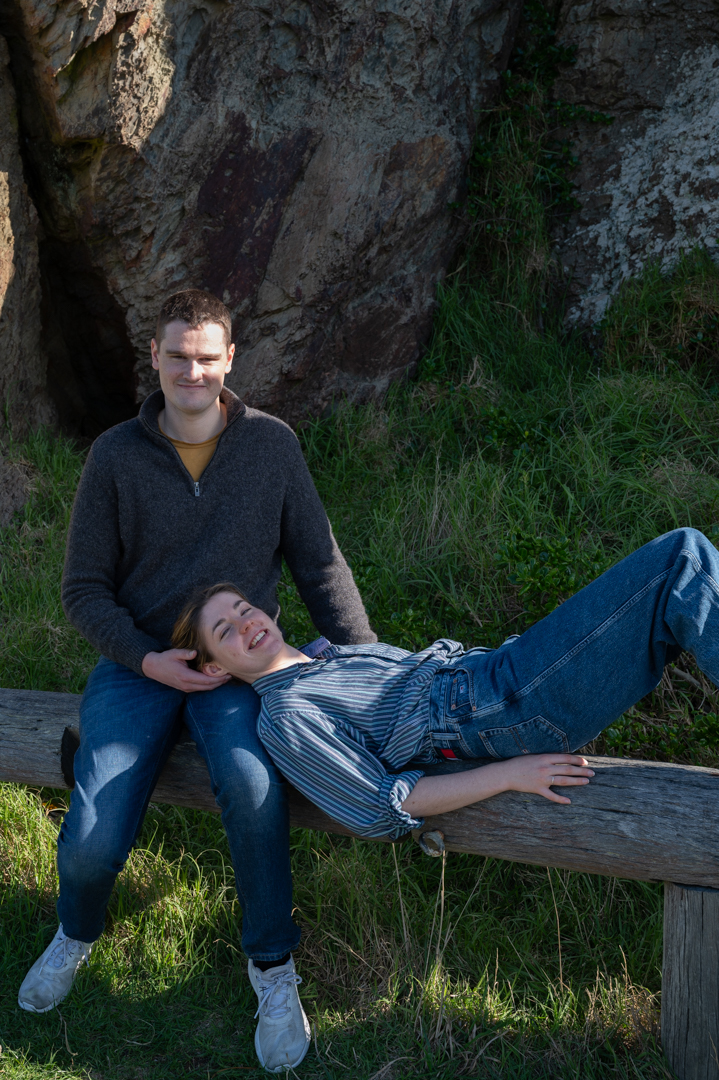
If you have read the previous posts about this wedding, you will know that we were unable to shoot on the beach as planned. I decided to use it generative fill to alter the image taken at the pre-shoot to represent what it could have look like.

I selected an image and cleaned up the background areas. I then selected around Jess and asked for it to create a lace wedding dress. It did this on the first attempt. Changing Ollie’s clothes proved to be a little bit more difficult. The initial attempt did not produce a very good look.
I found that it worked much better if I replaced each section of clothing at a time rather than attempting to do them all together.
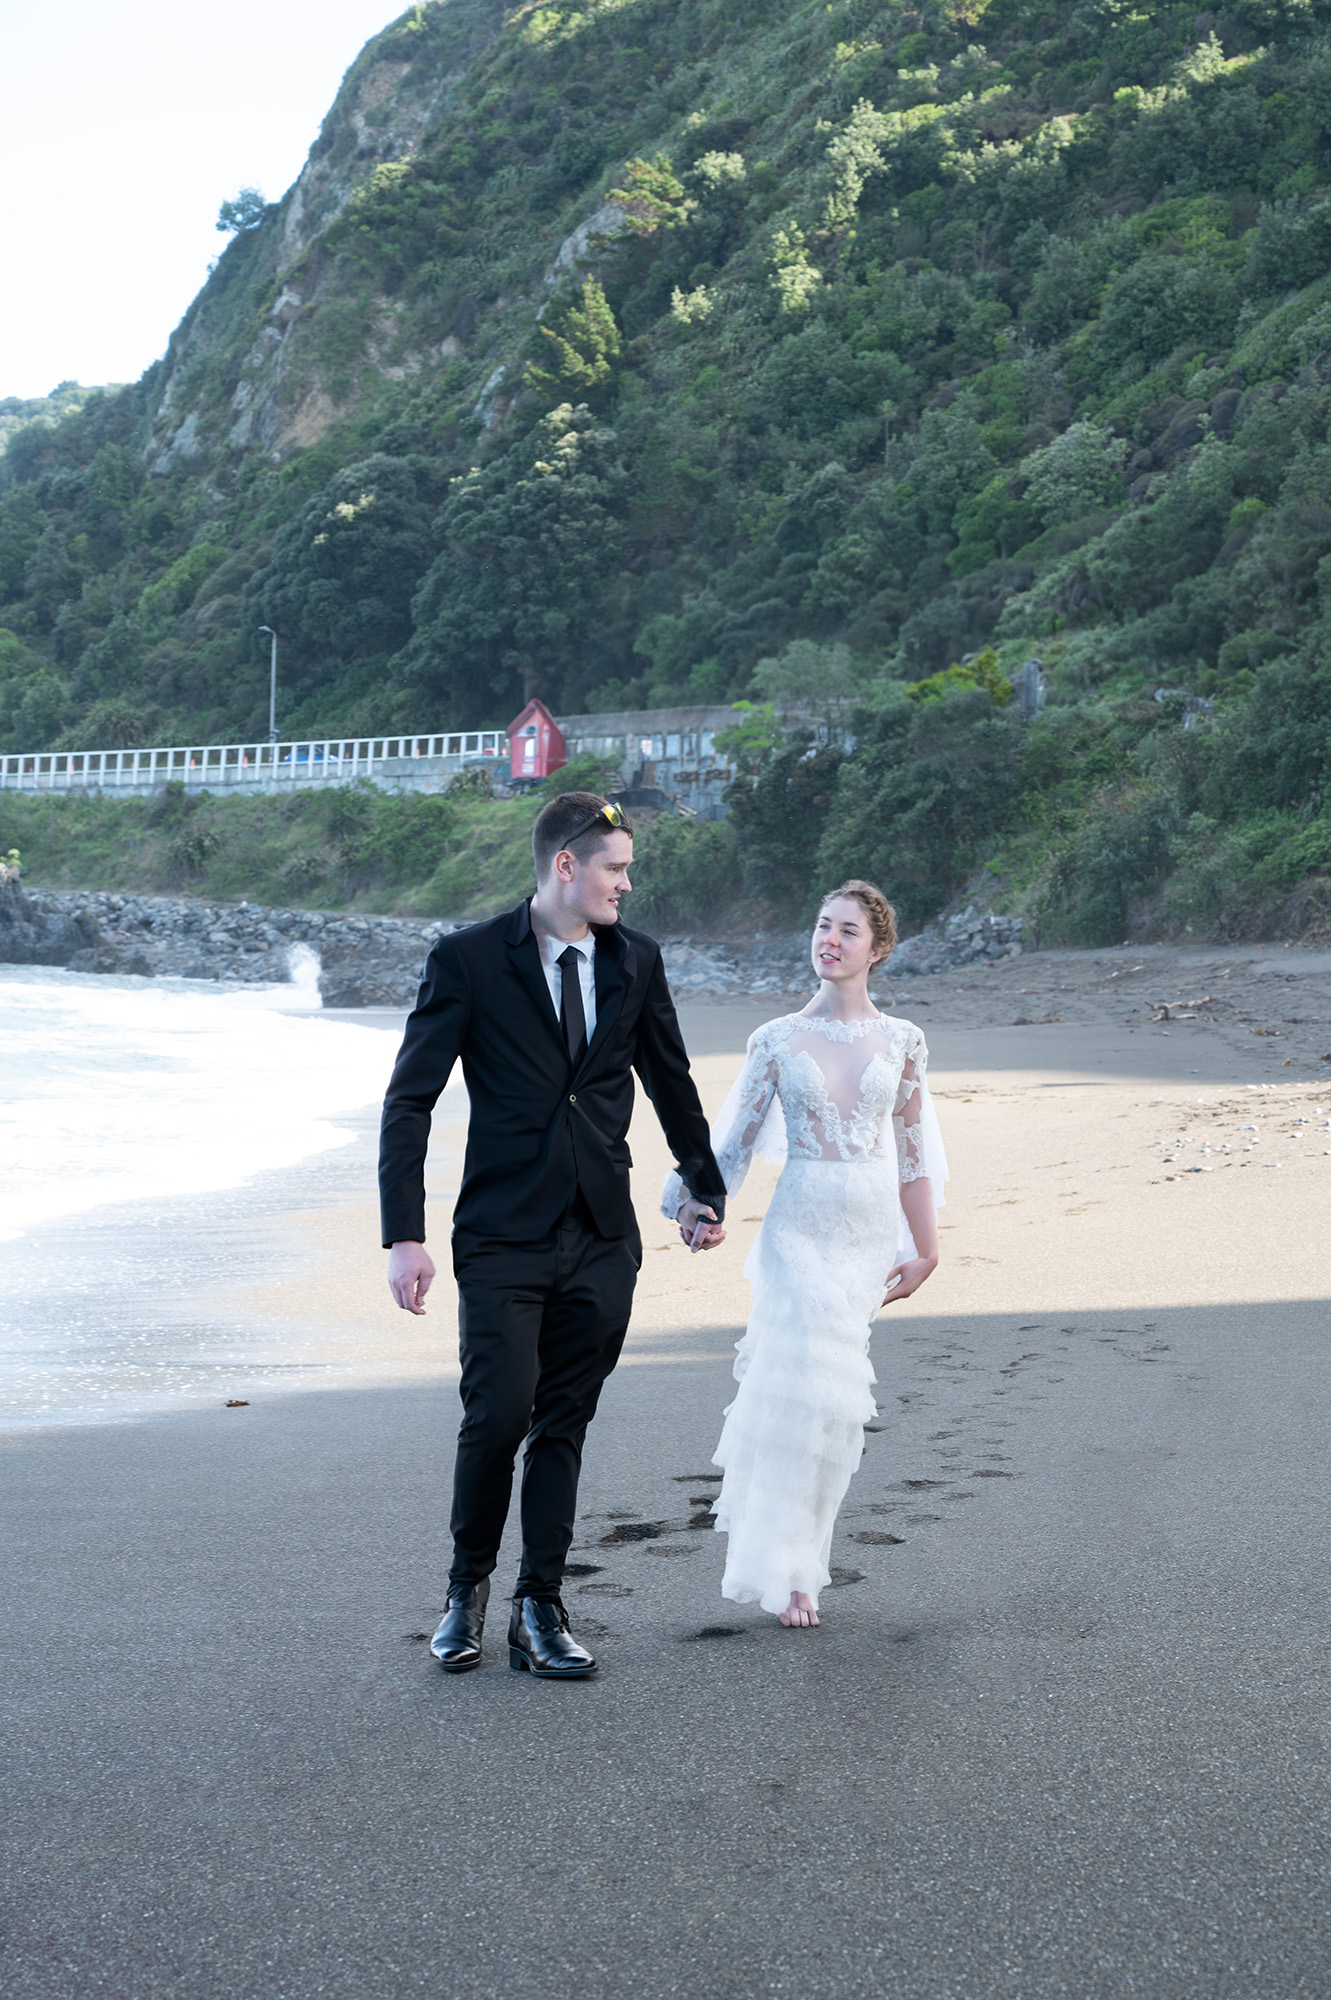
The image gave me the idea of what it could have look like. Obviously, it did not replicate the dress perfectly. However, since then the technology has advanced greatly and I’m sure that if I was to re-create it now I would come up with a much better outcome.