In May 2022 my camera club was hosting a one day portrait workshop being run by Wellington commercial photographer Lindsay Keats. They were having problems getting models for the session so I offered to help them find some.
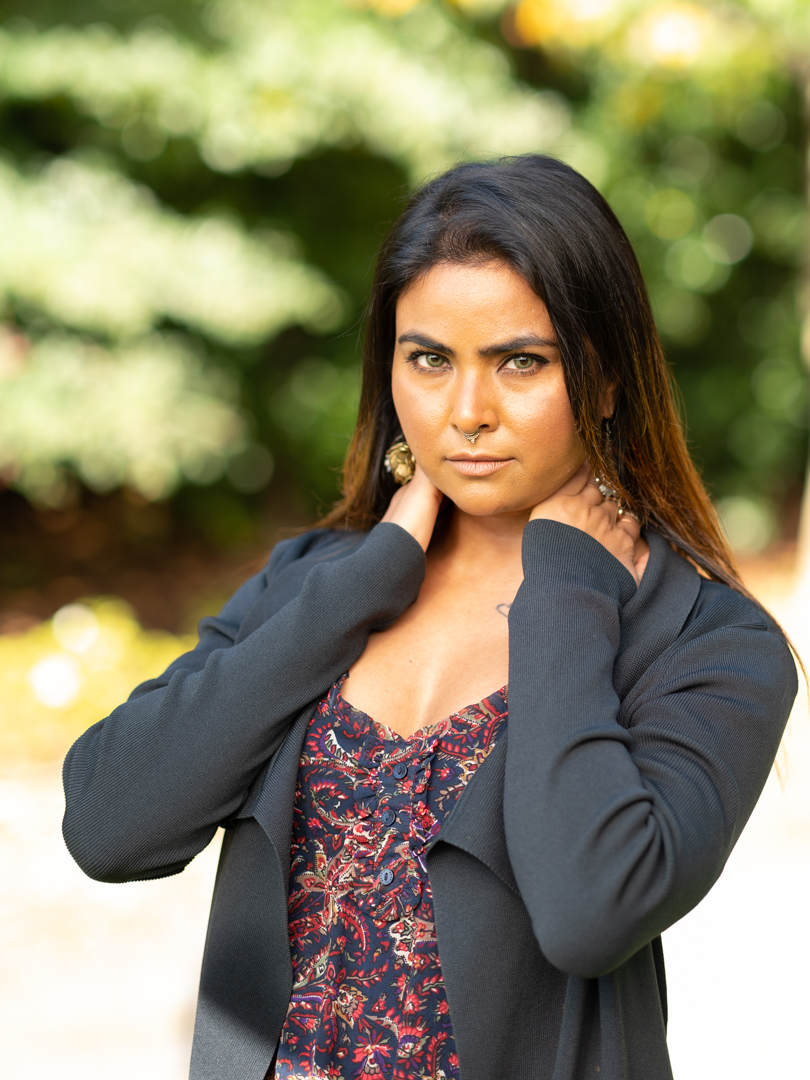
I posted a casting call on Wellington Facebook group and subsequently two models Devon and Mumtaz agreed to come along. Devon had experience as an actress and Mumtaz had modeled before.
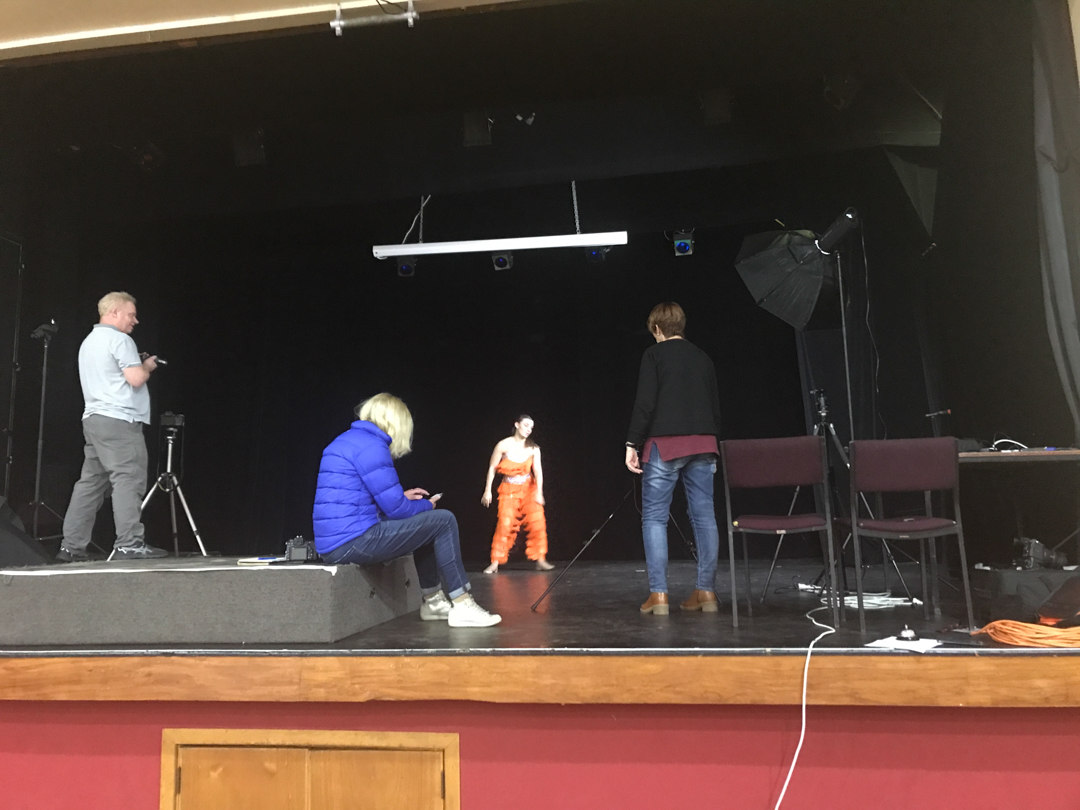
The workshop was based out of the clubrooms which are in the grounds of the Gear Homestead in Porirua.
I had not planned on shooting but rather helping the others and assisting Lindsay. I had packed a portable backdrop and some lights which were set up in the clubrooms.
Lindsay is a Fuijifilm ambassador and when I got there I discovered that Sam from Fujifilm had also come along. He had brought with him some gear to play with. I immediately grabbed a GFX50s which is a medium format camera.
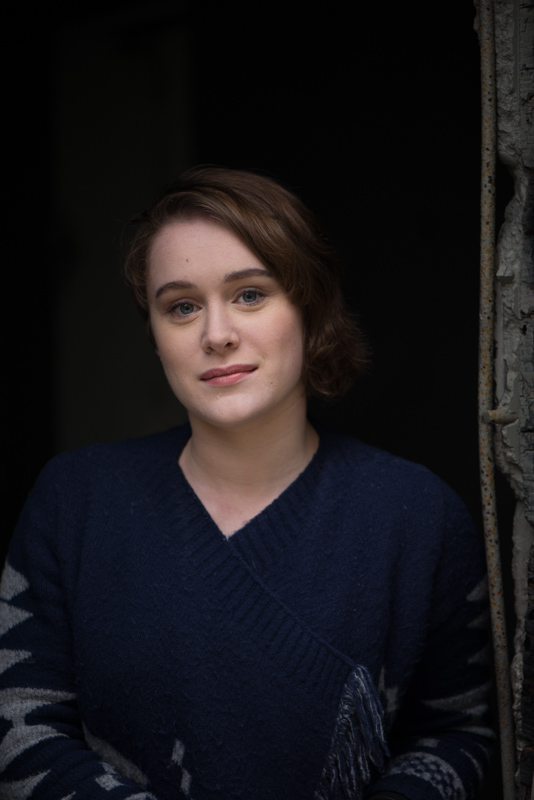
While we were waiting for everybody to arrive I noticed that Devon was standing in a pool of light. So I tested the ability of the camera to shoot indoors without flash. It was fitted with a f2 lens set at 80mm.

With full medium format cameras, the crop factor works on reverse. The 80mm lens was the equivalent of 63mm lens on a full frame camera. I did have to crank the ISO up to 2000 but that did not present a problem.
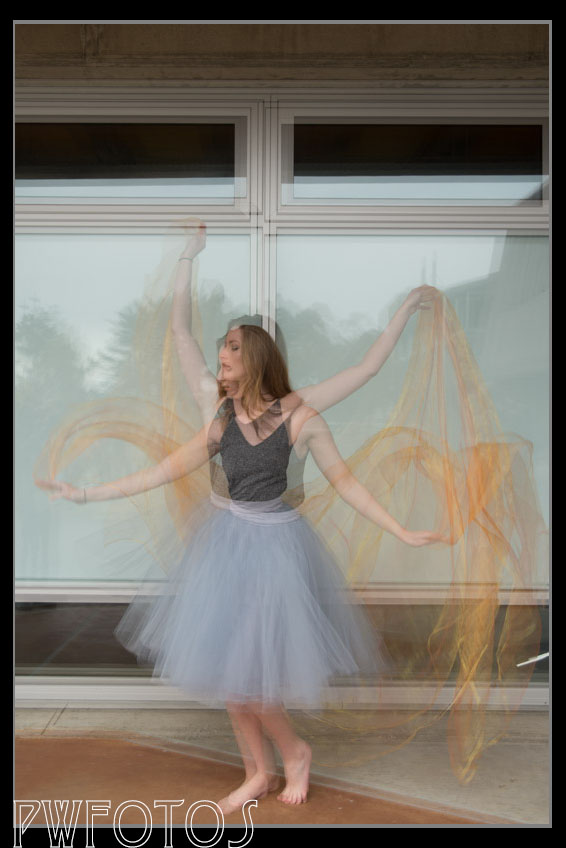
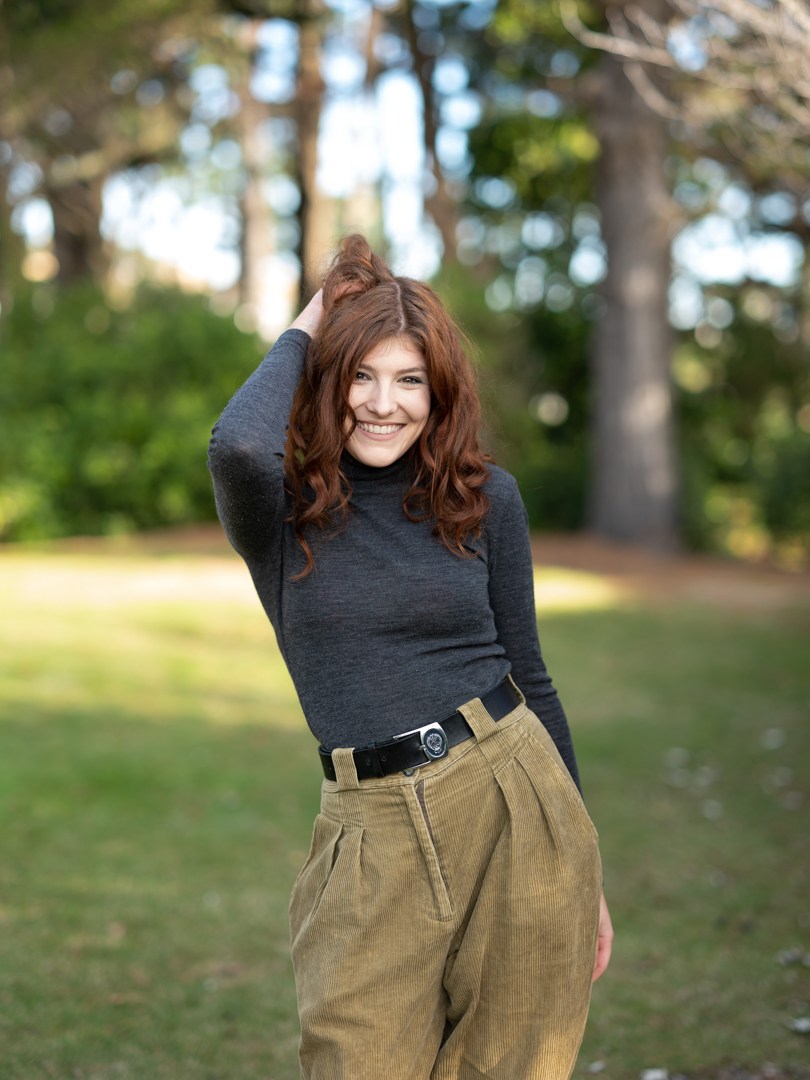
When everyone had arrived Lindsay decided that we would actually outside and shoot under natural light. I only had to adjust the ISO on the camera.

Most of the participants stayed with Lindsay and one model. So I was able to take the other one away and capture them. This was also to guarantee them that they would get usable images.
I did have to share the camera so my final shots with Devon were back with my Lumix G9.

It was a fun afternoon and all of the participants enjoyed themselves. Devon and Mumtaz were excellent models and I arranged other shoots with them later in the year.