Category Archives: Lighting

Practise makes perfect

I have often found that you only need to know a little bit more about a subject, and be able to deliver that information with confidence, then other people will regard you experience in that matter.

In this regard I firmly believe that if you are involving other people in your photographic ventures then it pays to practise what you are going to attempt to shoot before actually taking up their time. That way no one sees the mucking around that you have done and all they see is a confident photographer who comes in, sets up lights and nails the shot quickly.

A case in point was a recent entry for selection in the Wellington interclub on the topic “lets make music”.

The submitted image
The submitted image

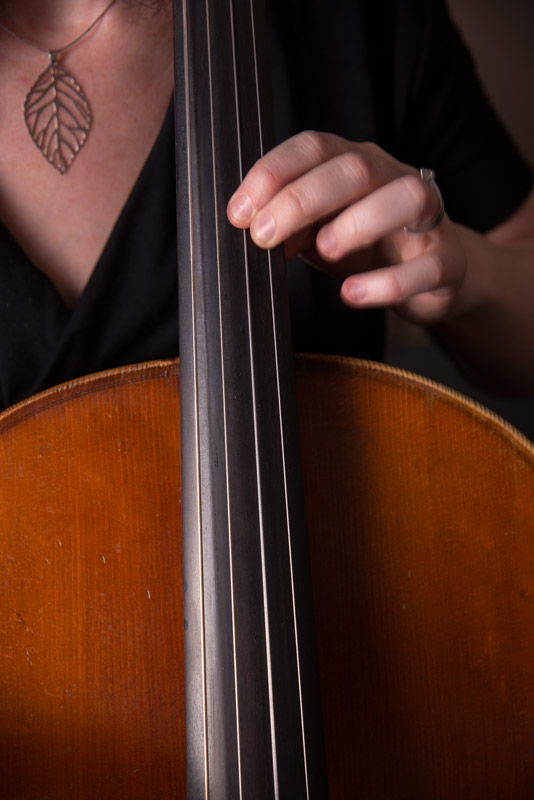
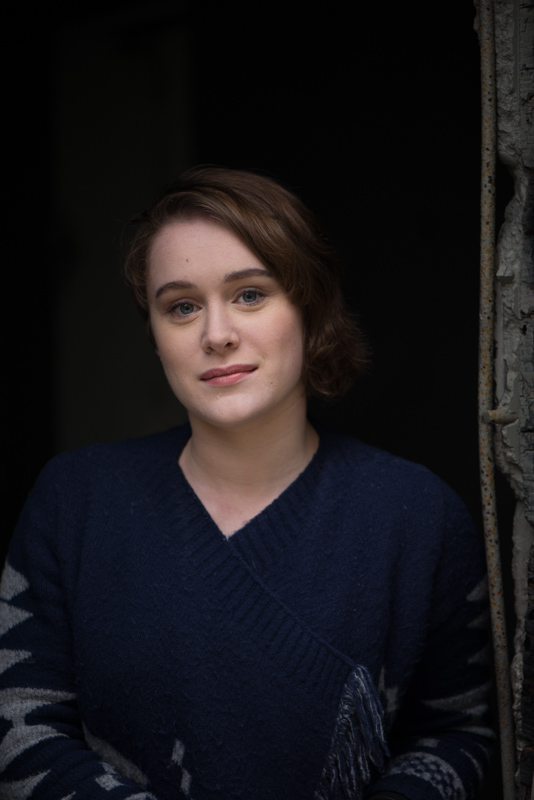
I knew that I wanted to shoot a cello, and for the lighting to be dramatic. Fortunately a friend of one of work colleagues plays in the New Zealand Symphony Orchestra and was willing to pose for me at her home.

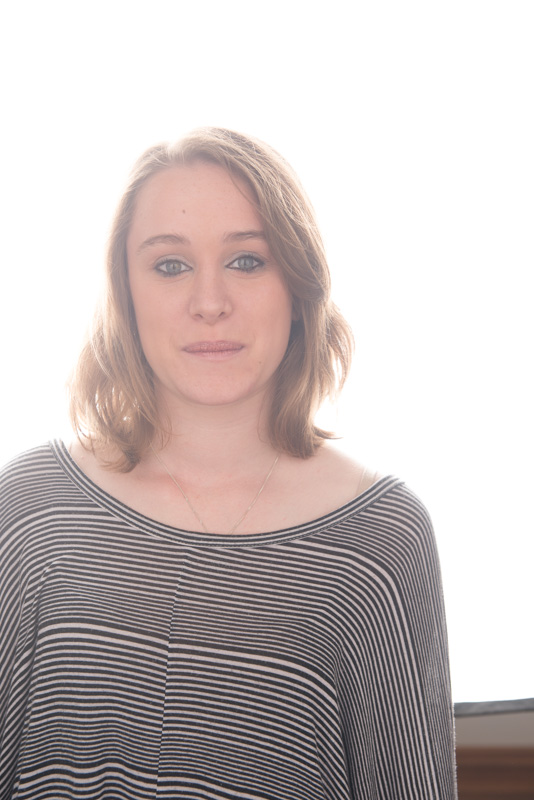
I had a pretty good idea what the light placement would be but I also wanted to pursue other options. I just did not want to waste Sally’s time as I worked through them. So the night before the shoot I enlisted the assistant of my daughter Samantha and dragged out an old guitar as a substitute cello and set up the lights.

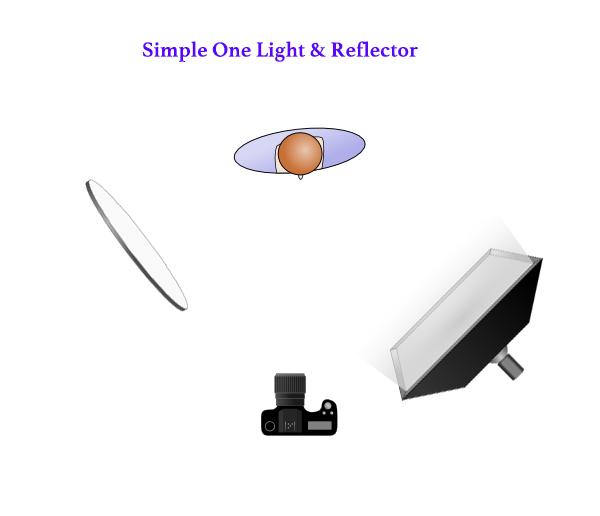
I firstly tried a small reflector with a honeycomb grid and orange gell CelloPractise-1

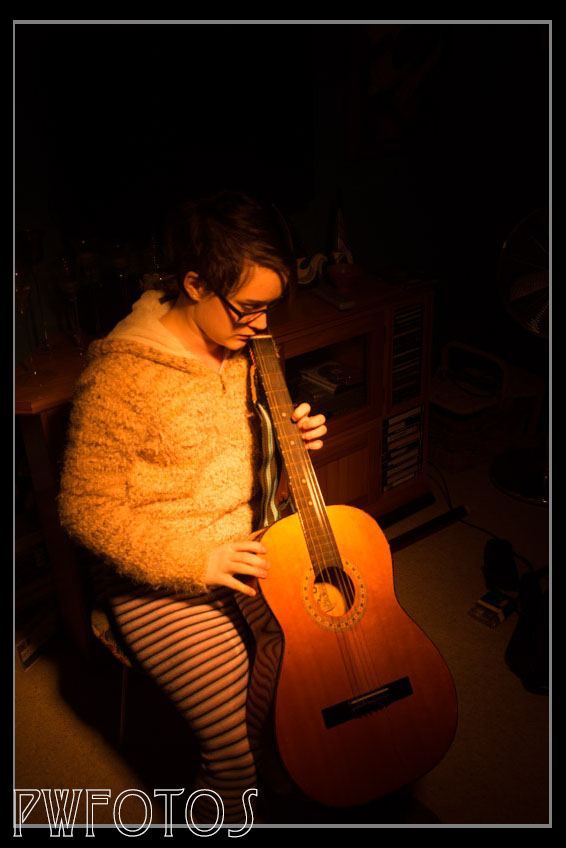
It produced a very interesting light but was definitely not what I was looking for. I then  fitted my large strip box with a grid and positioned it as a rim light and then moved it around until I ended up with something like I was after.

CelloPractise-2

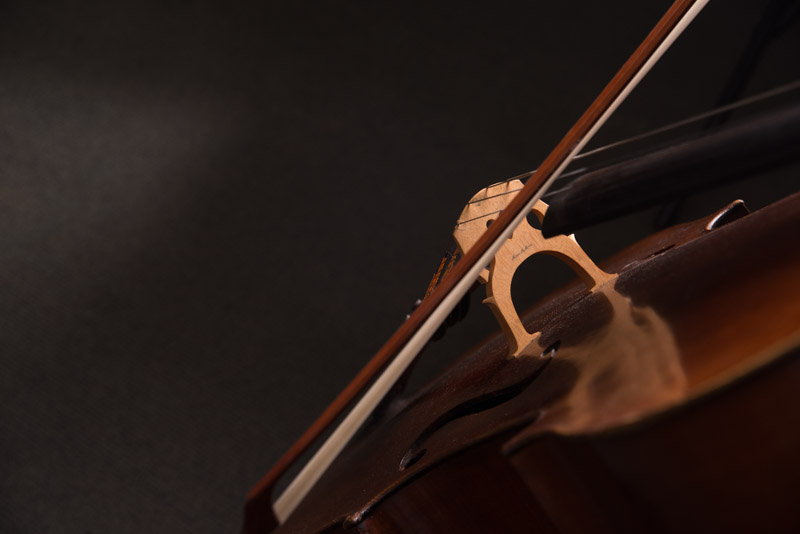
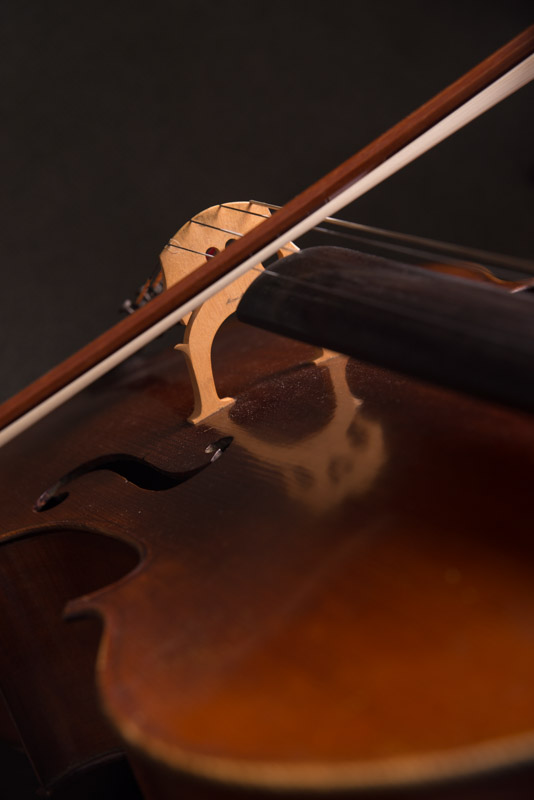
The practise session lasted around a hour but it was time well spent because it meant that the whole shoot with Sally took about 15 minutes. Other images from the shoot are shown below.

LR-Cello-2 LR-Cello-4 LR-Cello-5 LR-Cello-6 LR-Cello-7

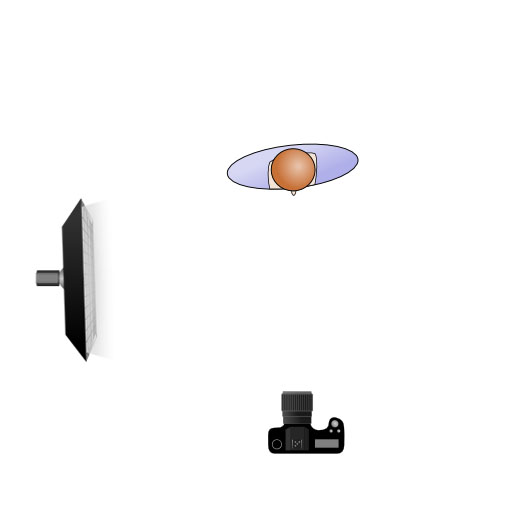
Finally for those who need an image to visualise things  the lighting diagram. The strip box was actually vertical rather than the implied horizontal in the diagram.

CelloLighting-Diagrams-G-1.2-final

I would like to say that the image was selected. It made it through to the final selection round but was then beaten by one vote from an image showing a rock band in concert.


Natural Light Session at Palmer Head

A couple of weeks ago we had a speaker at the Hutt Camera Club, who blew eveyne away with his portraits that were taken with the bare minimum amount of gear. He had a series of low key images that were actually taken using only natural light.

Kat-11Now generally you associate low light low key images with those shot in studio, where you can control the light, but these were all shot using natural light. He mentioned that they had been shot at one of my favourite locations Palmer Head.

I thought this was a great opportunity to try something new and decided to turn it intp a workshop inviting other members of Hutt Camera club to tag along.

Kat agreed to be one model and my daughter Samantha as the other. I had been approached by a new makeup artist Wendy who wanted to add to her portfolio, so we went with a glamour look on Kat and a simple look on Samantha.

Kat-15As it typical at this time of year the sky was grey and the wind quite strong, but that did not affect us much as we were shooting inside. We based ourselves in the most sheltered location so that Wendy could work her magic.

The trick to achieving the look is to place the model by a window, then doing a meter reading of the brightest element of the highlight and then dialling in 2 stops of exposure compensation.

Samantha-2Once people has mastered that technique we then moved to another part of the structure that had larger openings and therefore more light. Here the group practises more high key images.

Despite the conditions everyone seemed to have fun.PHWS-1

Basic Lighting Designs

Last Sunday I had a studio booked for an art project I am working on so as I was going to have all my lighting gear set up decided that I would run a lighting workshop as well.

Over the course of 4 hours I took the photographers through seven different lighting arrangements using the lights and then finished utilising natural light. I had booked an experienced model for the event but she contacted me the night before to say that she was ill and not able to make it. So my daughter ended up stepping in to help and she did quite a good job.

I wanted to emphasise that lighting is an art and not a science and that the process of working with lights was to add them one at a time. I was mindful that not everyone can afford expensive studio lights so we started with arrangements that could be replicated with off camera flash using speed lights.

As I was instructing the others what to do I did not have time to shoot example images with each arrangement.

These are  the seven arrangements that I demonstrated:

Using one light

One light with reflector (45degrees)

This is one of the simplest and most common lighting arrangement. A single light is set at a 45 degree angle to the subject and then a reflector is introduced on the other side at a similar angle to bounce some light into the shadows. In this and the next arrangement the main light was in a 1 meter softbox.

One light at 45 degrees with reflector

One light with reflector (rim)

This lighting arrangement is similar to the first however the main light is brought alongside the subject. This produces a must stronger ratio of the light between the two sides of the face.

One light set as full rim

rim

Clamshell

This lighting involves a single light mounted above the camera aiming down at the subject and a reflector positioned below to fill in the shadows. The arrangement produces butterfly lighting with a shadow below the nose. For the clamshell the main light used a beauty dish.

Clamshell
Clamshell

Single Light Highkey

Normally when you think of highkey lighting you would think that it involves multiple lights. It can be produced with a single light and a couple of reflectors. In this case the single light is placed behind the subject and essentially becomes both the light and the backdrop.

In front of the subject two large white reflectors are placed and you shoot between them. The light is metered for the front of the subject resulting in a background blowing out.

The arrangement
The arrangement

For the shot ideally I would have liked to use my 1.5 meter October but I forgot to pack the adapter ring that allowed the Bowen mount to fit my Elinchrom lights so instead had to use a 1m softbox.

HIKey

Two Light arrangements

Two light axis lighting

An axis lighting arrangement has the subject standing in the middle of two lights aimed on the same axis. I demonstrated two arrangements. In the first both lights have the same modifiers. In the second arrangement the rear modifier was fitted with a small honeycomb grid. In this case its was much more of a hair light.

Equal front and rear lights
Second light was now solely set up as a hair light

Production

The final arrangement show was what a referred to as “production lighting”. This is used when you wish to shoot a large number of subjects quickly and the aim is to have well lit rather than dramatic lighting on the subjects.

In this arrangement both lights are set to the same power.

Lighting Workshop - 4

No Lights

As the studio we were using had large north facing windows at the end of session we simply used the window and reflector to produce images like this one, proving that you don’t need to spend much money at all.

window