Last Sunday I had a studio booked for an art project I am working on so as I was going to have all my lighting gear set up decided that I would run a lighting workshop as well.
Over the course of 4 hours I took the photographers through seven different lighting arrangements using the lights and then finished utilising natural light. I had booked an experienced model for the event but she contacted me the night before to say that she was ill and not able to make it. So my daughter ended up stepping in to help and she did quite a good job.
I wanted to emphasise that lighting is an art and not a science and that the process of working with lights was to add them one at a time. I was mindful that not everyone can afford expensive studio lights so we started with arrangements that could be replicated with off camera flash using speed lights.
As I was instructing the others what to do I did not have time to shoot example images with each arrangement.
These are the seven arrangements that I demonstrated:
Using one light
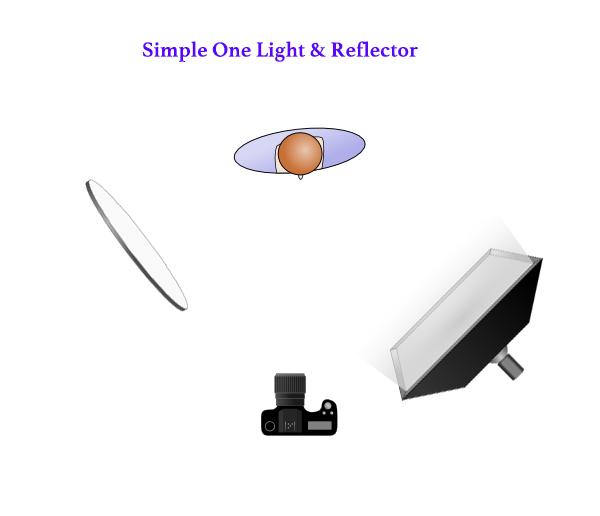
One light with reflector (45degrees)
This is one of the simplest and most common lighting arrangement. A single light is set at a 45 degree angle to the subject and then a reflector is introduced on the other side at a similar angle to bounce some light into the shadows. In this and the next arrangement the main light was in a 1 meter softbox.
One light with reflector (rim)
This lighting arrangement is similar to the first however the main light is brought alongside the subject. This produces a must stronger ratio of the light between the two sides of the face.


Clamshell
This lighting involves a single light mounted above the camera aiming down at the subject and a reflector positioned below to fill in the shadows. The arrangement produces butterfly lighting with a shadow below the nose. For the clamshell the main light used a beauty dish.

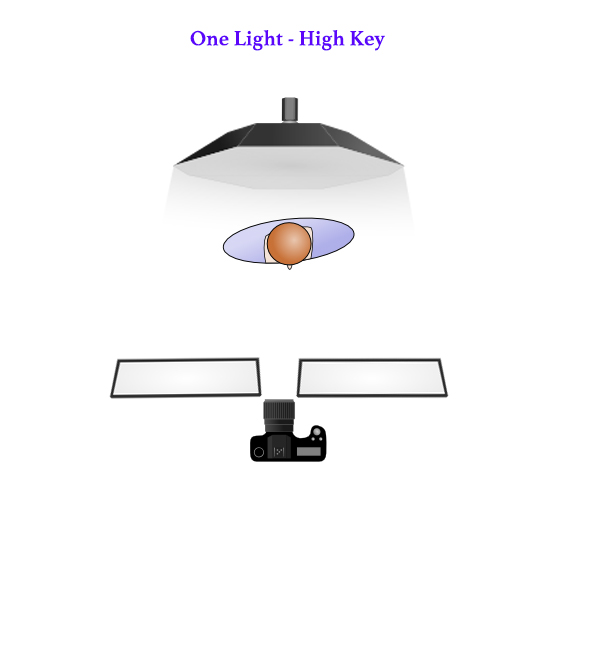
Single Light Highkey
Normally when you think of highkey lighting you would think that it involves multiple lights. It can be produced with a single light and a couple of reflectors. In this case the single light is placed behind the subject and essentially becomes both the light and the backdrop.
In front of the subject two large white reflectors are placed and you shoot between them. The light is metered for the front of the subject resulting in a background blowing out.
For the shot ideally I would have liked to use my 1.5 meter October but I forgot to pack the adapter ring that allowed the Bowen mount to fit my Elinchrom lights so instead had to use a 1m softbox.
Two Light arrangements
Two light axis lighting
An axis lighting arrangement has the subject standing in the middle of two lights aimed on the same axis. I demonstrated two arrangements. In the first both lights have the same modifiers. In the second arrangement the rear modifier was fitted with a small honeycomb grid. In this case its was much more of a hair light.


Production
The final arrangement show was what a referred to as “production lighting”. This is used when you wish to shoot a large number of subjects quickly and the aim is to have well lit rather than dramatic lighting on the subjects.
In this arrangement both lights are set to the same power.

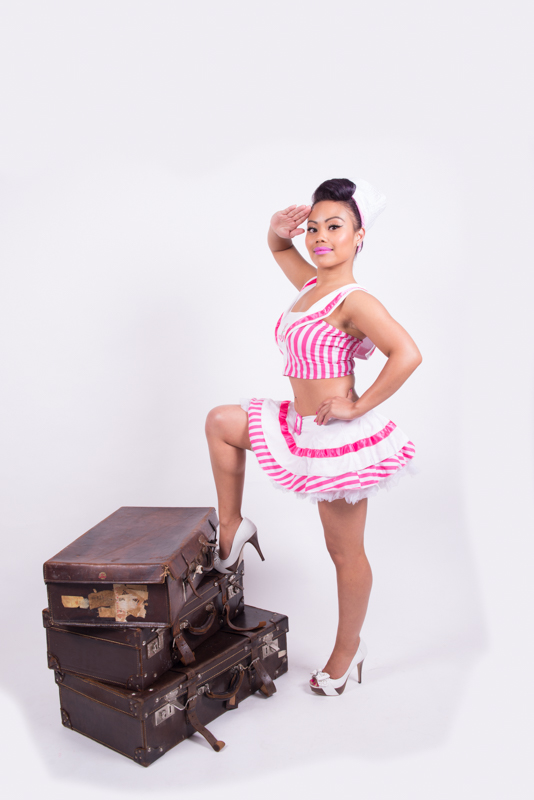
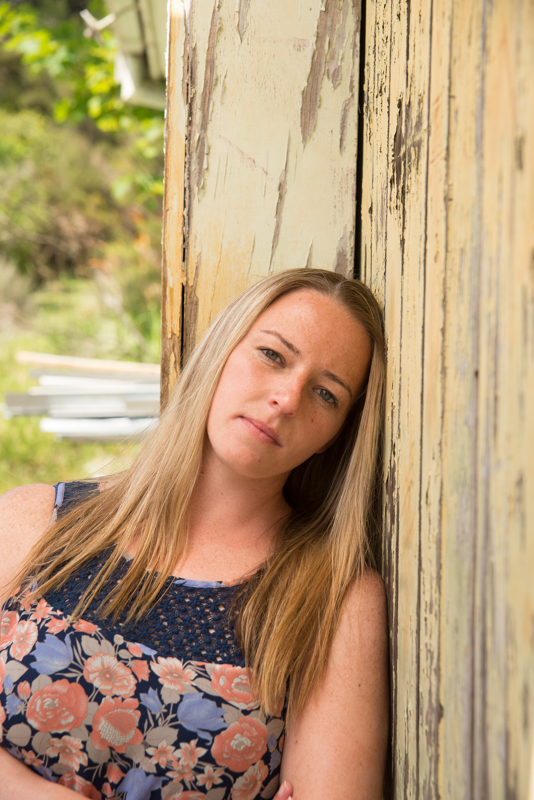
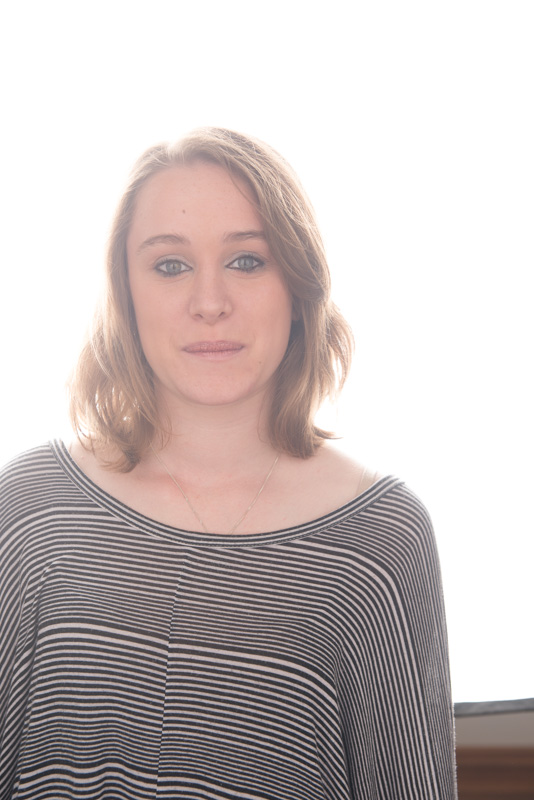
No Lights
As the studio we were using had large north facing windows at the end of session we simply used the window and reflector to produce images like this one, proving that you don’t need to spend much money at all.