
My last three posts have covered the wedding of Taylor and Kristi. I had envisaged that the story what stop with the ceremony, but as I was writing it, I realised that there was a fourth part. Namely how do you select and edit the images that she will present to the couple. This post specifically about that process as I hope it will be helpful to anybody who shoots a large number of images at an event.
Please note that this is my approach to culling and that other people have different techniques. I’m not saying that my way is any better than anybody else’s; it is just something that works for me.
It also based around the arrangement that we had with the couple for the delivery of images. The wedding was to be “unplugged” meaning that we were the only people there taking photos. We were also delivering the images electronically and then the couple would chose and print their own images. This meant that the couple were not involved in the selection process. Part of being unplugged though was a guarantee that we would deliver a “sneak-peak” set of images within a day so that the couple could share on social media.
As I mentioned in my previous post, we were using four cameras to cover the wedding so the first task was to download the images from each card, and then take a backup of it before the editing even started.
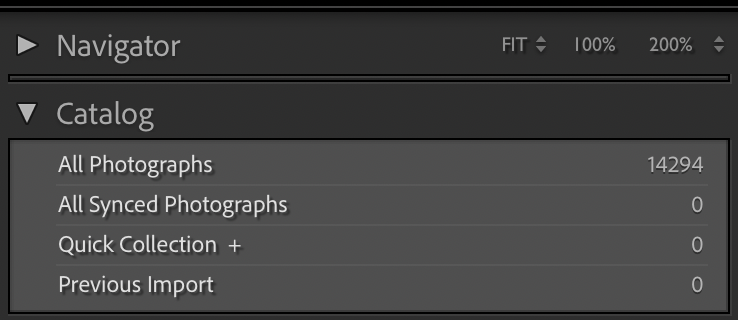
To download the cards I used the “get photos from camera” import option in Adobe Bridge. It was only after all cards had been transferred that I then switched to Adobe Lightroom and imported the RAW files into my wedding catalog. Doing this two step import resulted in all of the images being in the category of “Previous Import” in Lightroom. While it would have been possible to import directly from the card it would have meant that only the last card cards images fell into this category.
In total we had just under 3,000 images imported. Now to start the process of culling.
The first stage is to remove the absolute dud images that obviously have issues with them (such as way too dark, or out of focus). I do this quickly by scrolling through the images in the library and pressing the X key to indicate that the photo was rejected.
As we had promised to deliver the sneak peak on the day following the wedding, I was also on the look out for any stellar images that we could use in the sneak peaks. These were identified by giving them a rating of 2.

Once I had gone through all of the images I had about 200 rejected images that were then deleted, and around 30 images for the peak. I reduced that down to 26 which were then exported and delivered to the clients.
It was now time to cull the images and select those that would tell the story of the day. I created a set of keywords that would enable me to split the day into various activities and which would also be used in the export later on. These were then applied to all of the images.
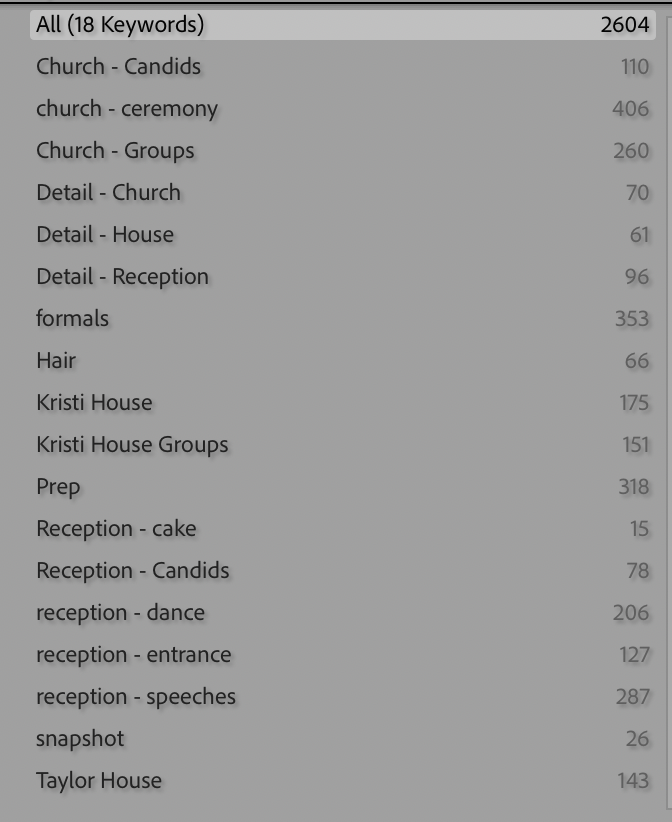
The keywords were then used to filter all of the images, so that I was only concentrating on each section individually, rather then trying to handle the entire day in one go.
With documentary photography you are trying to tell the story of the day. I went through each of the keywords and rated them using the following scale:
3 stars – An image that was a good candidate for the final set
2 stars – A duplicate image not strong enough on its own
1 star – Not suitable for delivery
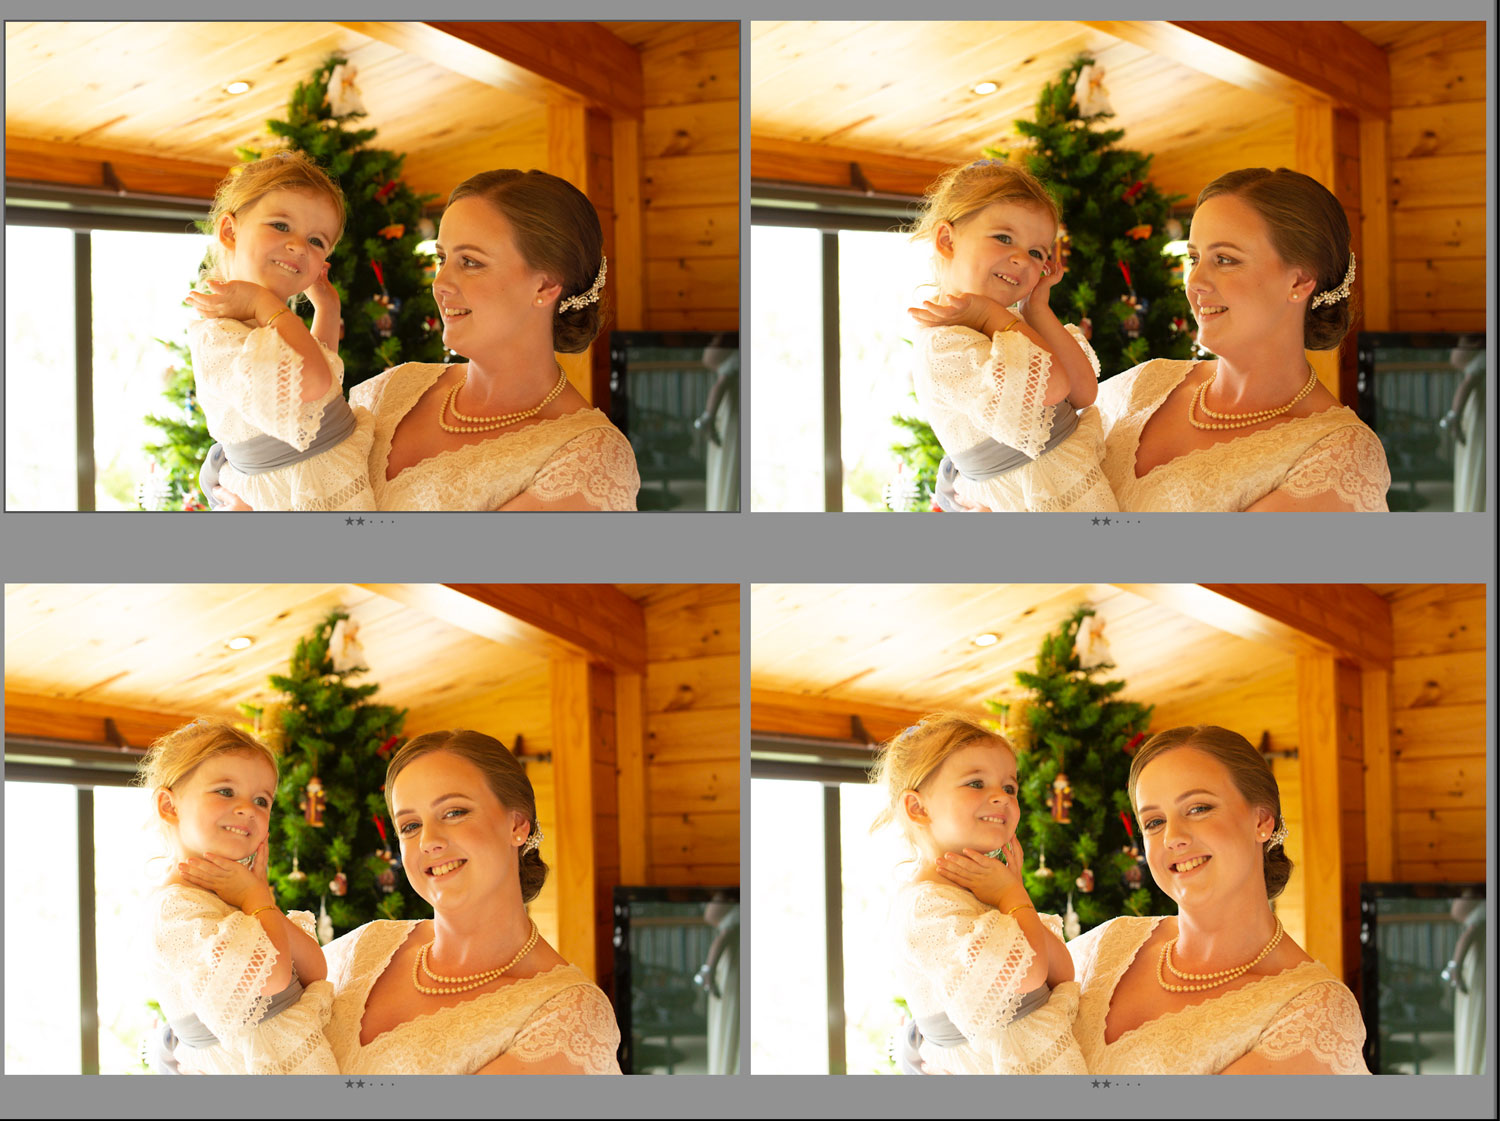
Lightroom has two shortcuts that let you quickly view multiple images. Highlighting two images in the grid and then pressing C will bring them up side by side. Highlight more images and pressing N brings them all up. You can then select each individual image and rate it by simply pressing the appropriate number on the keyboard.
In addition to the keyword filter I was also filtering on “unrated” which gave me a clear indications of the ones that I had not looked at yet.
After all of the images had been rated, I then set the filter to only show those with a 3-star rating. I would then look through how the story flowed and if I felt that an area was light I would go back to a 2-Stars and change the rating on some of them.
Equally if I felt that there were two many images telling the same part of the story then I would downgrade some of them.
This is exactly the same process that I use on any of my model shoots and it has worked well.
