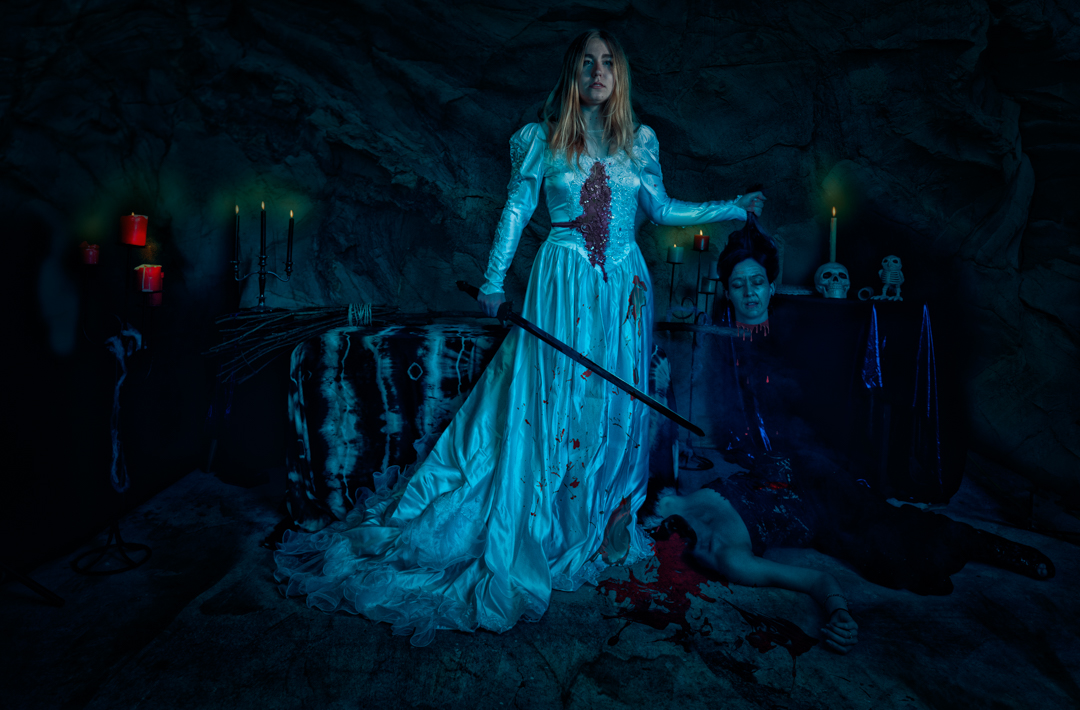
This is the fourth and final post from my 2022 Halloween themed shoot.
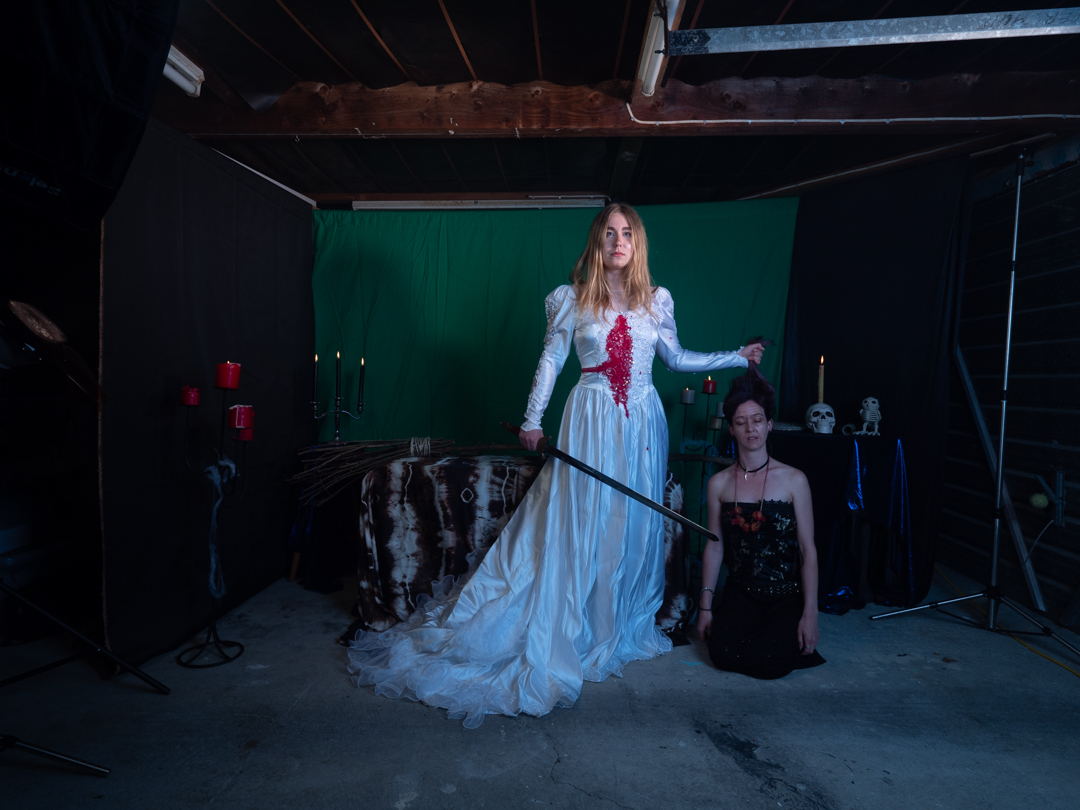
After we had finished outside the other two photographers decided that they had enough images. So we moved back into the studio and I shot on my own.
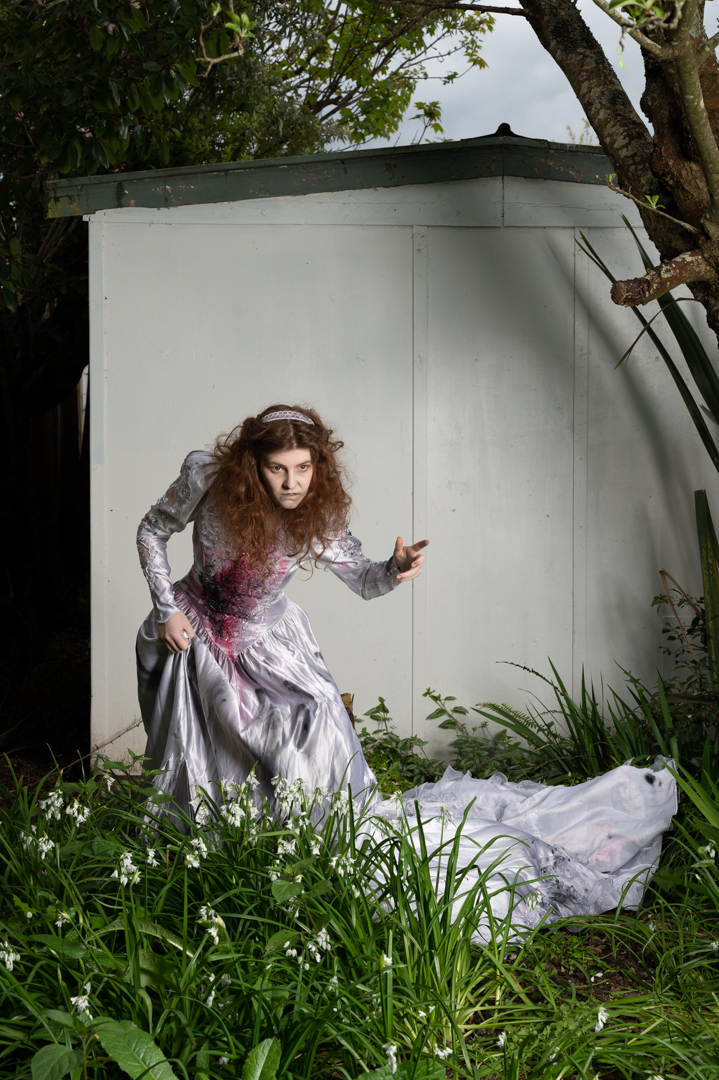
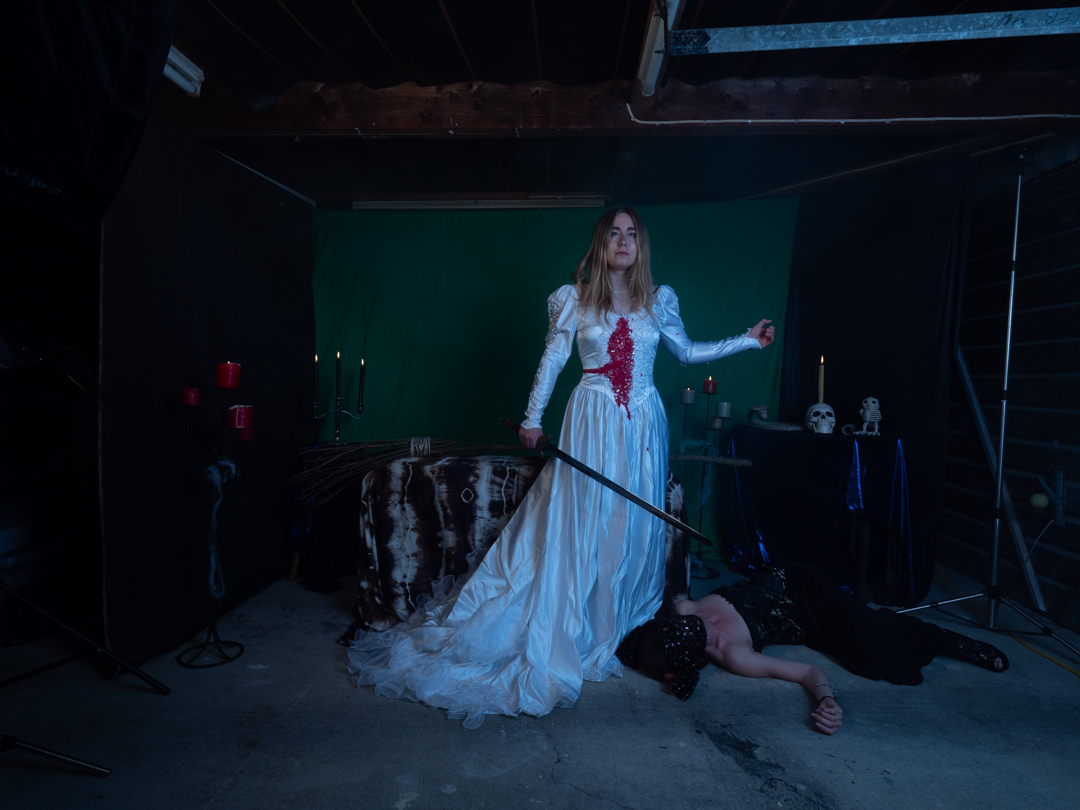
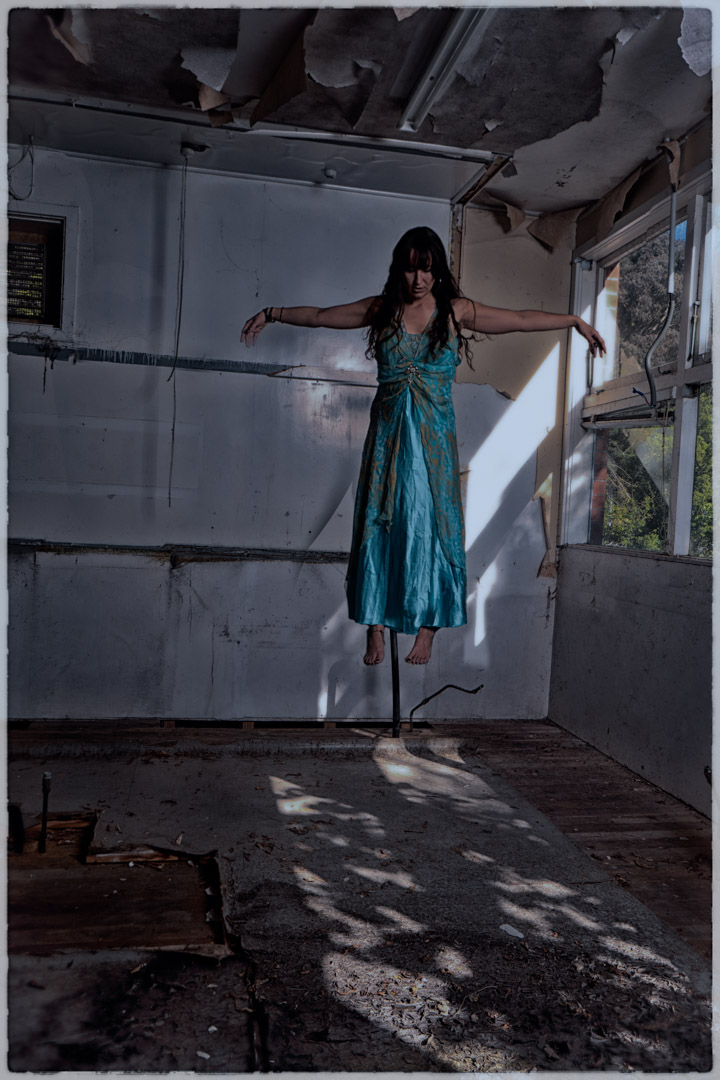
I started taking individual photos and let the models interact as they liked. Devon got right into character again and produced some great images.


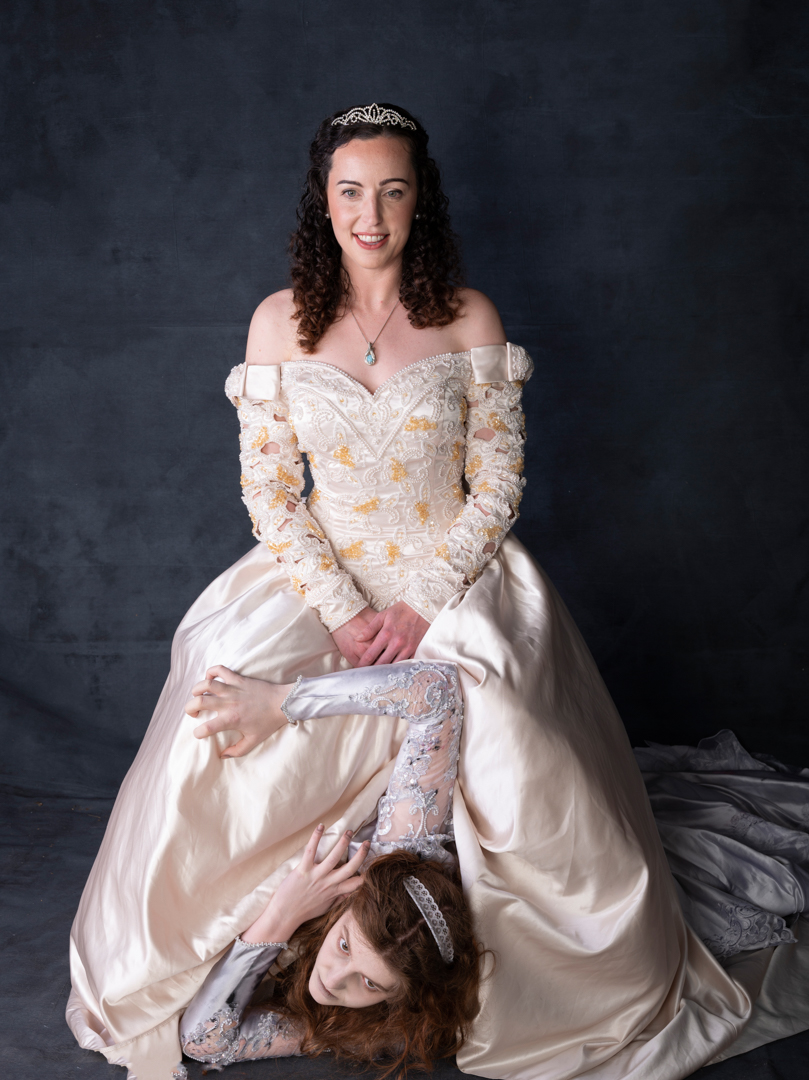
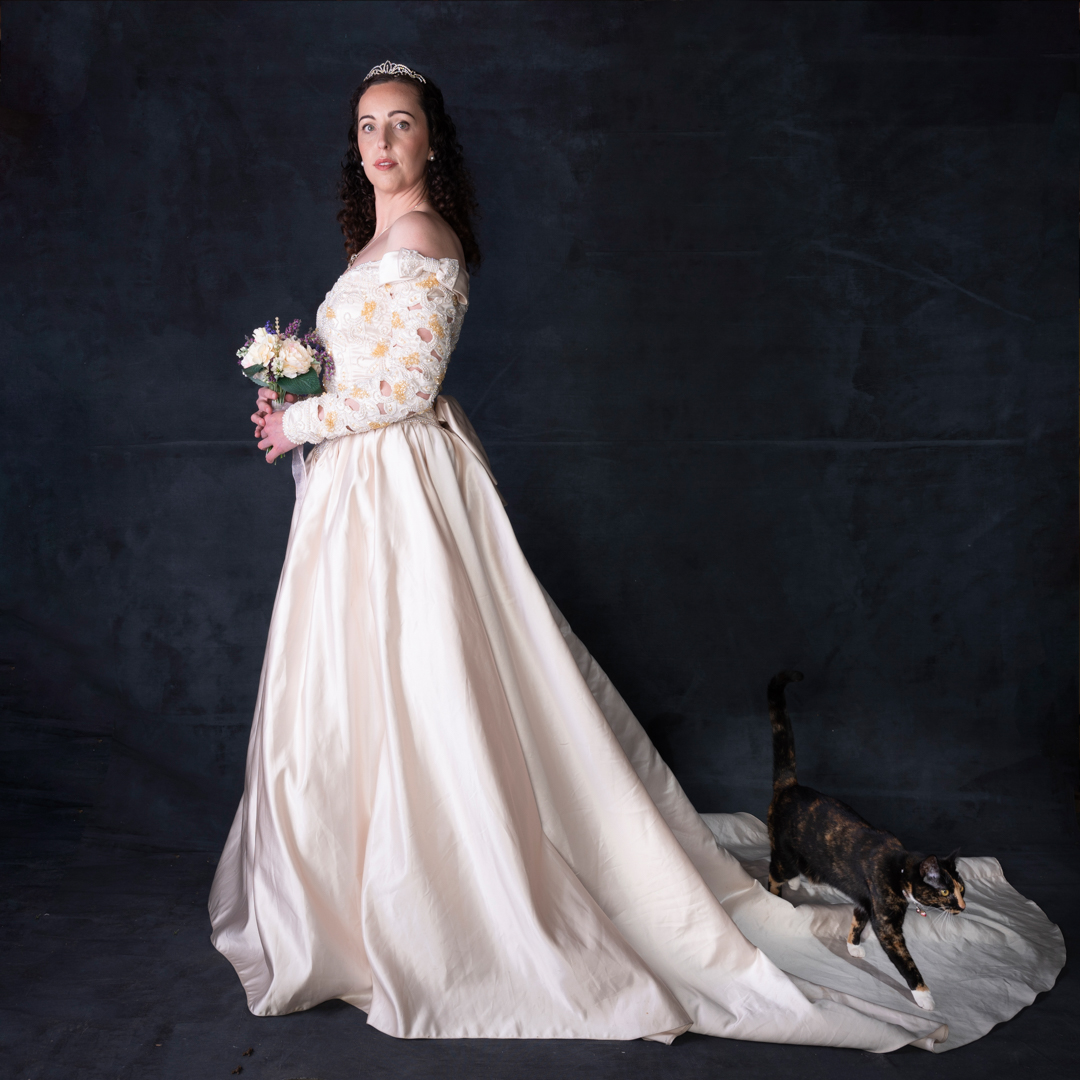
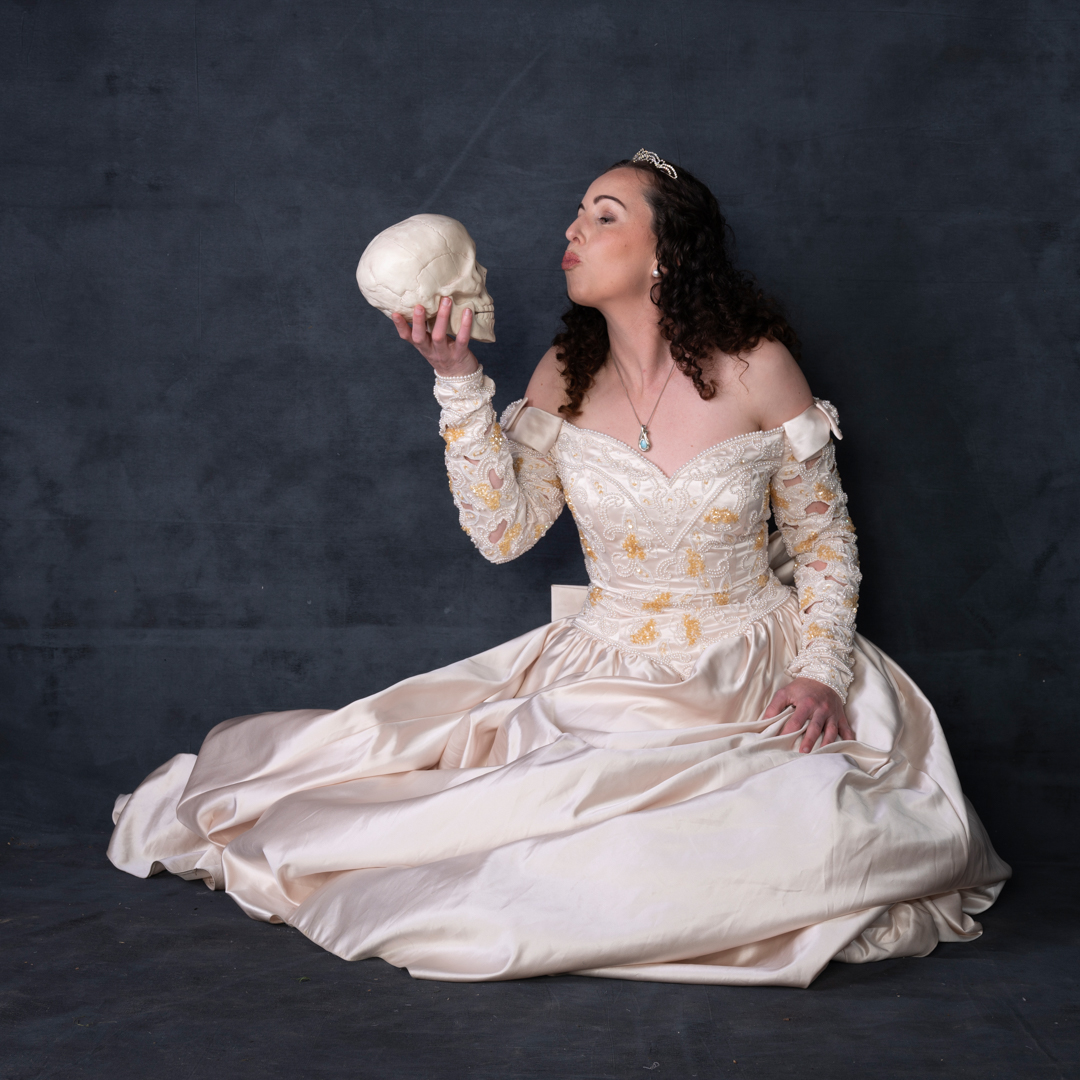
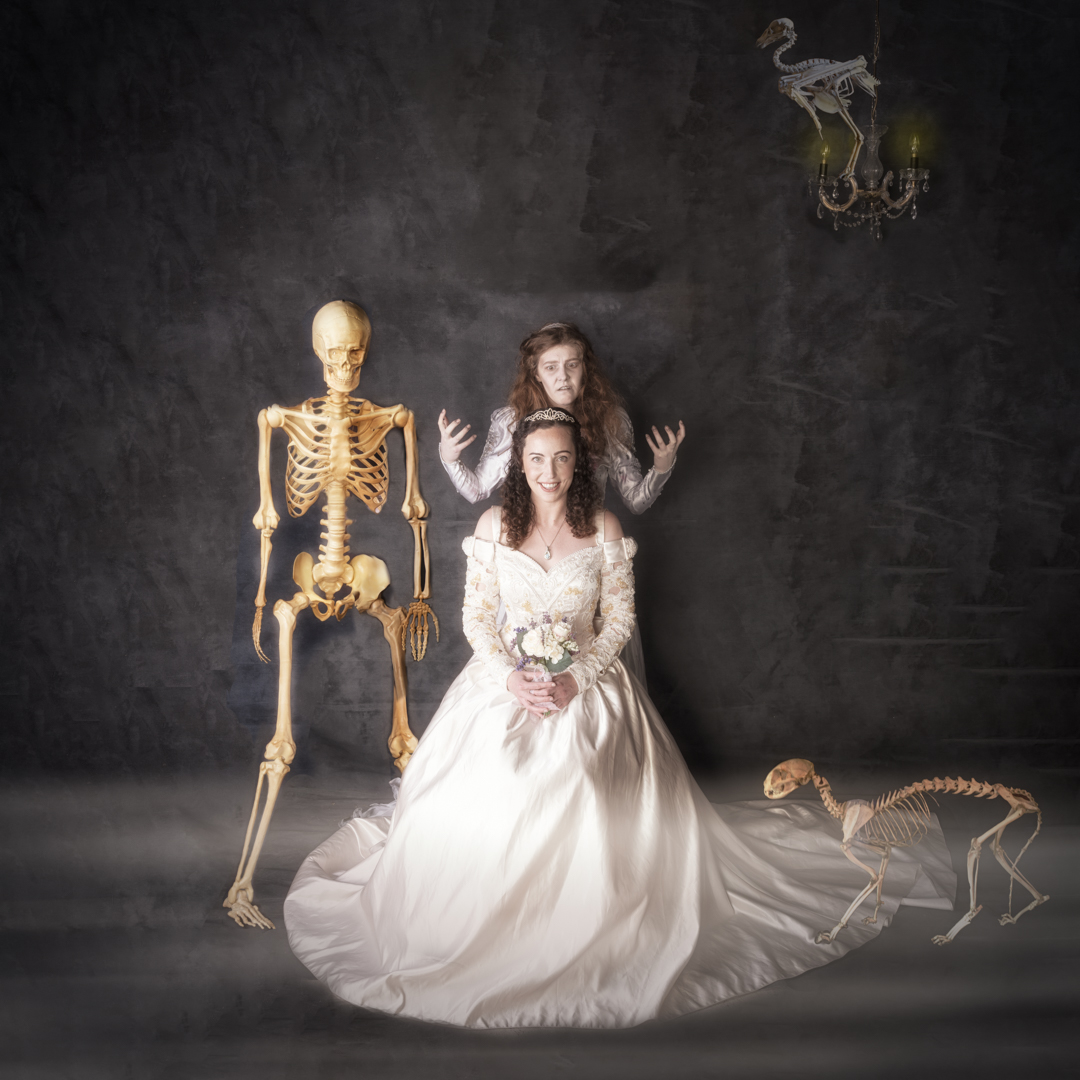
With Katie I suggested that she mentioned we were doing her formal wedding photos. As usual my cat Beanie decided to make an appearance and ensure she got into at least one shot. When then added with the slight edition of a skull.
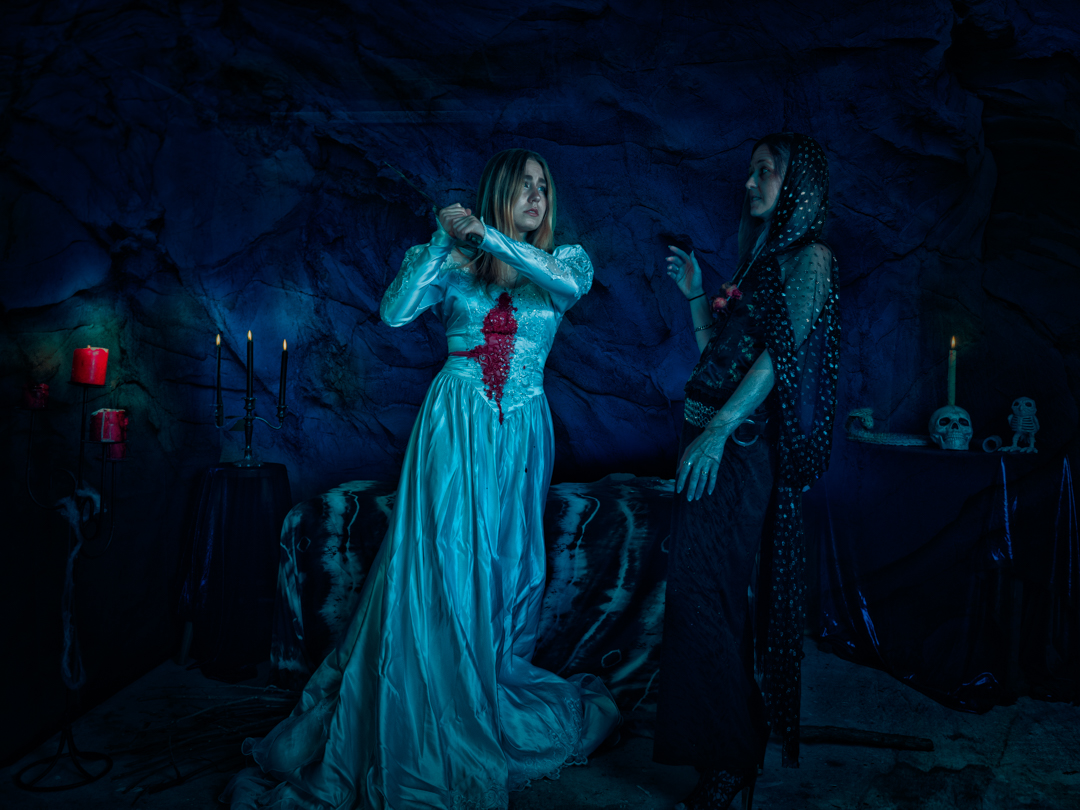
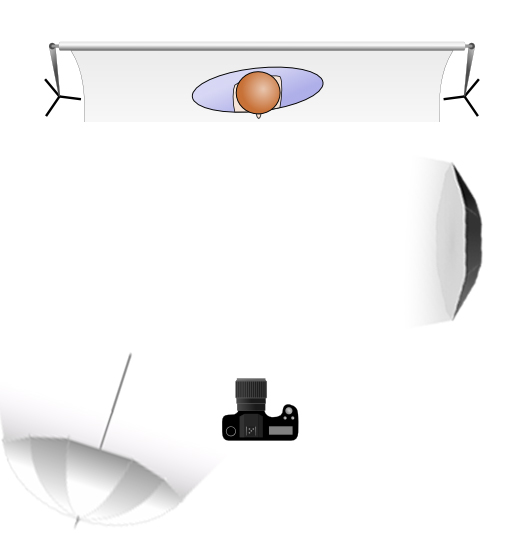
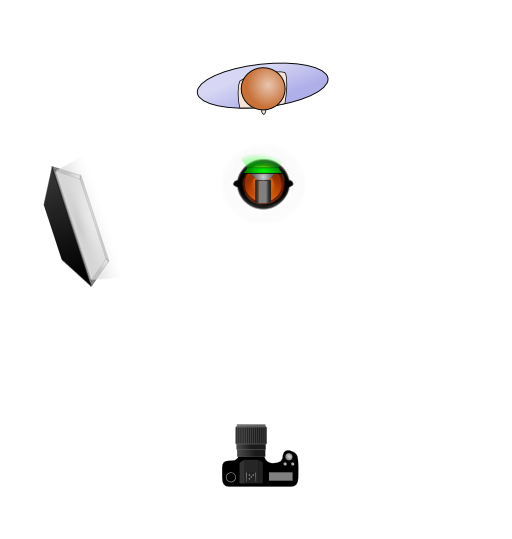
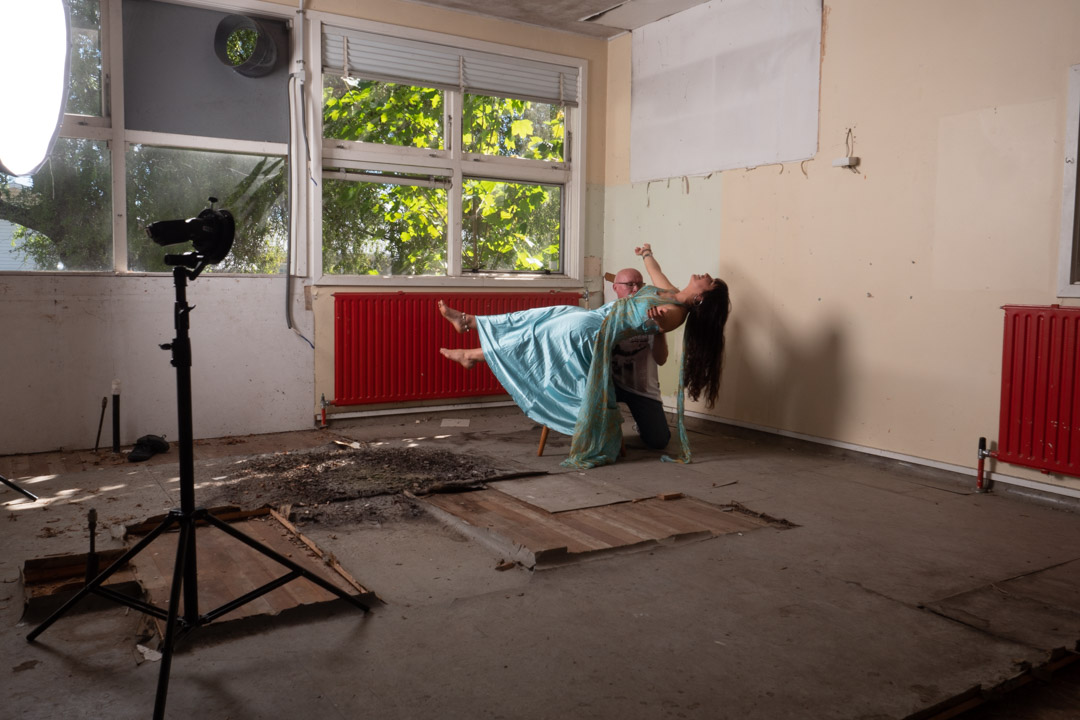
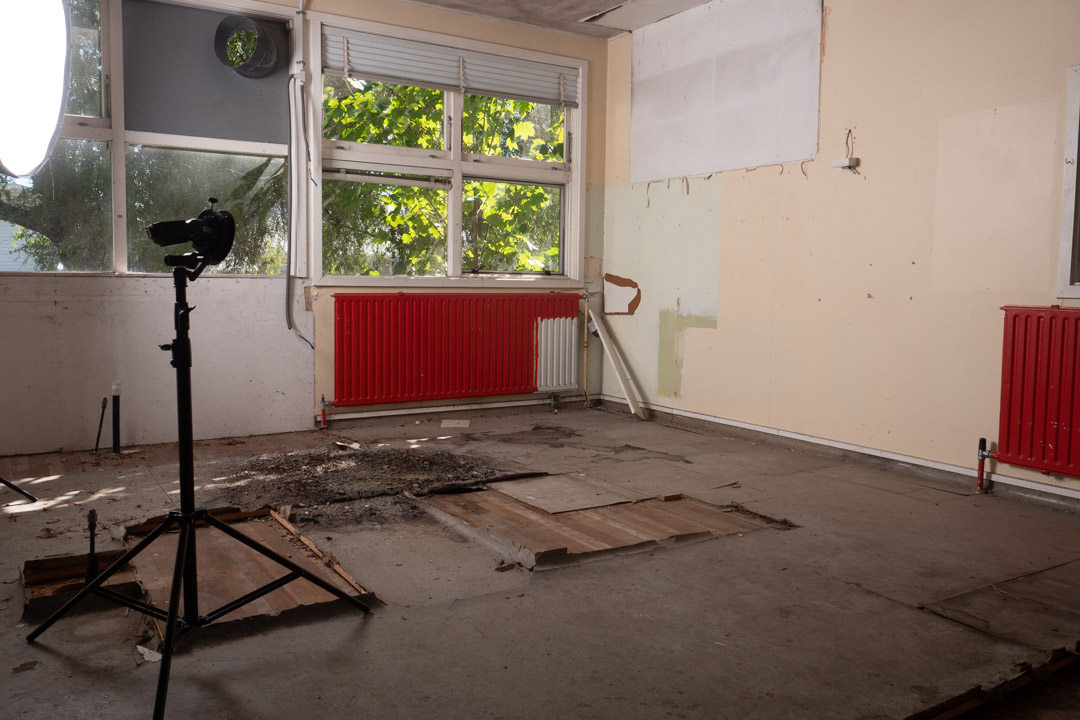
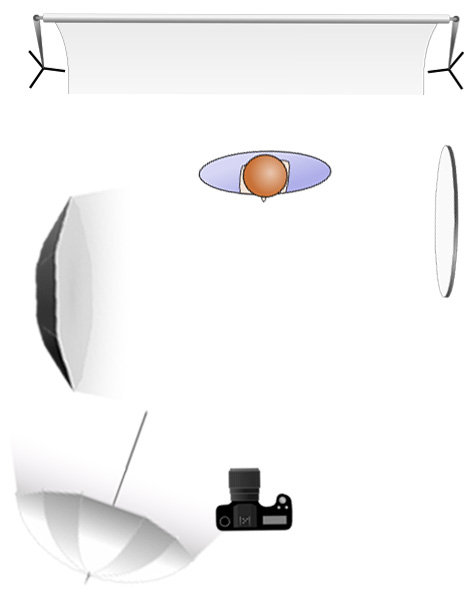
The main light was my Godox AD600 in a 1.5 m octabox positioned at a 90° angle camera left. This provided for in coverage and insured that we got catchlight in the eyes. A reflector camera right provided a bit of fill on that side. At the rear of the room an Elincron D400 fired into a 7″ umbrella with a diffusion panel to further provide fill.
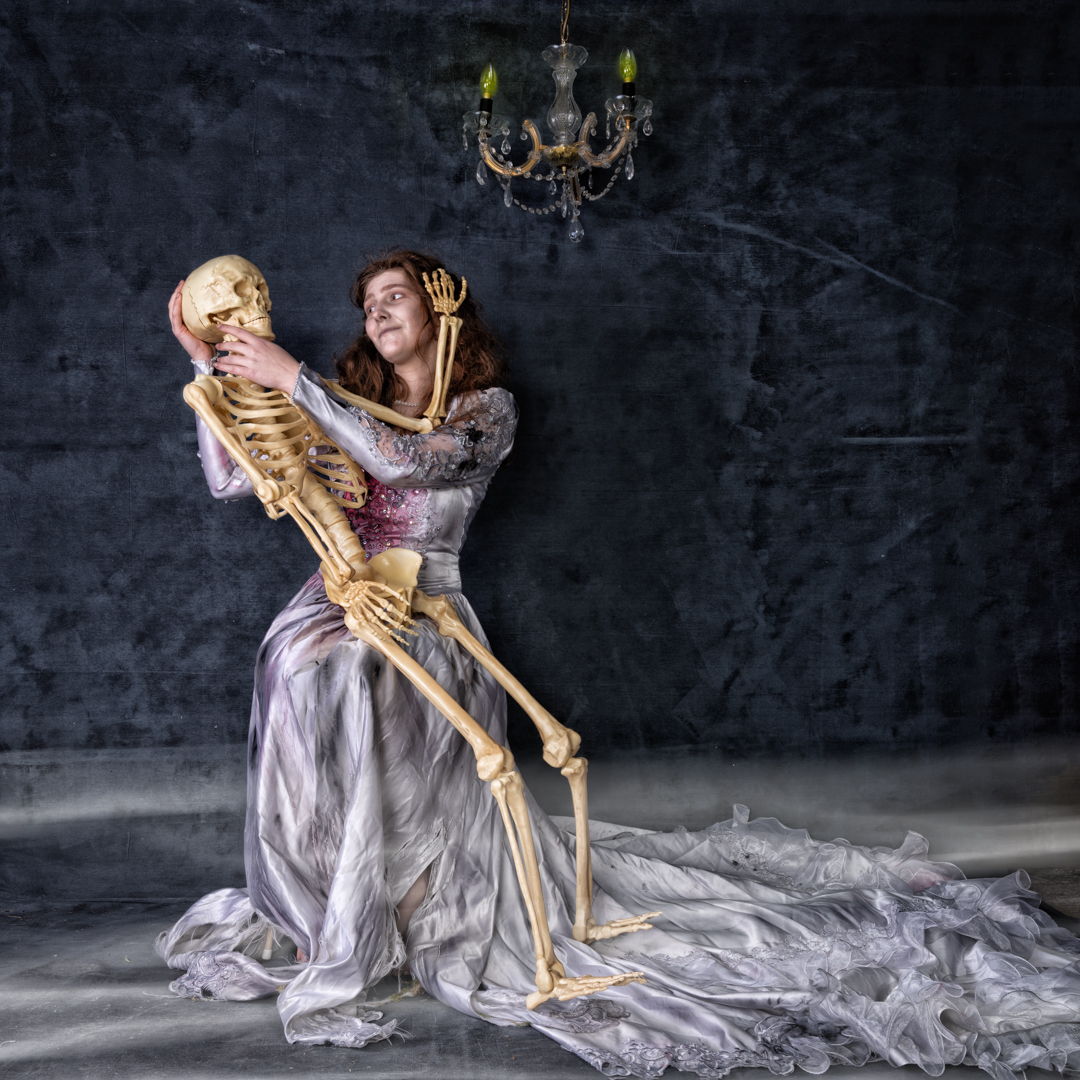
I have bought a almost full size skeleton and so Devon had fun interacting with it.
Yhe month before the shoot I had travelled to Christchurch and spent some time in the Christchurch Museum. In one of the rooms they had animal skeletons on display. I thought these could be useful. So, I took a couple of photos. I then composed them into an image with Devon and Katie. I was quite pleased with the result

All of the images we shot with my Nikon Z6ii camera using a 24 -70 4.0 lens. camera was in manual mode set a 1/200s f8 at ISO100.
In my camera collection I have an old double lens camera . The camera doesn’t work but models seem to find it interesting. Therefore I have used it as a link image by getting them to imagine using it to take a selfie.