Category Archives: studio

Tanisha in the Studio

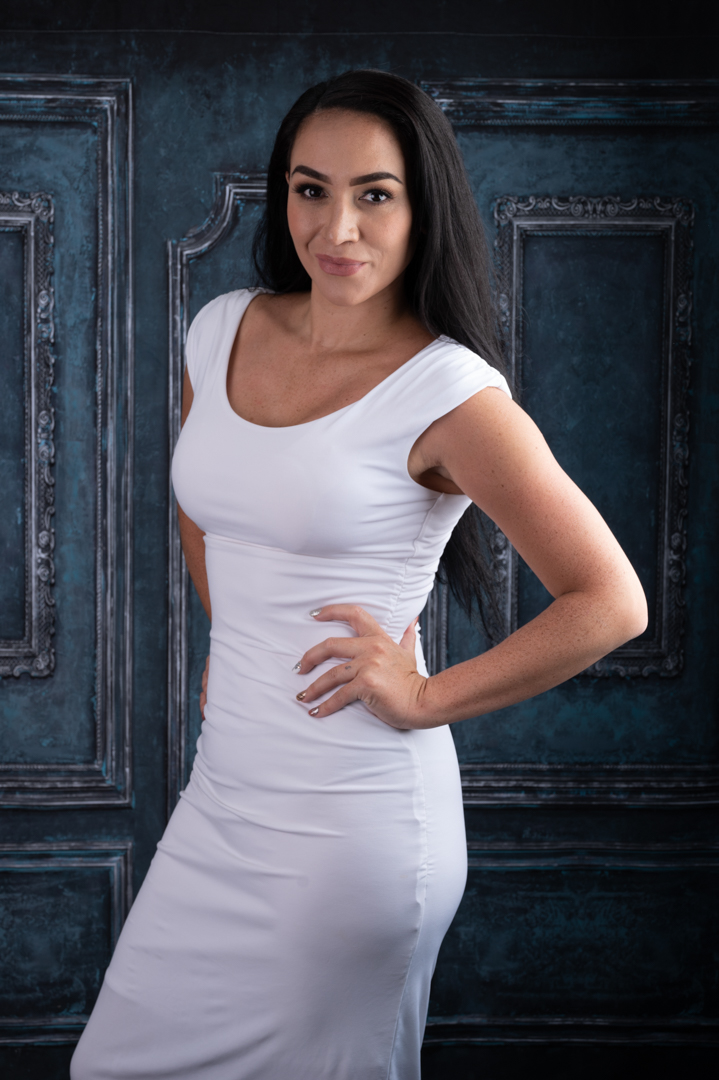
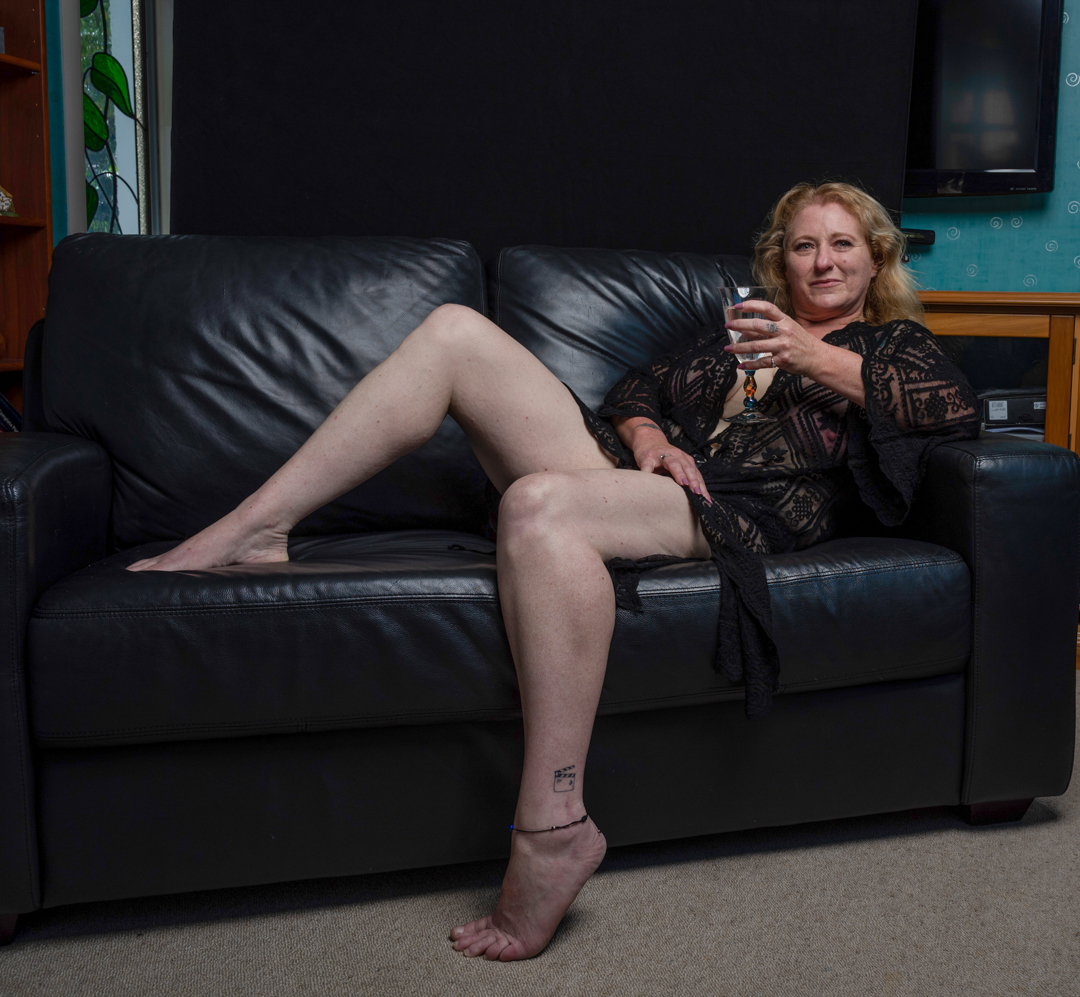
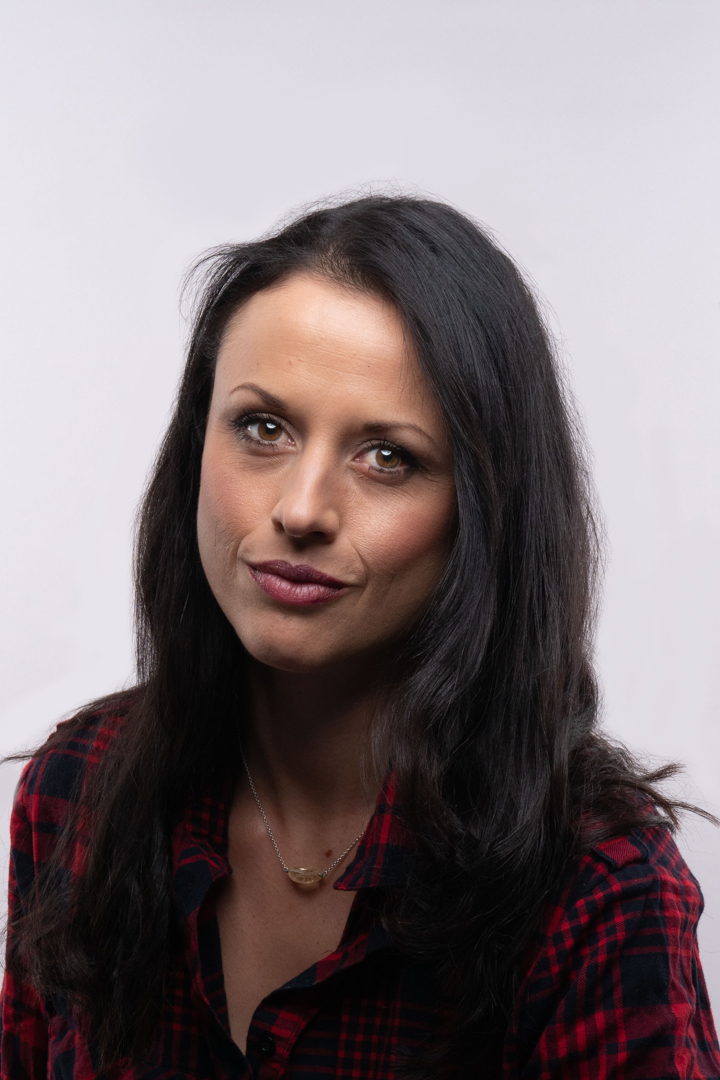
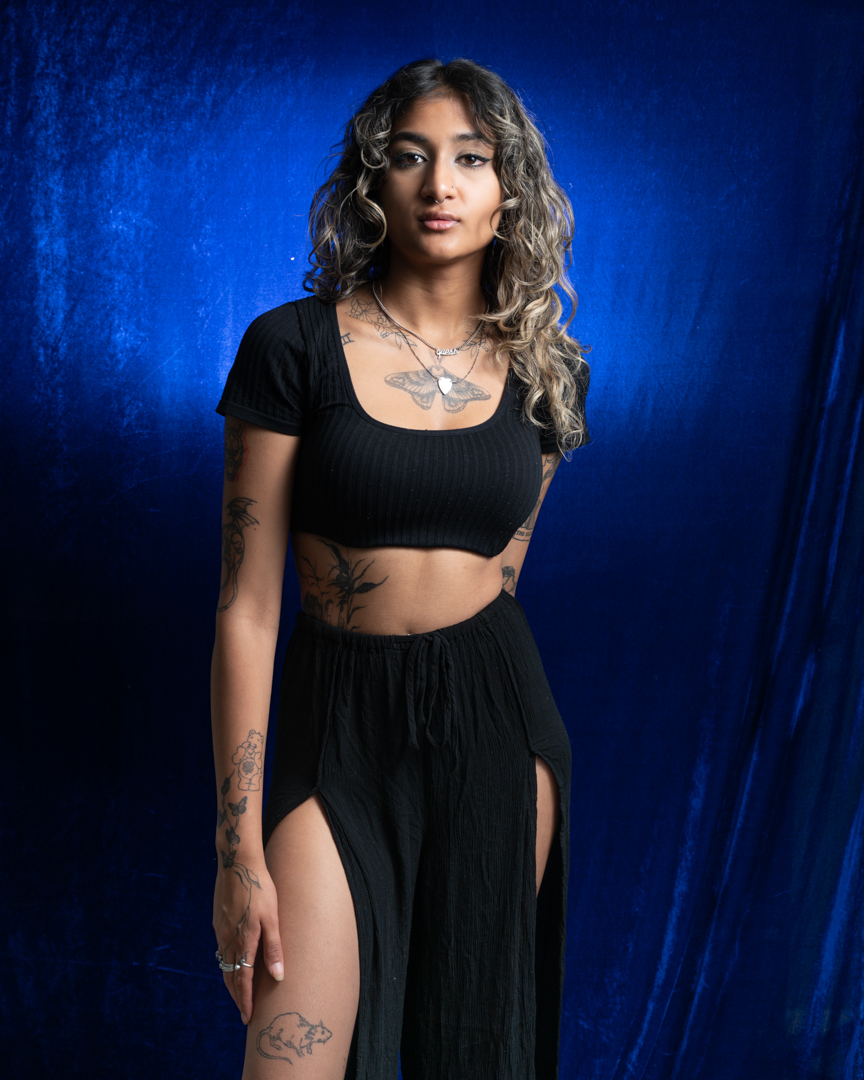
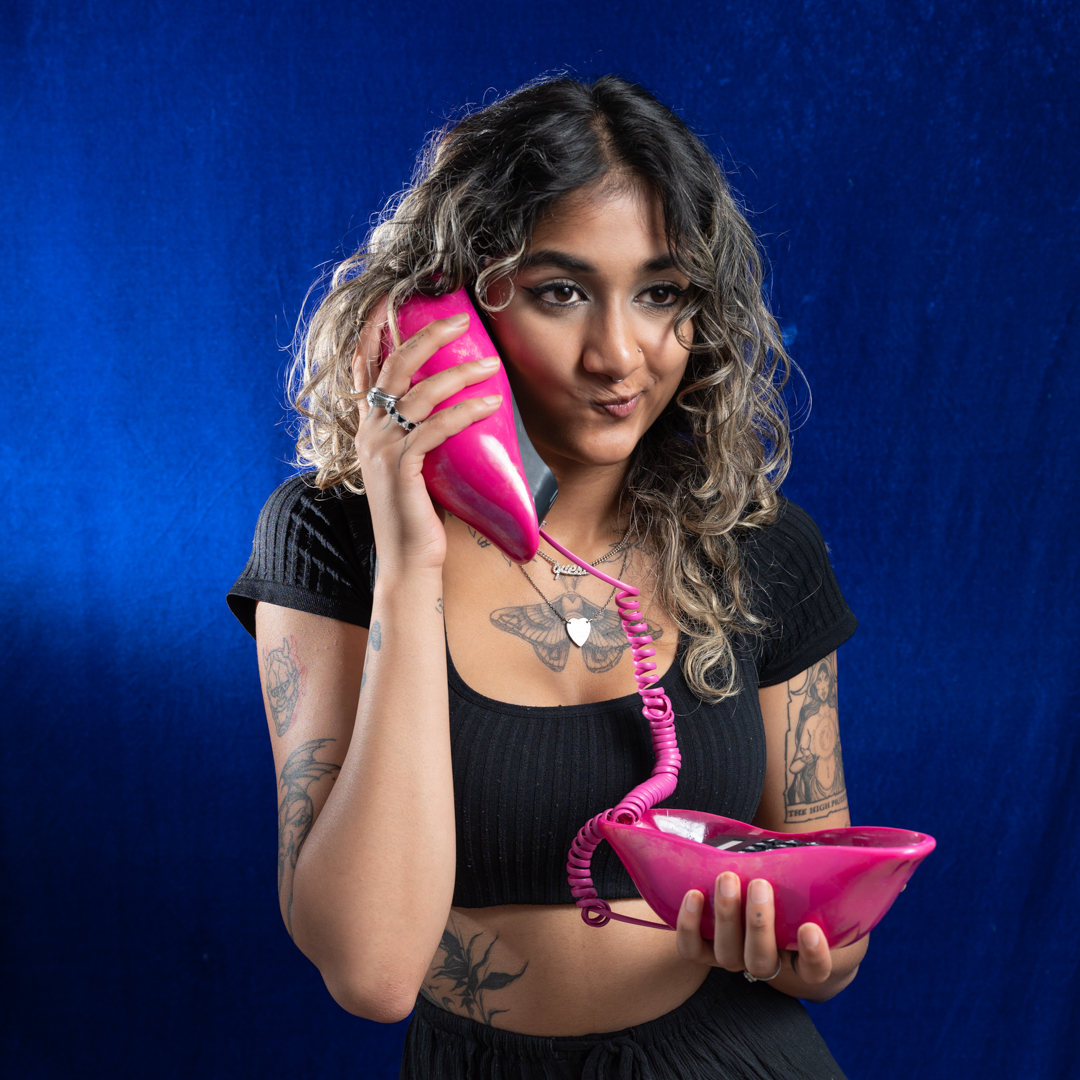
As mentioned in the previous post, my last studio/pool session of the summer was with Tanisha. She was off Indian descent and had a fabulous rich skin colour. I therefore chose a blue satin backdrop as I knew this would look great in the images.

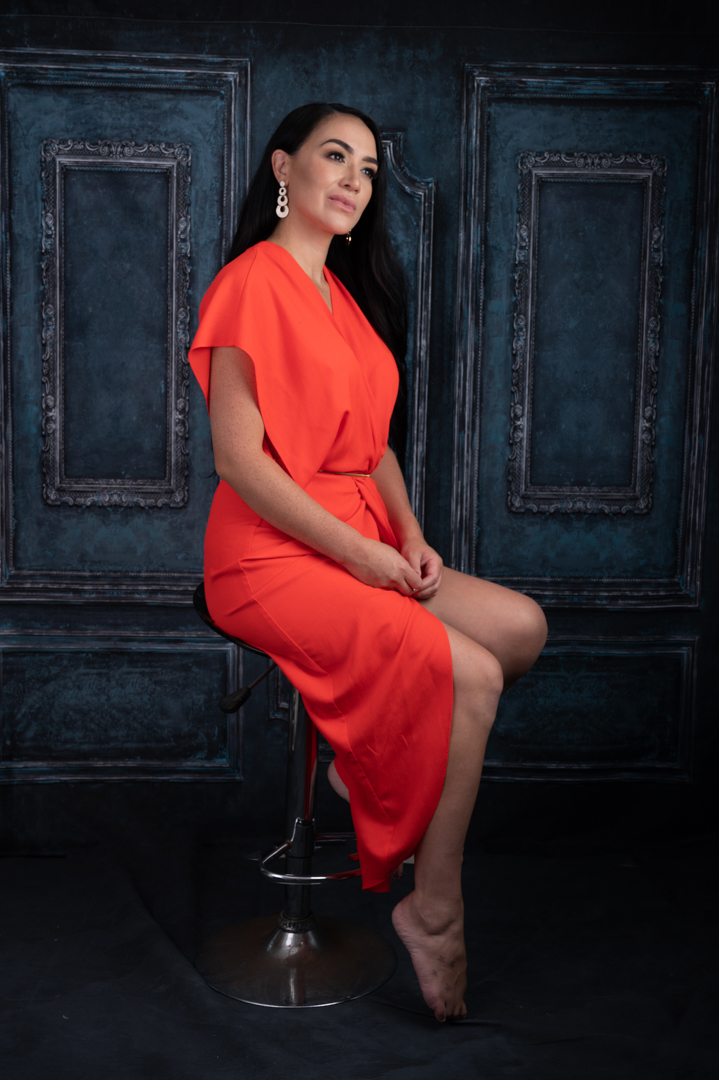
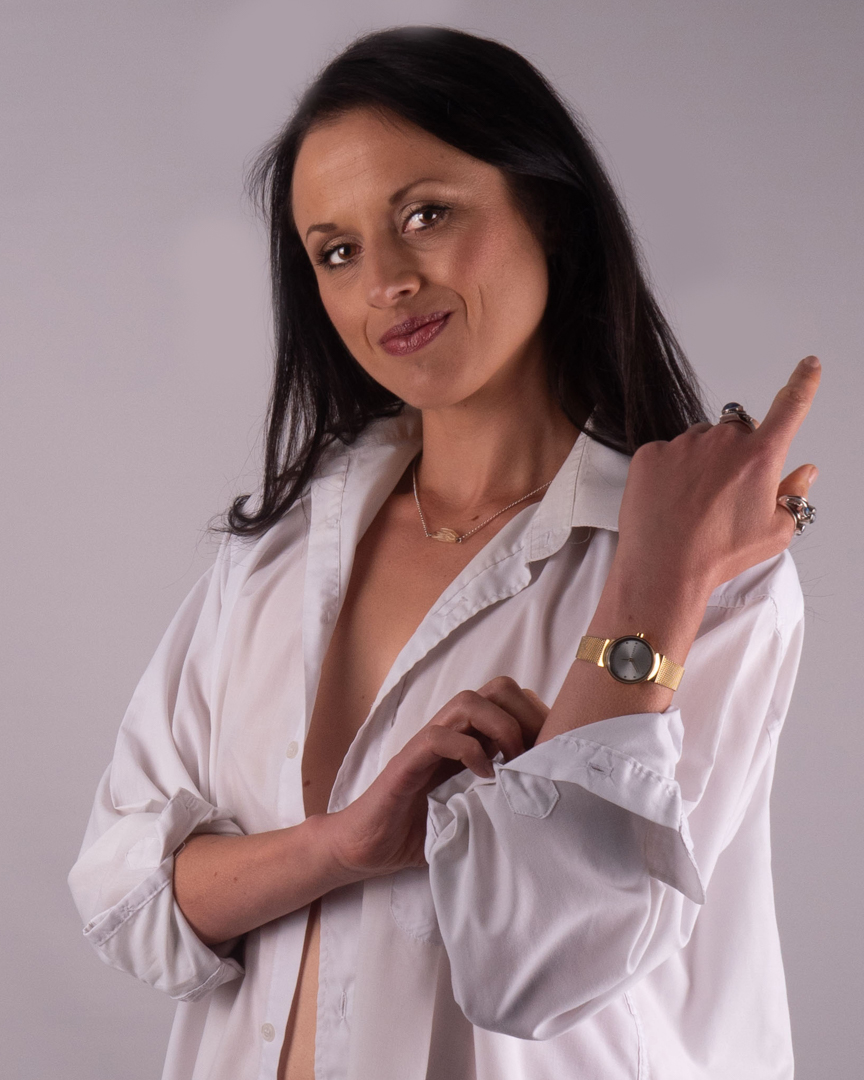
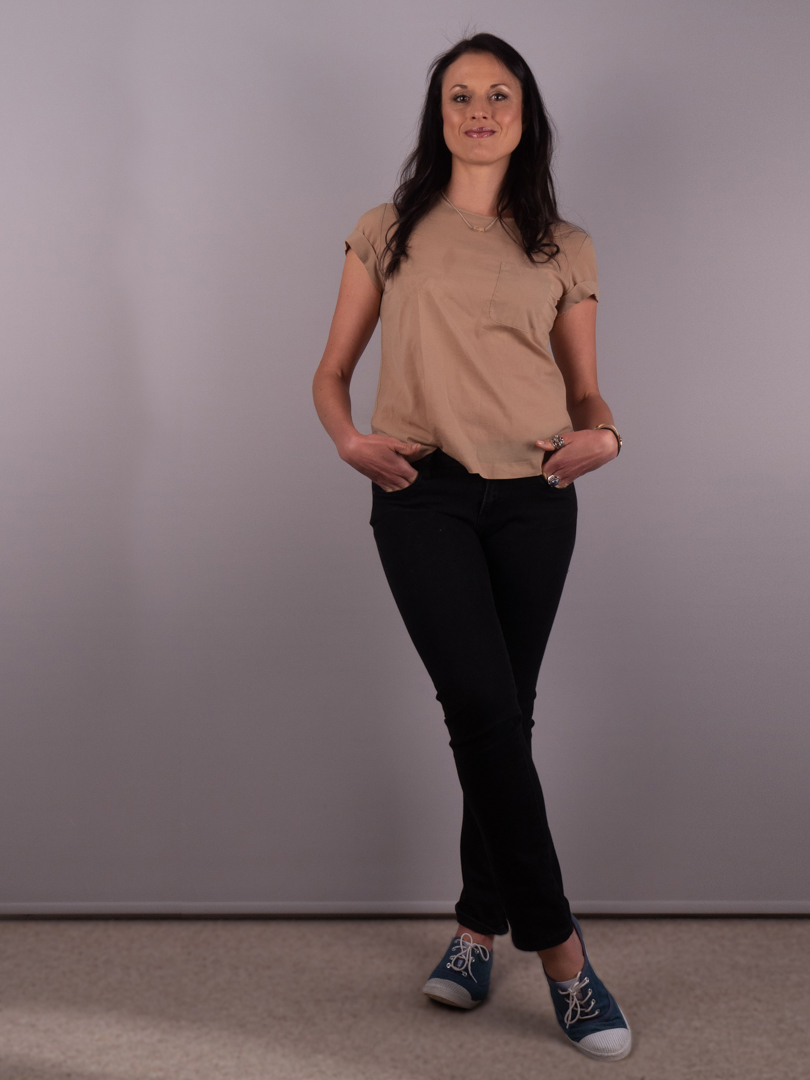
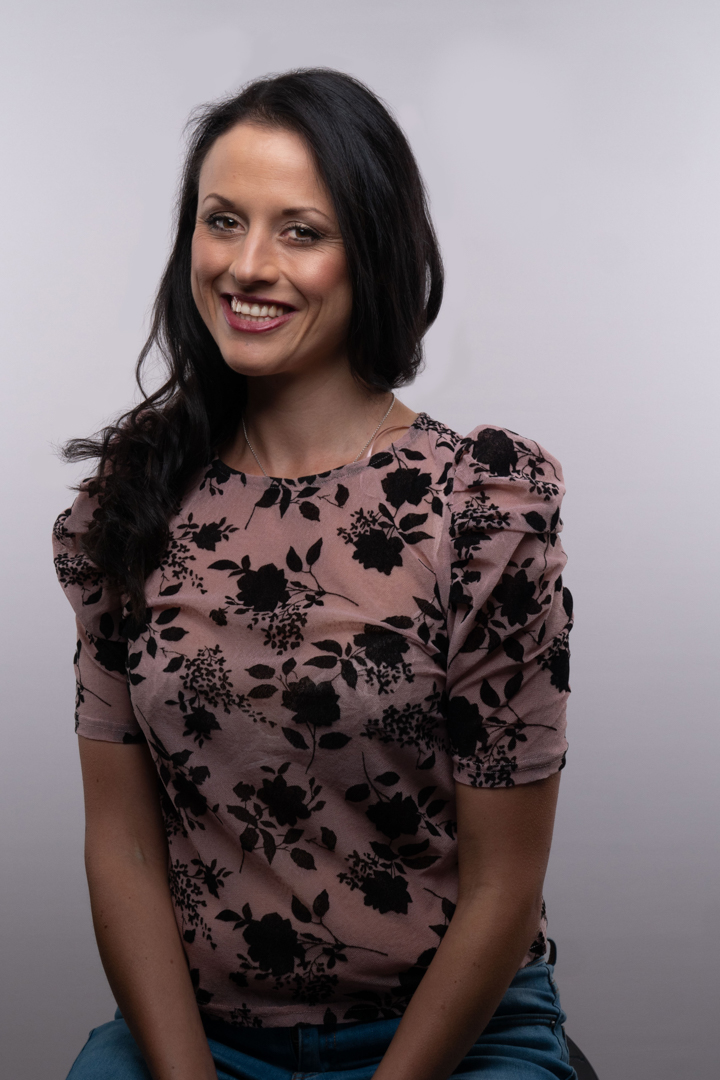
We started in the studio with a range of poses. We also included a couple of outfit changes. This helped her and me get comfortable shooting together. Tanisha was a natural and this process ran extremely smoothly.

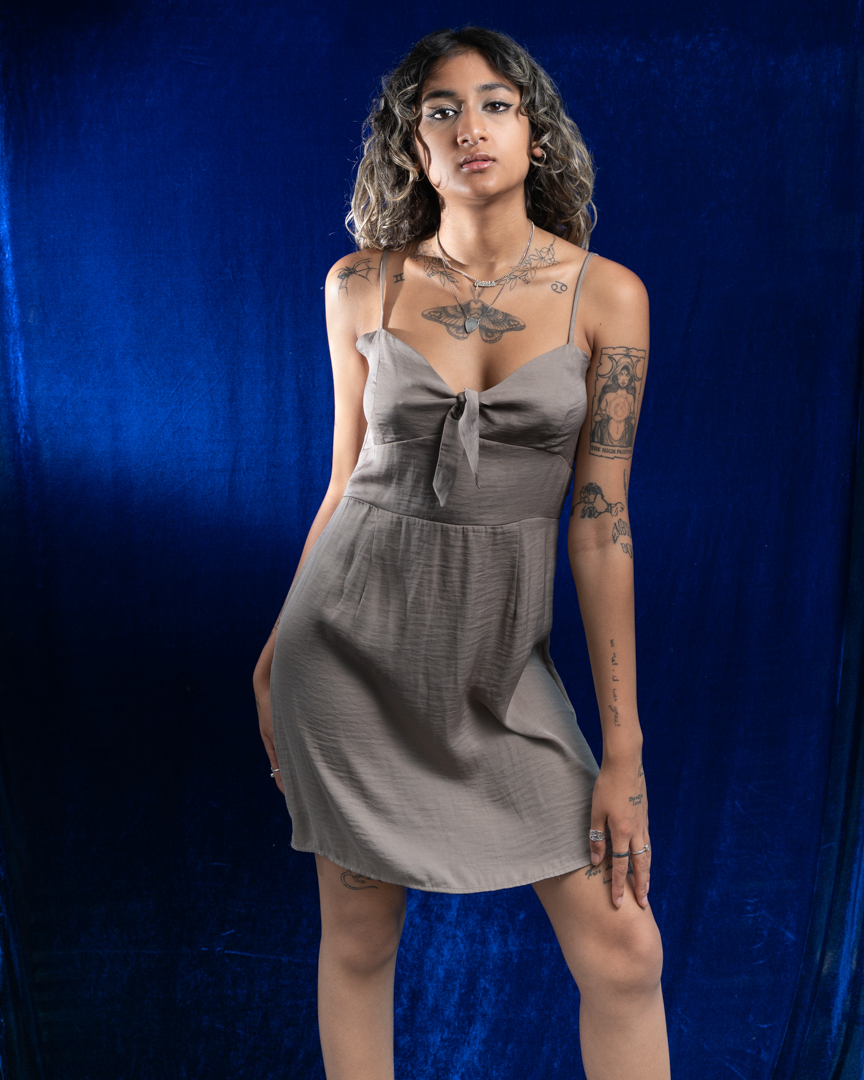
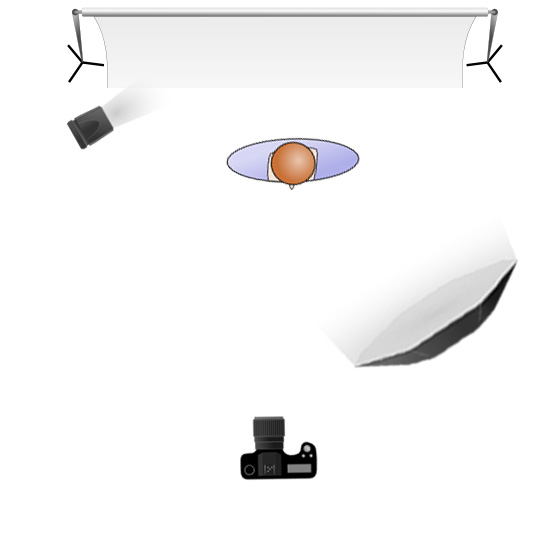
For my lighting I used two lights. My Godox AD300 was the main light which was positioned camera left in a 65cm octabox. My Godox V1 speedlight acted as a second light. It was in a 7 inch reflector and was positioned camera left and aimed at the backdrop. This was simply to provide a little separation and to push the lustre of the backdrop.

I had acquired a very funky phone from an op shop. I thought it was a great opportunity to use that. Tanisha had quite a bit of fun with her and it showed in the images.

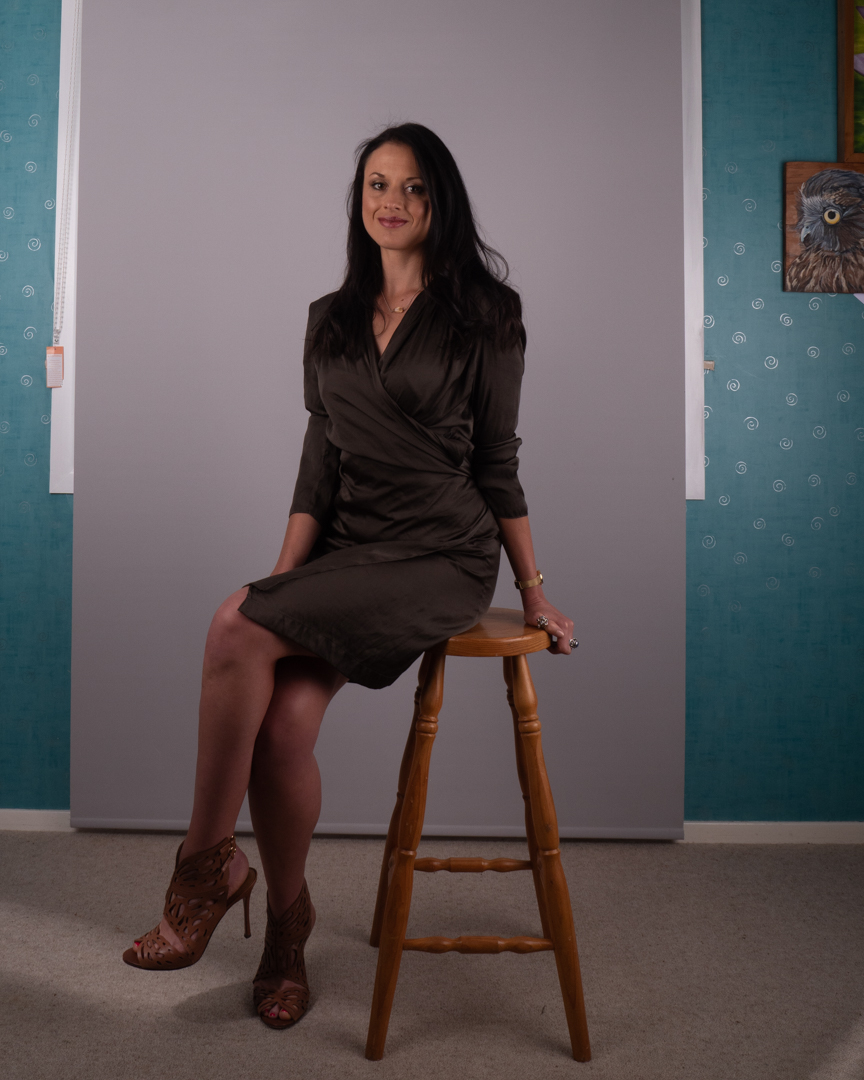
All of the shots were taken on my Nikon Z6ii at f5 1/100s ISO100. These are not my usual settings for studio work. However, they were sufficient to gain full control over the ambient light.

As with other shoots we included the selfie image with the old camera.

We also brought in a silk veil as I knew that Tanisha would rock the lock with her big brown eyes.

I really liked how these images turned out. In the next post we head out to the pool. 

Kaylene Studio Shoot

My second pool shoot of 2023, and the third in the series, was with Kaylene. As before it started in the studio. It had been booked the previous week but the weather conditions that I had faced on that shoot were either worse where Kaylene lives. She drives a Tesla which auto systems did not like driving in low cloud.

For the shoot I was using my Nikon Z6ii tethered into the computer. The settings where F8 1/100s at ISO 100. The settings gave me full control over the ambient light.

The main light was positioned in a large softbox camera right at a 45° angle to Kaylene. A second light was at the rear of the room firing into a 7 foot umbrella fitted with a diffusion panel. This was set at a low power to simply fill in the shadows.

Kaylene was an experienced model so we were only using the studio shoots first is to get her comfortable with me. As such unlike the previous two shoots it only took around 30 minutes.

Kaylene has bought two outfits that we shot with both full lengths and with her sitting on the posing stool. I then grabbed one of the outfits that I had bought previously from thrift shops and we had a bit of fun with it and some other props. 

Kaylene was easy to work with and it was no trouble nailing great images of her. The only issue that needed fixing in practically every shot was an annoying gap at the bottom of the backdrop and the floor. I had ordered the backdrop at what I thought was an adequate size. As it turned out they had included the area that was rolled over in the size in the printed size so the usable surface was about 10cm short.

We finished the shoot with an image for the selfie series.

Camila Studio Shoot

My first shoot of 2023 was the second in the pool series with Camila as the model. As before it started in the studio.

I have mentioned previously that we do the studio shoots first to get the model comfortable with me. This makes for better images when we get to the pool. It also gives the model more variety of images that they can use.

For the studio shoots I was using my Nikon Z6ii tethered into the computer. The settings where f8 1/125s at ISO 100. The settings gave me full control over the ambient light.

I set up one of my printed backgrounds to provide a more interesting look. The main light was positioned in a large softbox camera right at a 90° angle to Camila. A second light was in a 7 inch reflector providing a hairlight.

Camila was more comfortable shooting so we worked fairly quickly through a series of poses and costume changes.

She had asked if she could bring her boyfriend with her for support. I was more than happy to agree to this. I find that anything that increases the comfort of the model improves the shoot. 

I always say this. If somebody comes to a shoot, they have to be prepared to be in front of the Camera. Therefore we included him in a number of images so that they had something to take away.

I finished the shoot getting them involved in selfie series.

We ended up shooting in the studio for nearly an hour. Then we decided it was time to head out to the pool.

Shirley Studio Shoot

Anyone who has looked back over this blog will know that I like to use to water in shoots. I had shot a number of occasions using a blow up pool. While I got the results I was after they did present a number of issues. After the success of the reflecting pool I realised that I had the materials to build my own pool. And that is what I did. 

I posted on Facebook for any models interested in a water shoot. I got a reasonably good response. As a result, four shots were set up. In the past, I discovered the best pool shots capture the model wearing very little. The model is covered with fabric which they can drape to hide or reveal. This does mean that the model has to be comfortable shooting in such a way.

So with all of the models I had not shot before, I started with a studio session. The purpose of this was to get them comfortable shooting with me. If they were happy to wear very little in the pool then during the session we move from them wearing less and less.

The first model who answered my call was Shirley. She was initially reluctant as she thought that she was too old to be a model. I assured her that it would not be an issue.

For the studio, I didn’t want to make it too complicated. I also wanted to avoid off-putting her. So, I used a single light positioned camera right. I decided not to set up a full rig. Instead, I used my Westcott X-Frame backdrop. This worked really well. I could even use it for full length shots.

After some initial hesitation we got into the rhythm of the shooting went through the series of outfits. By the end of the session, she was comfortable. We finished the indoor shoot with her reclining on the couch. She wore a sheer black outfit.

All of the shots were taken on my Nikon Z6ii at 1/123s f8 ISO100. The focal lengths were between 37mm and 50mm depending on how full length I wanted to go. 

Melissa – White Shirt

While I have suitcases full of prop clothing, one piece that all models seem to have fun with is a simple white shirt. It is quite a versatile item depending on how it is worn.

The image above was shot when we doing the headshot series and involved a Octobox positioned above the camera and two strip-boxes positioned behind Melissa to light the background.

In hhe rest of the images the two strip boxes were brought forward and angled so that they lit Melissa. Both were metered at the same output so the light would be even.

As I have found on many occasions simply letting the model play with the shirt produces the best results.

It is rarely buttoned up which means they can also determine how much skin they wish to show.

Props are also very useful in terms of providing something for the model to interact with. In this case it was pair of my old glasses.

Melissa – Casting images

The second series of images that we shot with Melissa in the studio were aimed to be used for casting rolls therefore they were more full body than the head shots.

For these images the two strip boxes that had been lighting in the background in the headshot images were brought forward and angled so that they lit Melissa. Both were metered at the same output so the light would be even.

One of the reason that I like shooting in studio is that I can have full control over the light. I typically shoot at f8 or f9 and 1/200 s. This provides me with plenty of depth of field but more importantly is normally sufficient to eliminate all of the ambient light in the room.

As with the headshots Melissa had brought a variety of outfits that enabled us to have diversity in the images.

We even utilised the stool to provide something different. This shot ended up not being used hence it has not been cropped down.

Melissa Headshots

A couple of weeks after our previous shoot I arranged with Melissa to shoot some head shots and images that she could use to promote herself as she is a professional actress.

She came out to my studio and we set up a relatively simple lighting arrangement consisting of an octobox positioned above the camera into strip boxes aimed to light the background. The position of the main light is referred to a butterfly lighting due to the shadow cast under the nose.

Melissa was position on a stool which made everything simple in terms of maintain consistent lighting. In order to give her different options she had come with a variety of outfits.

As with most studio shoots I shot tethered into the computer which meant that at the end of the shoot Melissa was able to select the images that she liked. Tethering is a great tool as it lets you see the images much larger than on the back of the camera, the model can see them as they are being shot to make changes to poses. Plus it really speeds up the process of editing. At the end of the session I get the model to pick their favourites so that I don’t waste time editing images that they will not like.