Category Archives: Restoring

Capturing old slides

Fiji 1976

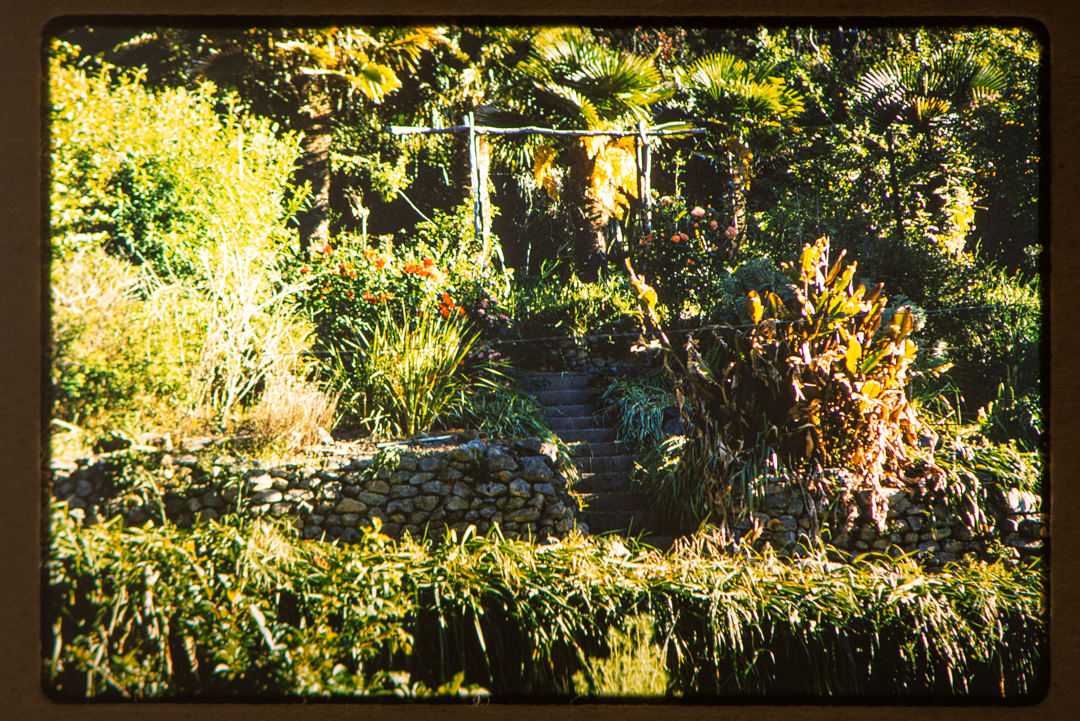
Amongst the mini positions that my wife inherited from her parents with several boxes of slides. She asked me if it was possible to digitise them so that we could save them on the computer and also show other family members without the need of getting out a projector which we did not have.

Egmont

They are commercial outfits that will do this process but it is quite expensive and equally there is gear that you can buy that will enable you to use a camera. I decided to see if I could achieve the same result.

Masterton

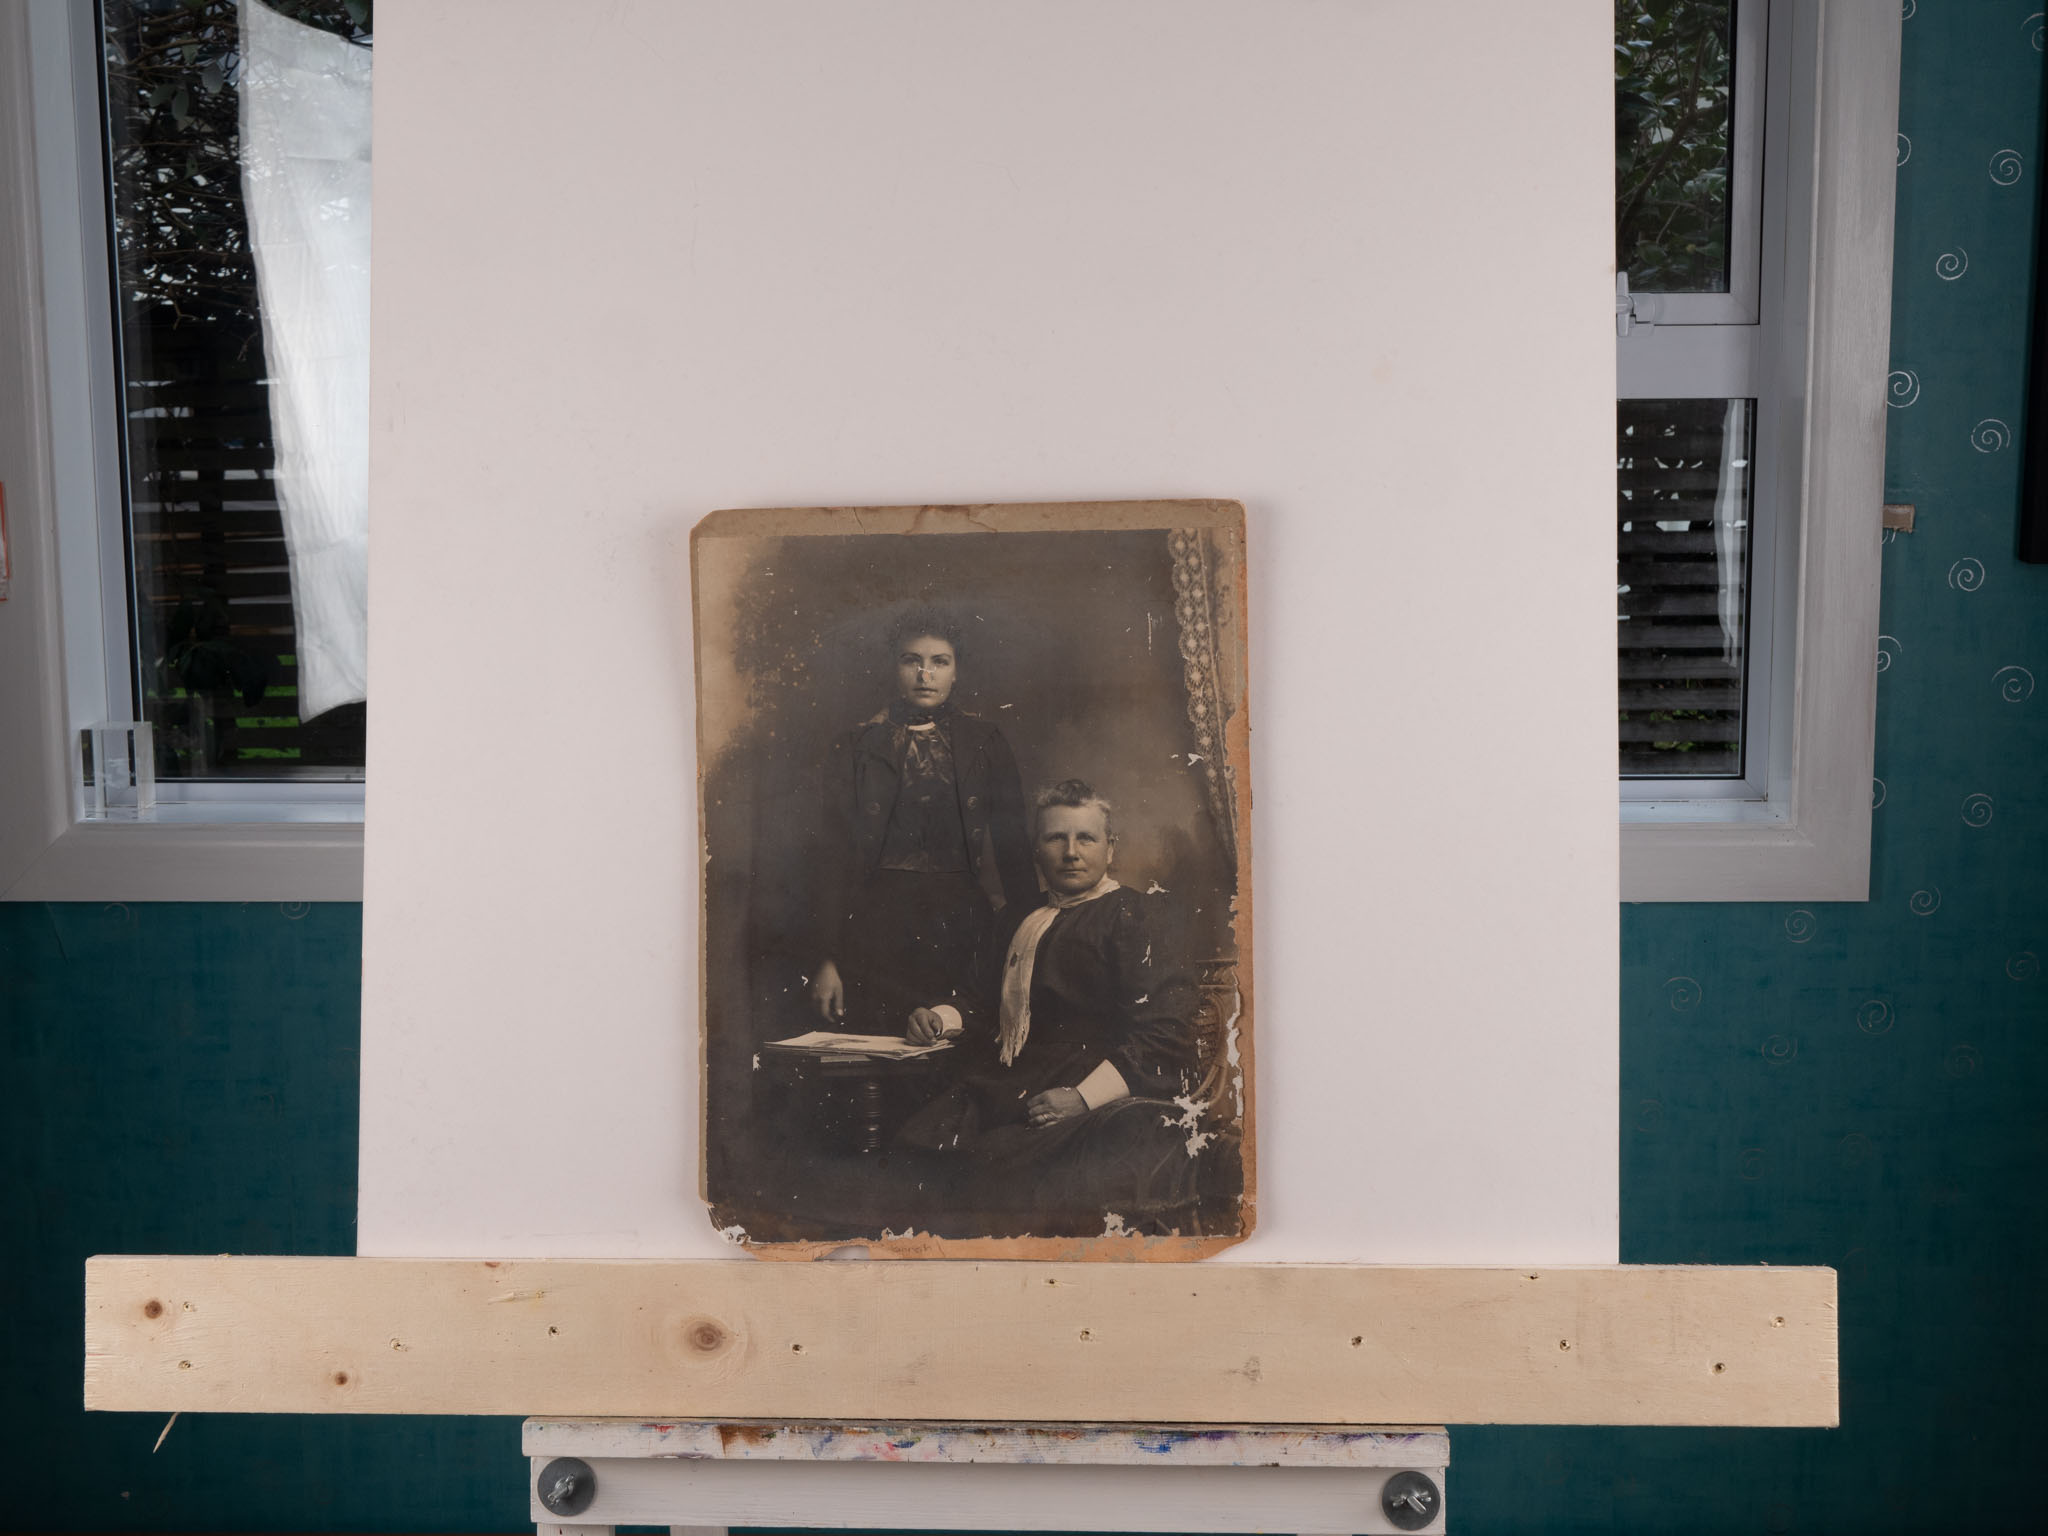
Using the table that I had built for the dressmaker series I mounted a LED light below it and created a paper frame on which to place the slides. The camera was mounted above using the arm of my tripod. It was fitted with a 105mm macro lens.

Focusing on a flat surface is very tricky and with the incredibly shallow depth of field on the 105mm macro any movement in the camera created issues. I was using live view on the back of the camera zoomed in to enable me to focus but even there is was not easy. In order to minimise movement further I was using a cable release to fire the camera.

Vicky New,

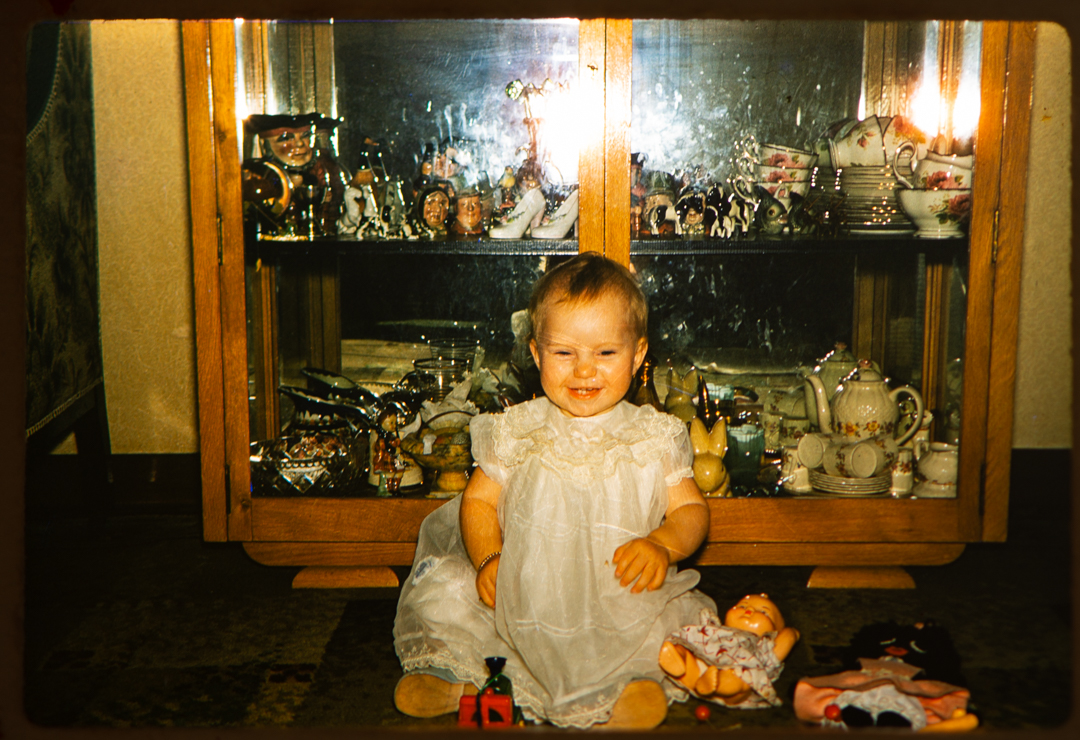
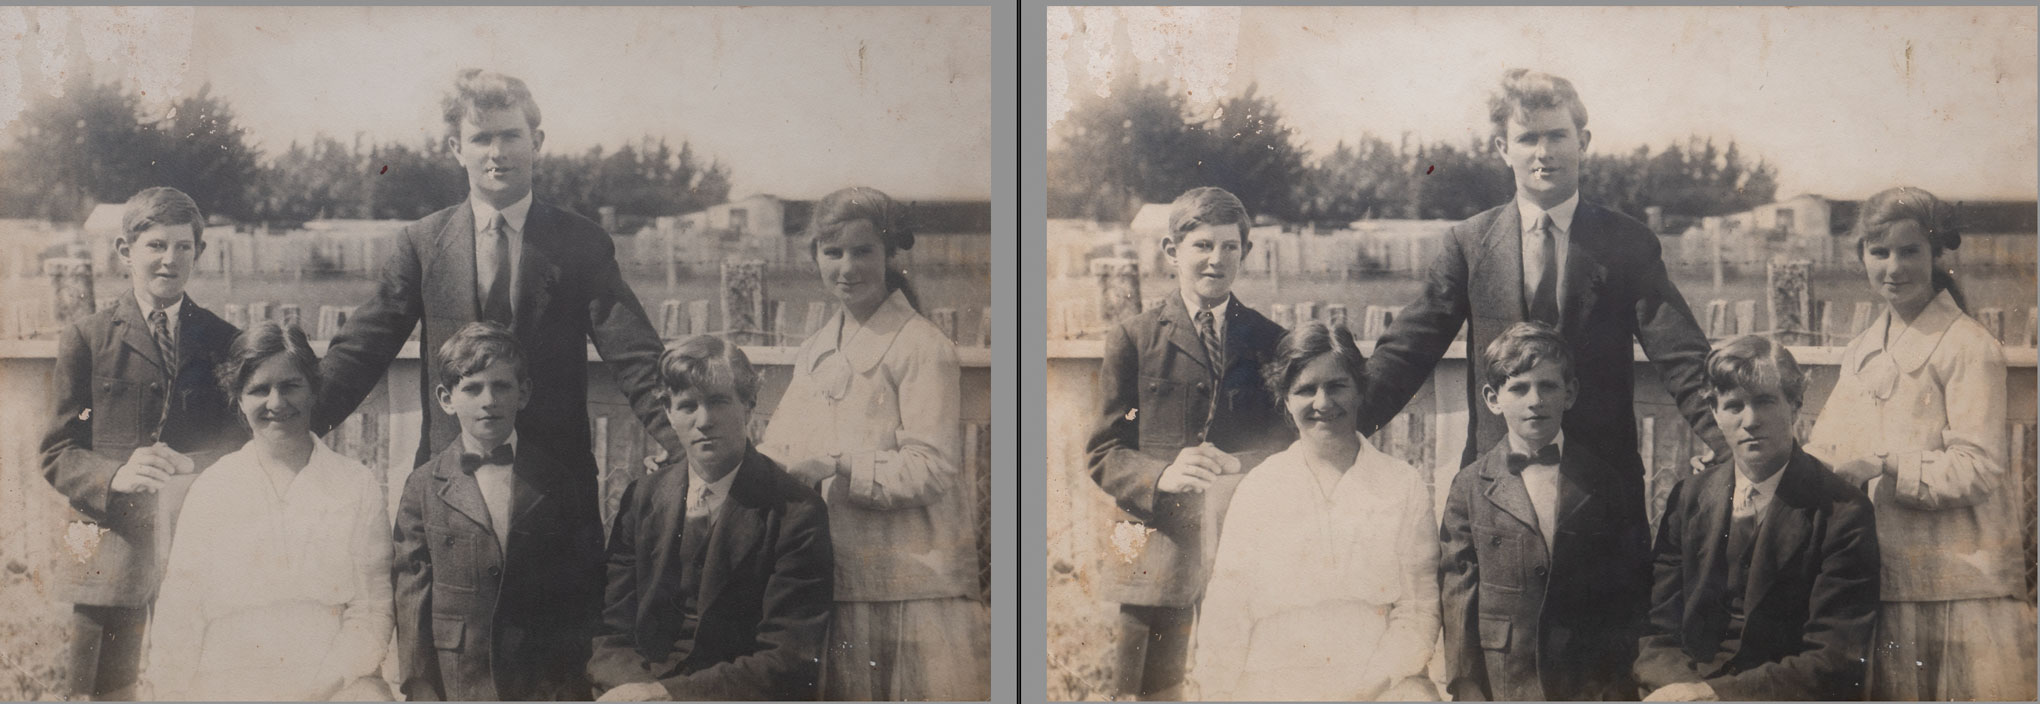
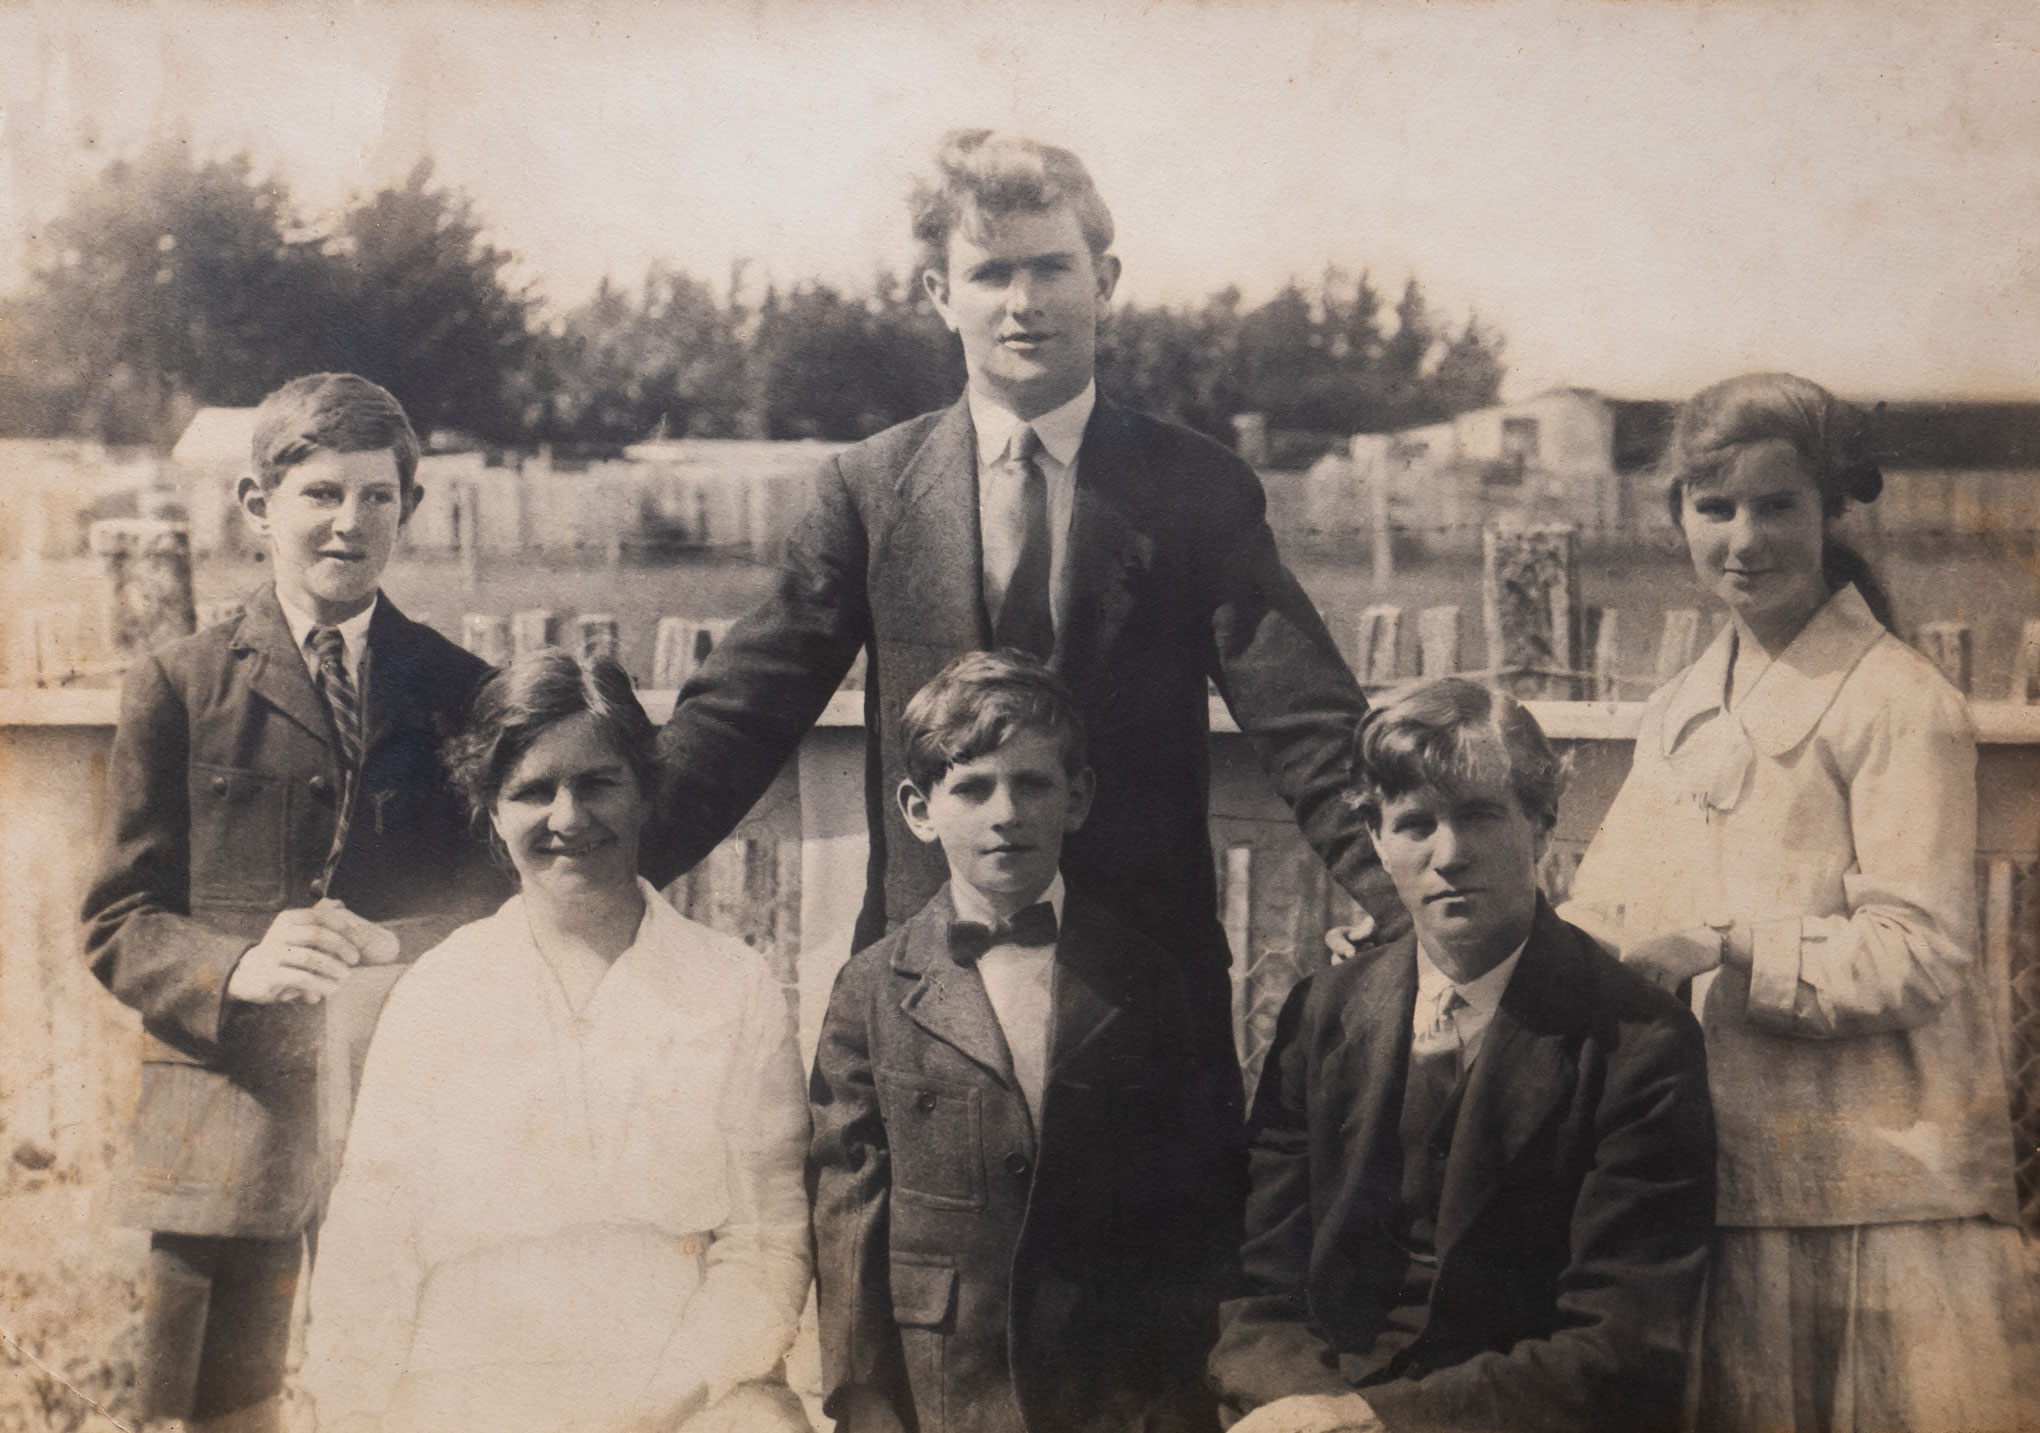
The images that we got were acceptable especially as they were either not necessarily the most interesting, or they had emotional value.

If I was to do it again I would make a couple of changes. Firstly I would be using a mirrorless camera, rather than the DSLR, to eliminate any shake with the mirror. Secondly, I would shoot tethered to the computer so that I could see the images in greater detail.

Restoring Photos – Hannah

After the successful restoration of the image from my wife’s fathers side of the family I turned my attention to a much older image for my maternal great grandmother Hannah (standing) and great great grandmother Ann (seated). We believe that this image was taken between 1900 and 1910, and it was in a much worse condition than the other image.

Given the amount of damage to the image I employed a slightly different approach in that I took three images at slightly different exposures and then merged them as a HDR in Lightroom before moving across to Photoshop.

There were two major areas of damage that I knew would need special attention and could not be done using the simple tools. The most significant was that a good chunk of Hannah’s nose was missing. I knew that getting this right was crucial to the whole image so it was the first thing I tackled.

I decided that the simplest way to deal with this was to assume that there was sufficient similarities with her mother that a copied Ann’s nose and then placed it on Hannah. I used the existing part of her nose to warp the replacement into a similar shape.

I then moved on and worked around the image using a variety of tools to fix the problems. The layer stack is shown below. What is hidden was the repair to the chair arm which was done as a group of none layers in it own. This involved using the pen tool to define the shape and the using the Clone Stamp to copy content.

Once I was happy with all of the fixes I applied a black & white layer in the same way as I did with the first image I had worked on.

I ended up not using the layer in the end as I felt that the sepia toning fitted in better with the age and setting of the image. I printed the image up large and now it sits proudly with the other images from my wife’s ancestors.

Restoring Photos – The News

After I have successfully taken the images of Bills that I realised that the setup could be used in other ways. My wife had some old family photos that were not in the best conditions and so I decided to see whether I could improve them, and surprise her with a restored image.

Considering that the original image was taken in the 1920’s it was not in too bad of shape. Having said that it was discoloured and there were a number of scratches across it. The worst part was on the left of the image with water damage at the top and the pocket was missing on the boy on the very left of the picture.

I brought the image into Lightroom and applied some general adjustments (above) before taking it into Photoshop starting with a curves adjustment to boost the overall contrast (below).

Once I had the overall look how I wanted it it was now time to fix various problems with the image. I used a number of layers so that I could isolate each major issue. The Spot Healing Brush was excellent to deal with the small issues while the Clone Stamp and Brush were used for the larger areas.

Once I was happy with all of the fixes I then sharpened the image and them adjusted the exposure on the white dress in front as it was still a little blown out.

The final adjustment was to apply a Black & White layer to the image as I wanted to remove the Sepia tone. I then got the image printed before presenting it to my wife.

She was thrilled with the result. Of course she then said that I could tackle some of the other older images.