At the end of the studio session Johemiane expressed a desire to get some shots outside. So we all moved out the an old swing that we have hanging in an apple tree.
I grabbed by Nikon Z6ii as the other camera was still tethered. Wow you’re shooting and a natural light as it was 6 pm I was not getting the results I wanted. Shooting in aperture priority mode the Shutter speed was falling to 1/15 of a second. While in-body stabilisation makes it possible to handhold at such slow shutter speeds, it does mean that you will never get a sharp image when your subject is moving.
I went back inside. I grabbed the Godox V1 speedlight in the 65 cm octabox. Then, I positioned it camera left. I was still shooting using Aperture Priority with the flash set on manual at a very low power. This meant that it complemented the natural light rather than overpowered it.
The images were an extra bonus to a great day of shooting. Johemiane was a great model. You can find her on Instagram @Johemiane.
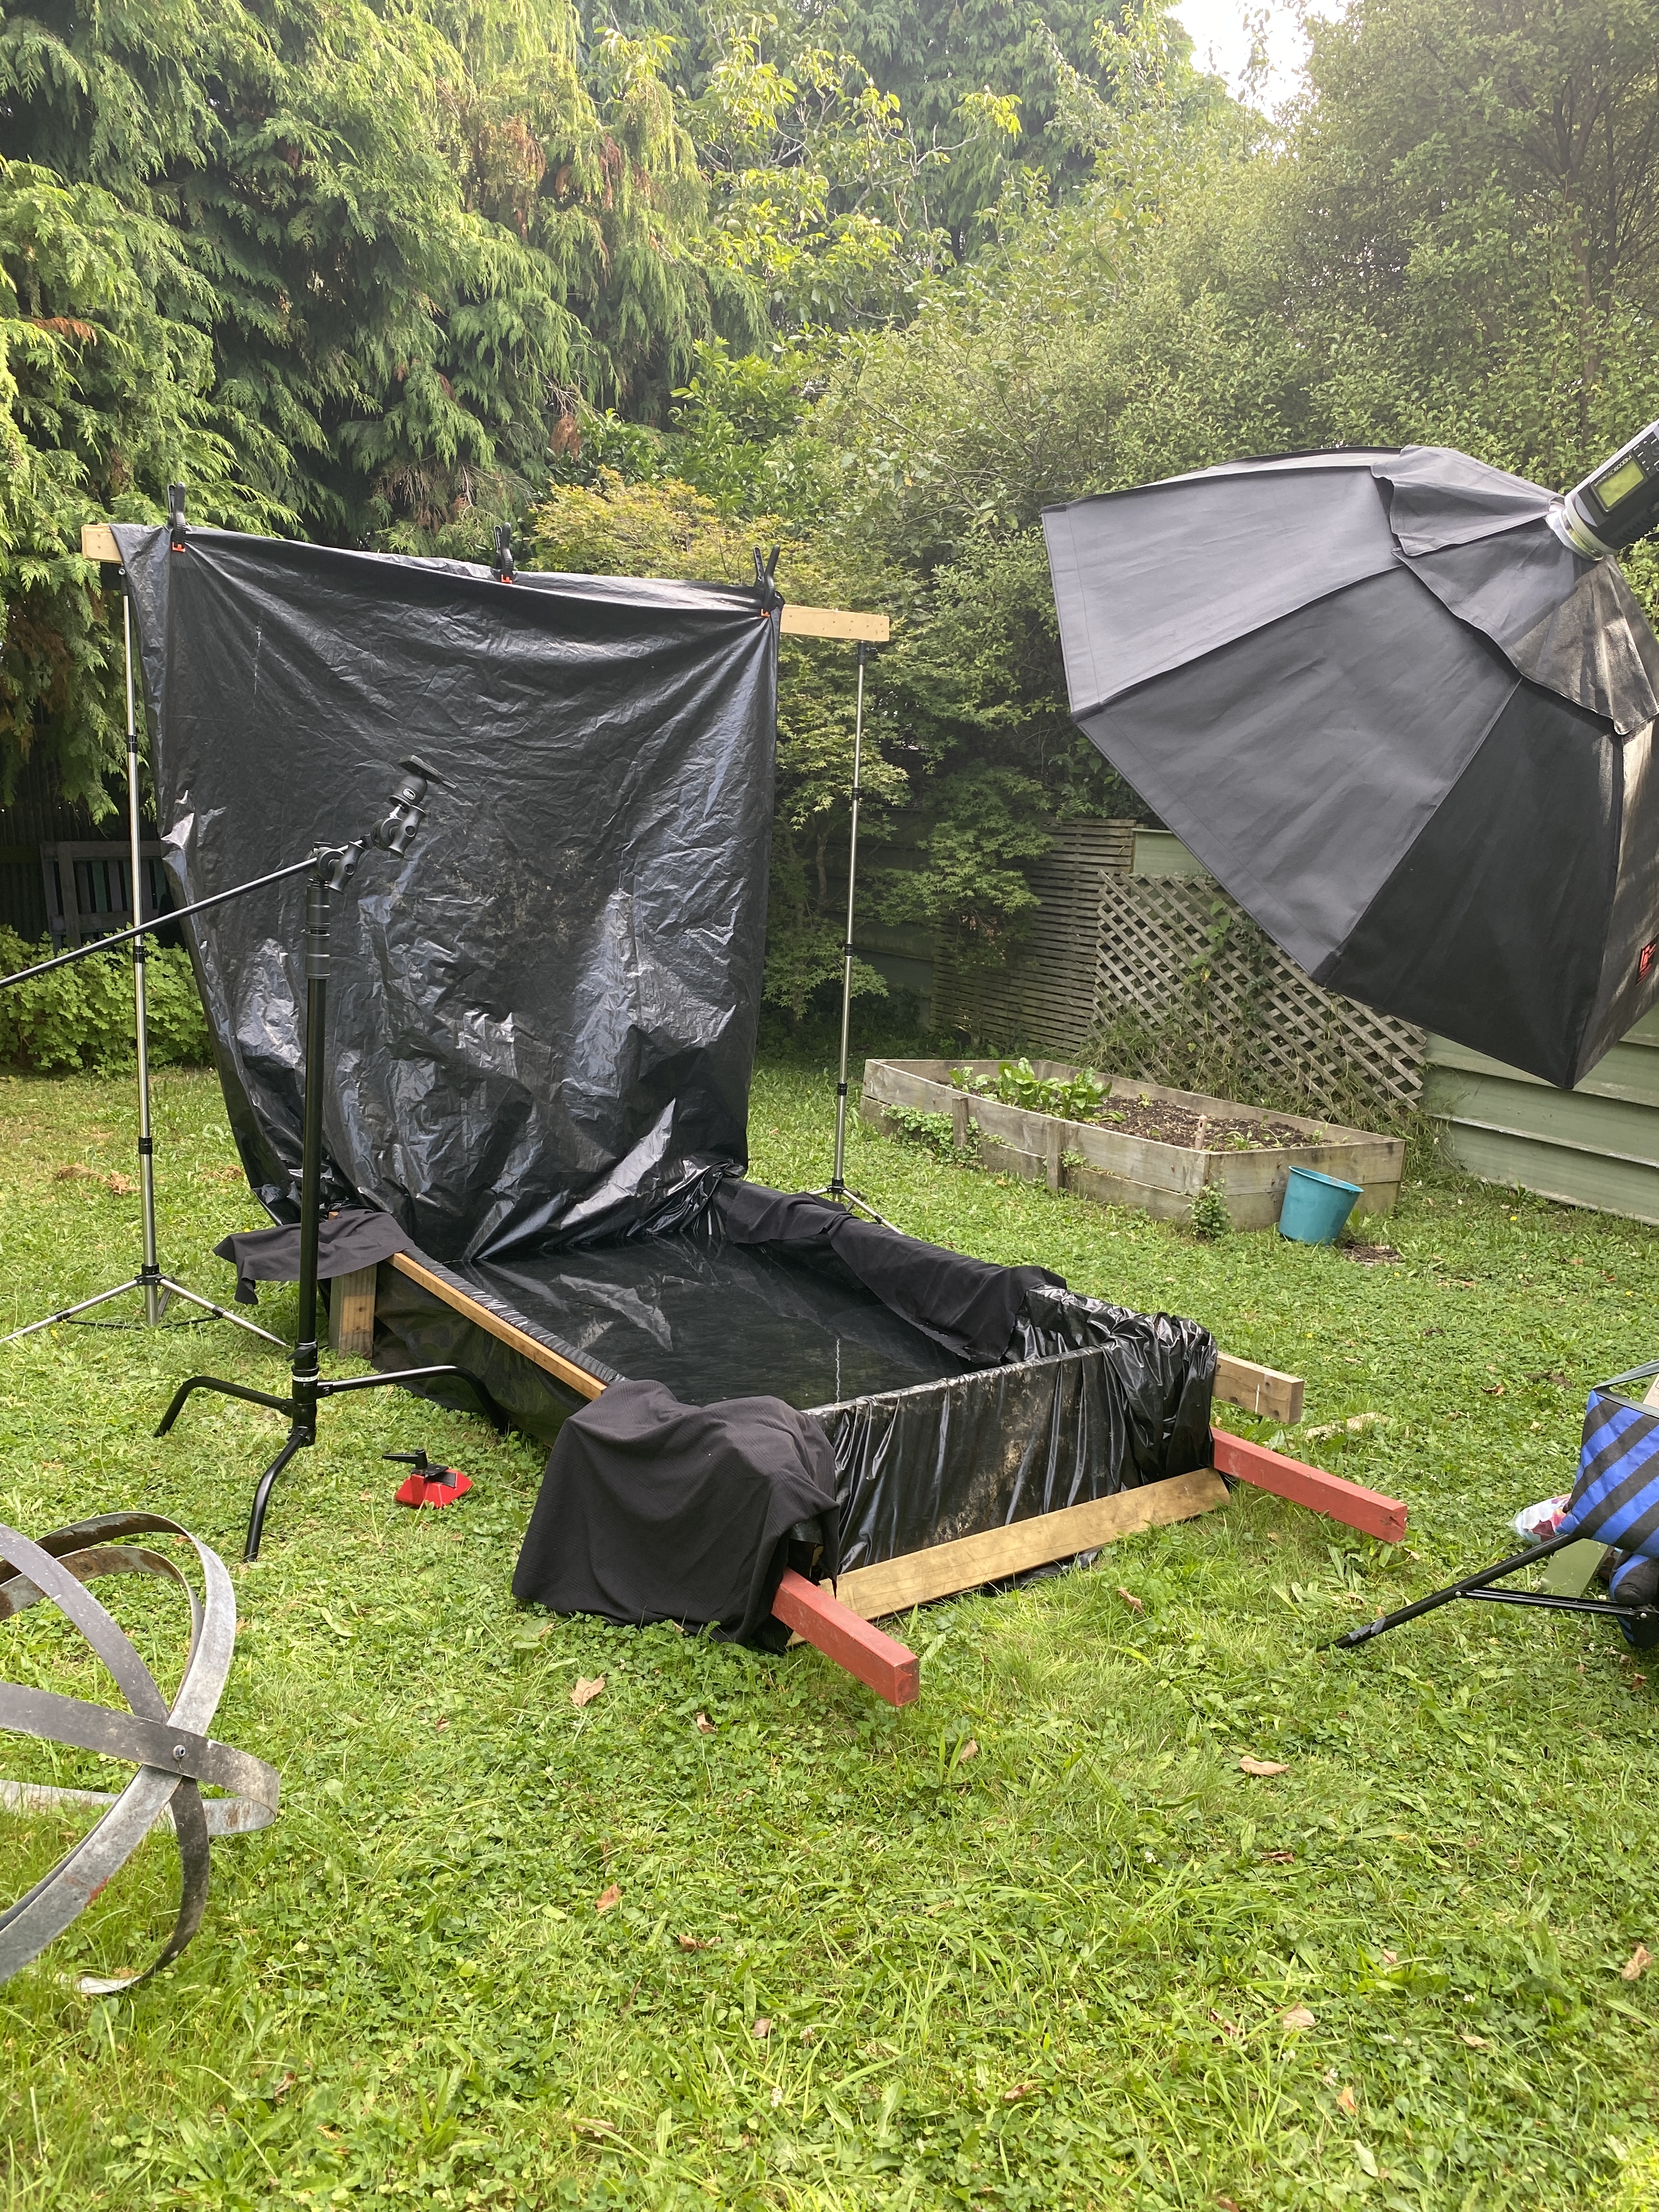
After we finished the studio shoot we headed out to the pool. As this shoot took place almost a month after the previous one the pool had been emptied and refilled. On previous occasions The polythene lining had been doubled up but I determined that that was not necessary. Instead I extended it up at the rear of the pool providing me with a solid wall backdrop.
As in previous shoots we moved fairly quickly. While the pullback image shows the stand mount for the camera this ended up not being used. Something glitched in the camera and iPad app refuse to talk to each other. So rather than mucking around I ditched the idea and shot standing on a stepladder.
The video below is a small section of the behind-the-scenes. The video was shot using a small Panasonic DMC-LF1 which is a point and shoot camera. Despite being small it is great for shooting behind the scenes videos.
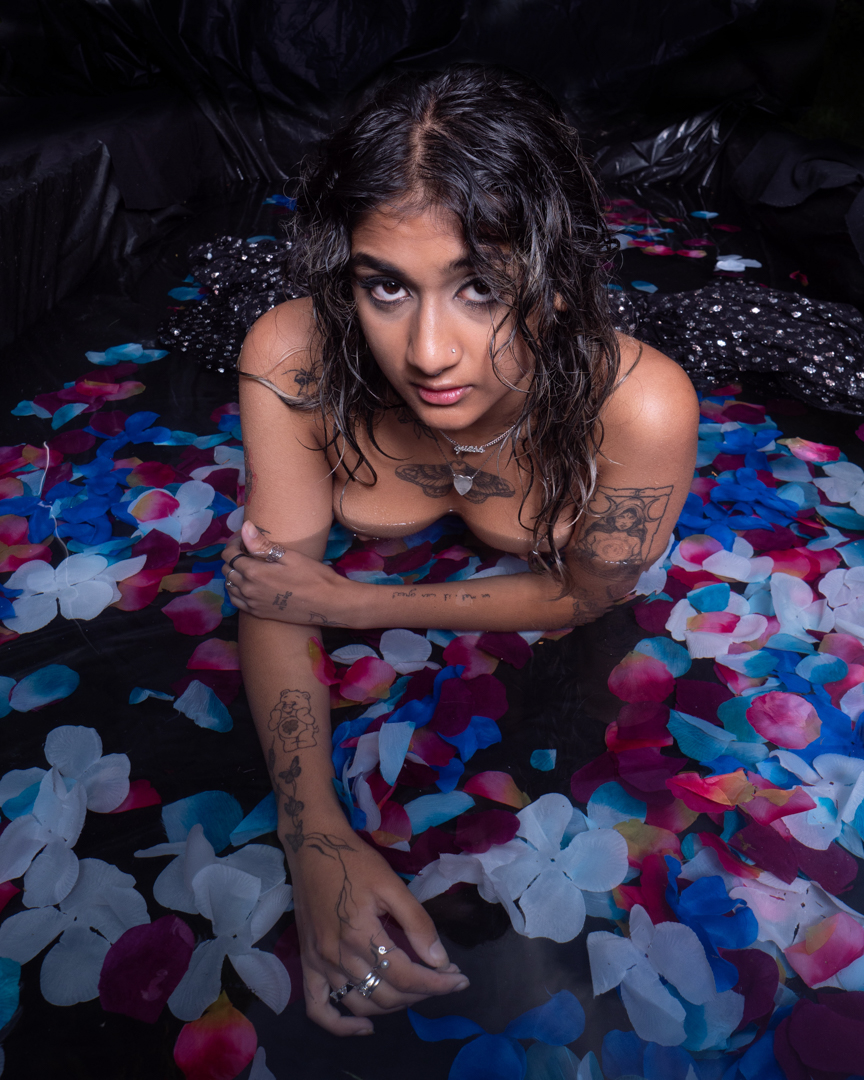
The time that I had invested setting up the lights ahead of time paid off. I was able to reposition Tanisha without having to worry too much.
All of the images were taken on my Lumix G9 at f8 1/160s ISO200.
As this was to be the last shoot of the pool series for the summer I wanted to try something different. The next post will cover that .
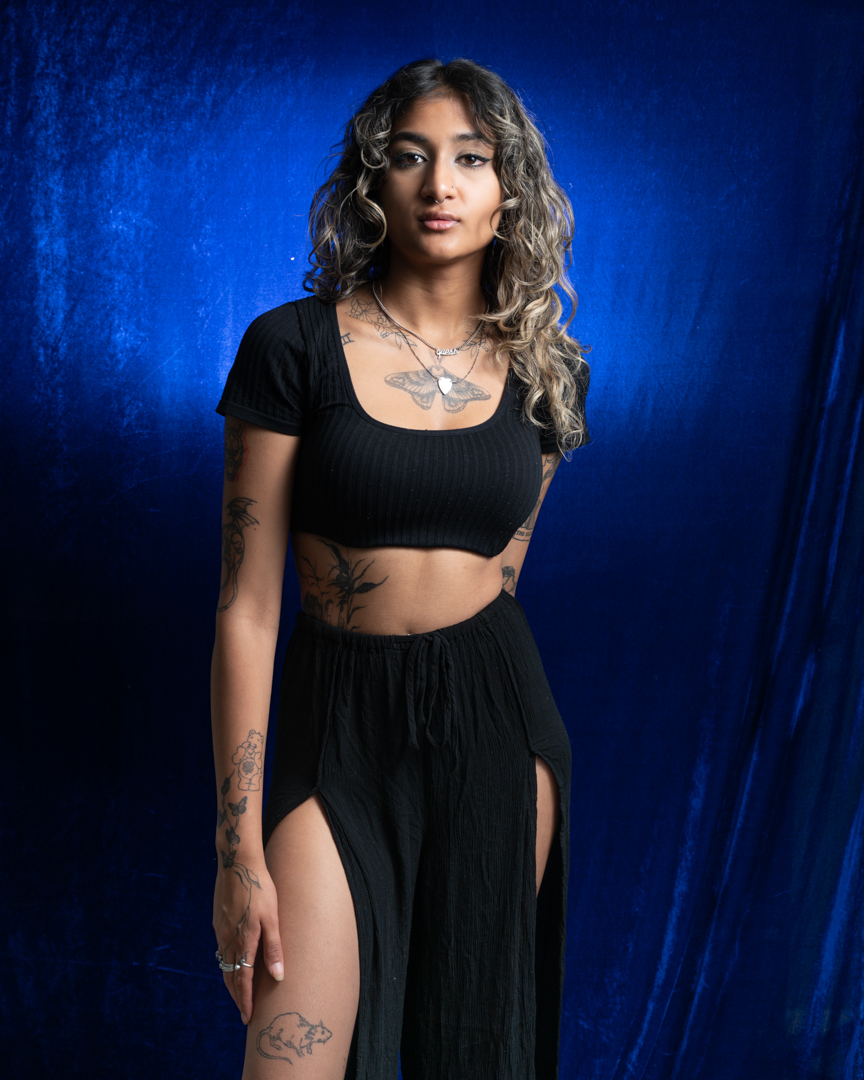
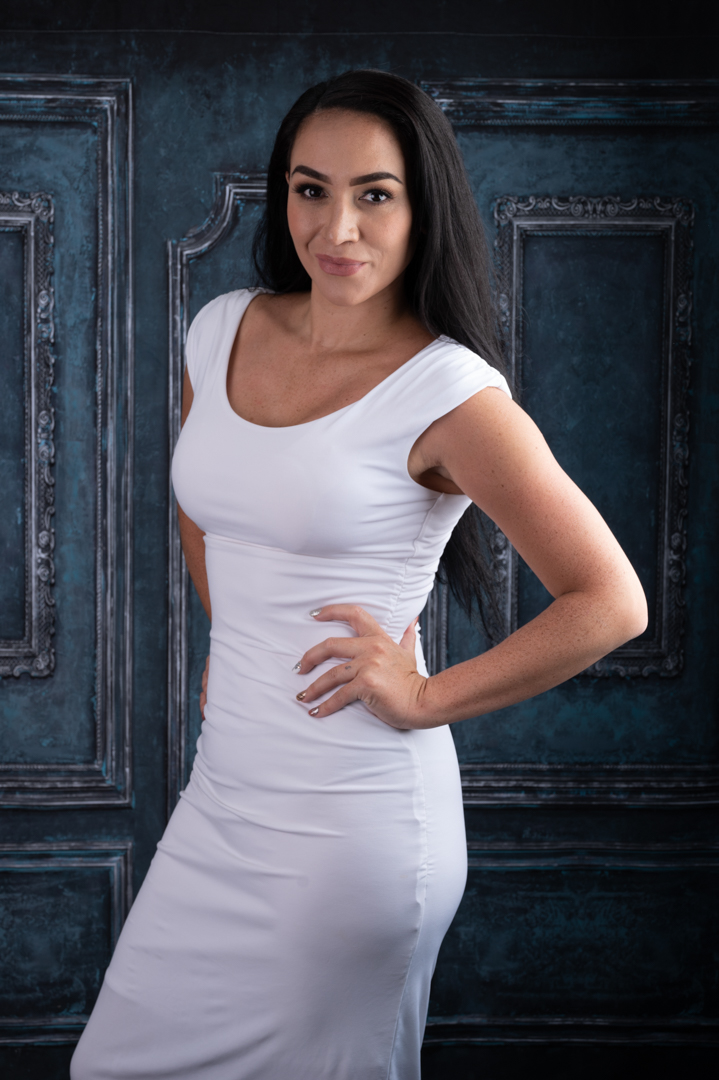
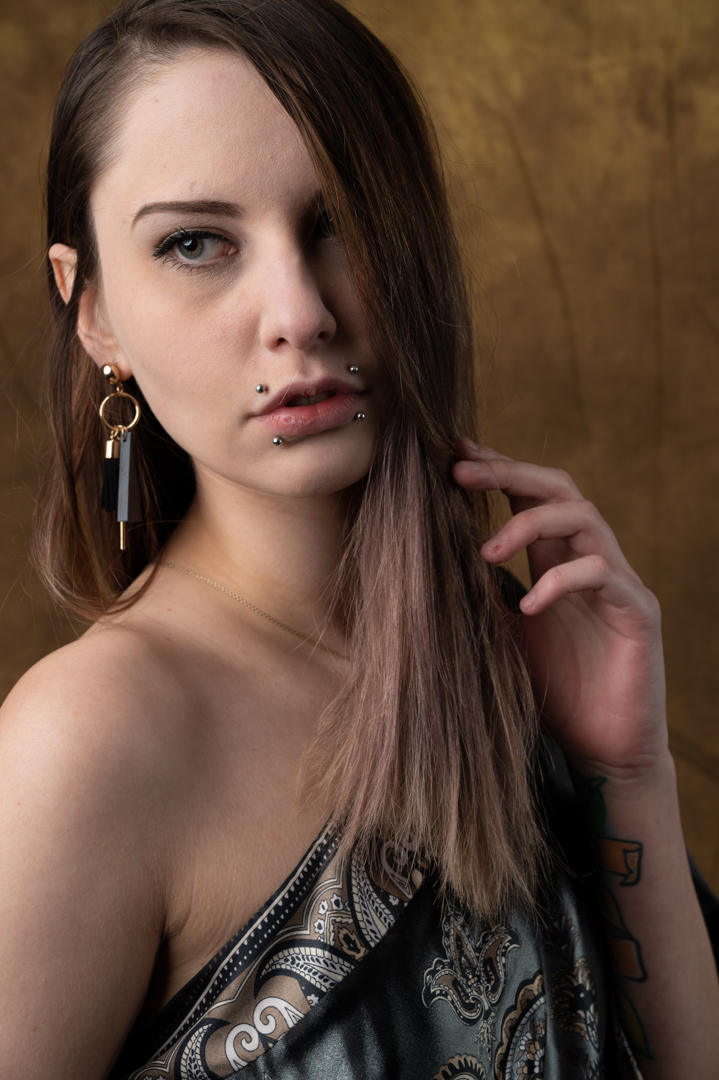
As mentioned in the previous post, my last studio/pool session of the summer was with Tanisha. She was off Indian descent and had a fabulous rich skin colour. I therefore chose a blue satin backdrop as I knew this would look great in the images.
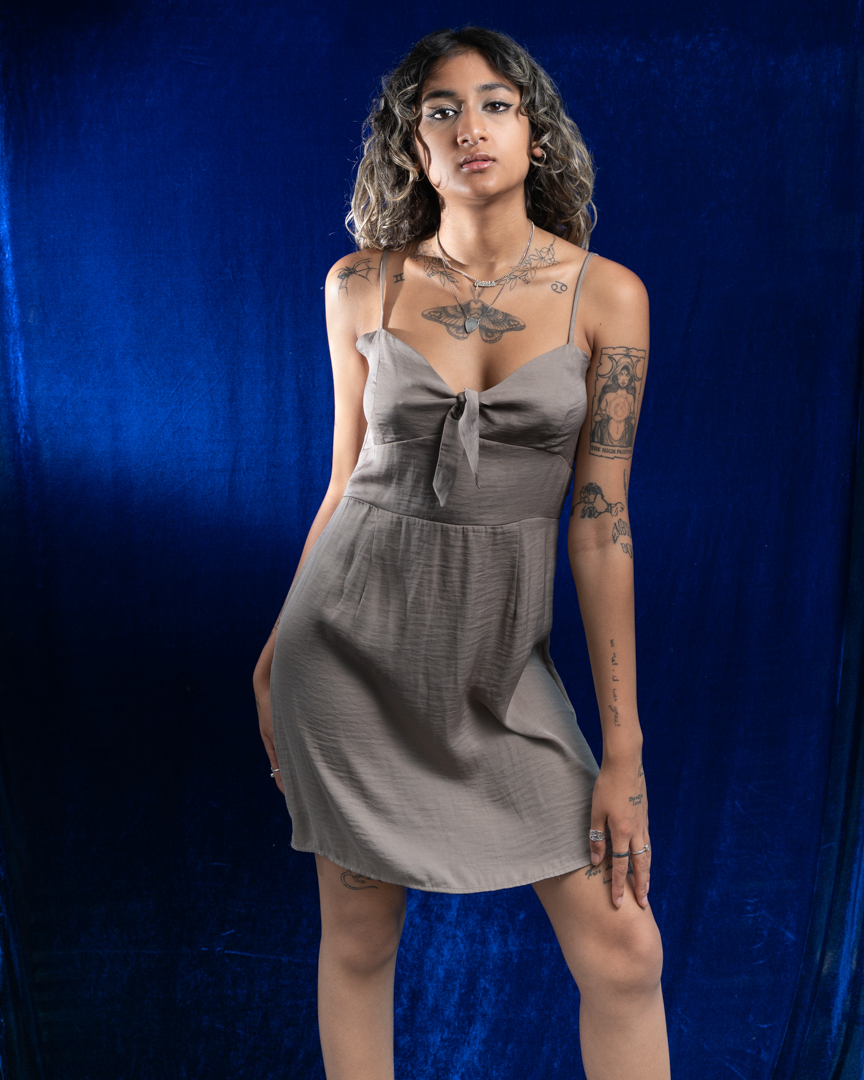
We started in the studio with a range of poses. We also included a couple of outfit changes. This helped her and me get comfortable shooting together. Tanisha was a natural and this process ran extremely smoothly.
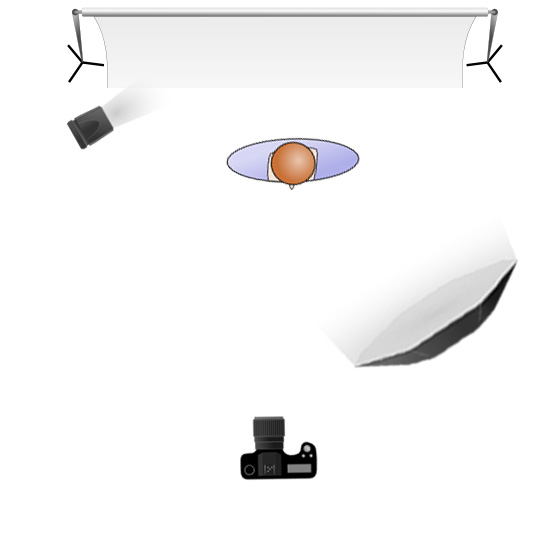
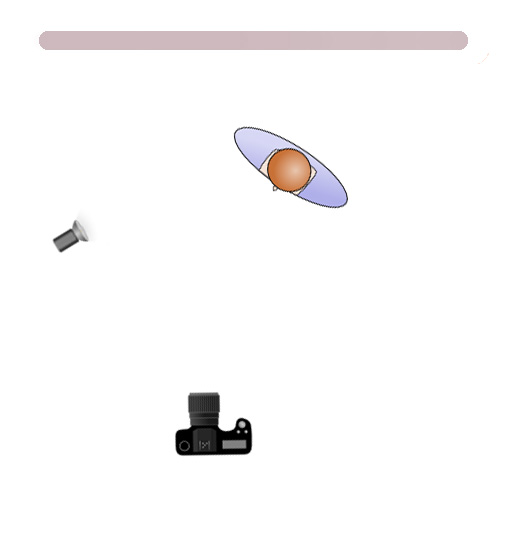
For my lighting I used two lights. My Godox AD300 was the main light which was positioned camera left in a 65cm octabox. My Godox V1 speedlight acted as a second light. It was in a 7 inch reflector and was positioned camera left and aimed at the backdrop. This was simply to provide a little separation and to push the lustre of the backdrop.
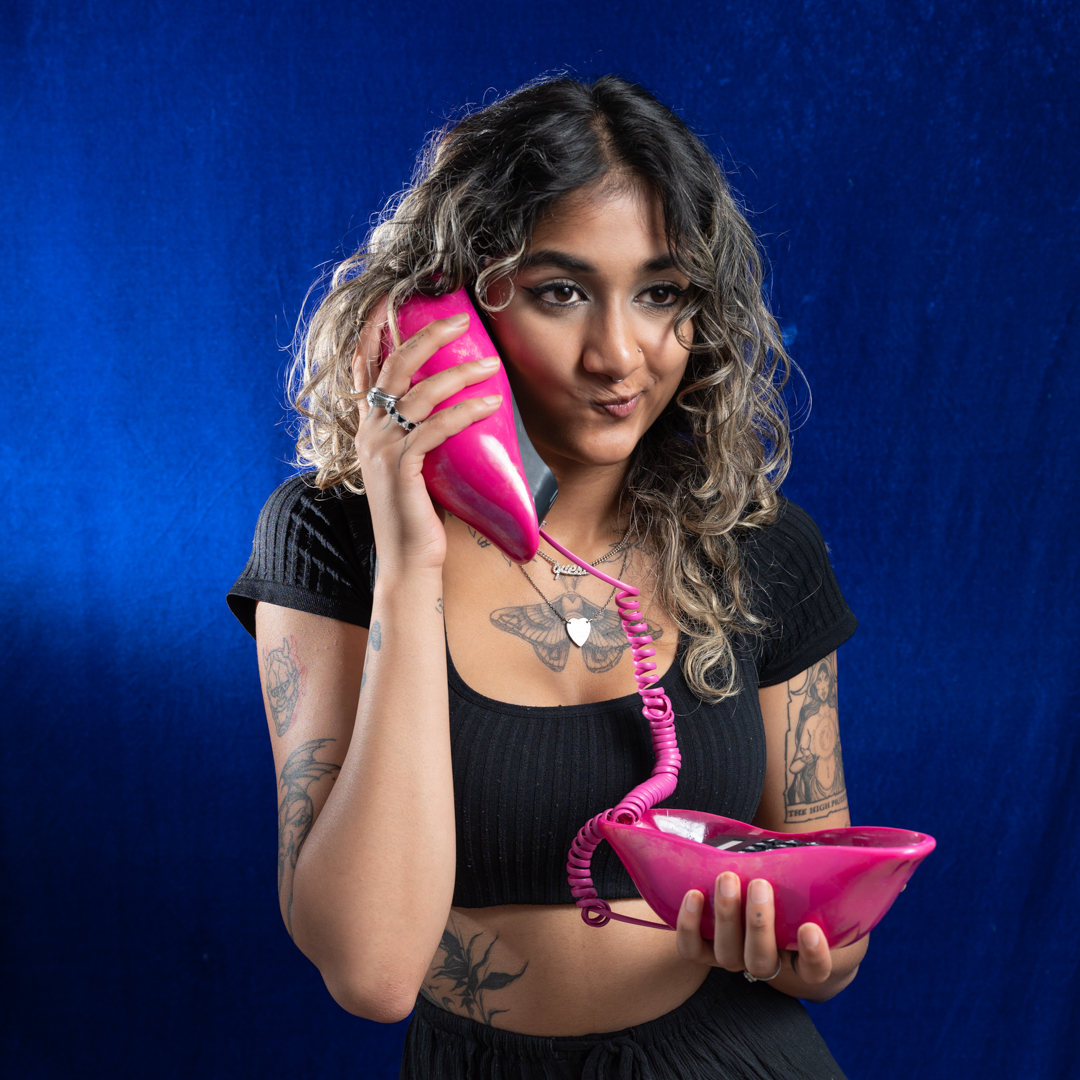
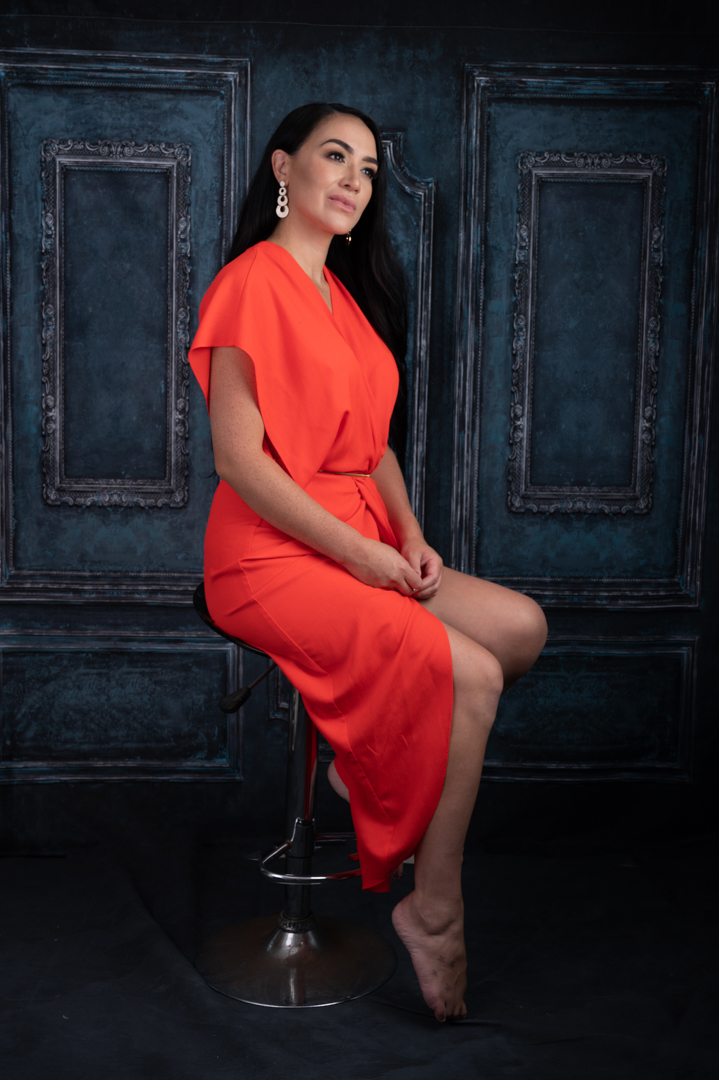
I had acquired a very funky phone from an op shop. I thought it was a great opportunity to use that. Tanisha had quite a bit of fun with her and it showed in the images.
All of the shots were taken on my Nikon Z6ii at f5 1/100s ISO100. These are not my usual settings for studio work. However, they were sufficient to gain full control over the ambient light.
As with other shoots we included the selfie image with the old camera.
We also brought in a silk veil as I knew that Tanisha would rock the lock with her big brown eyes.
I really liked how these images turned out. In the next post we head out to the pool.
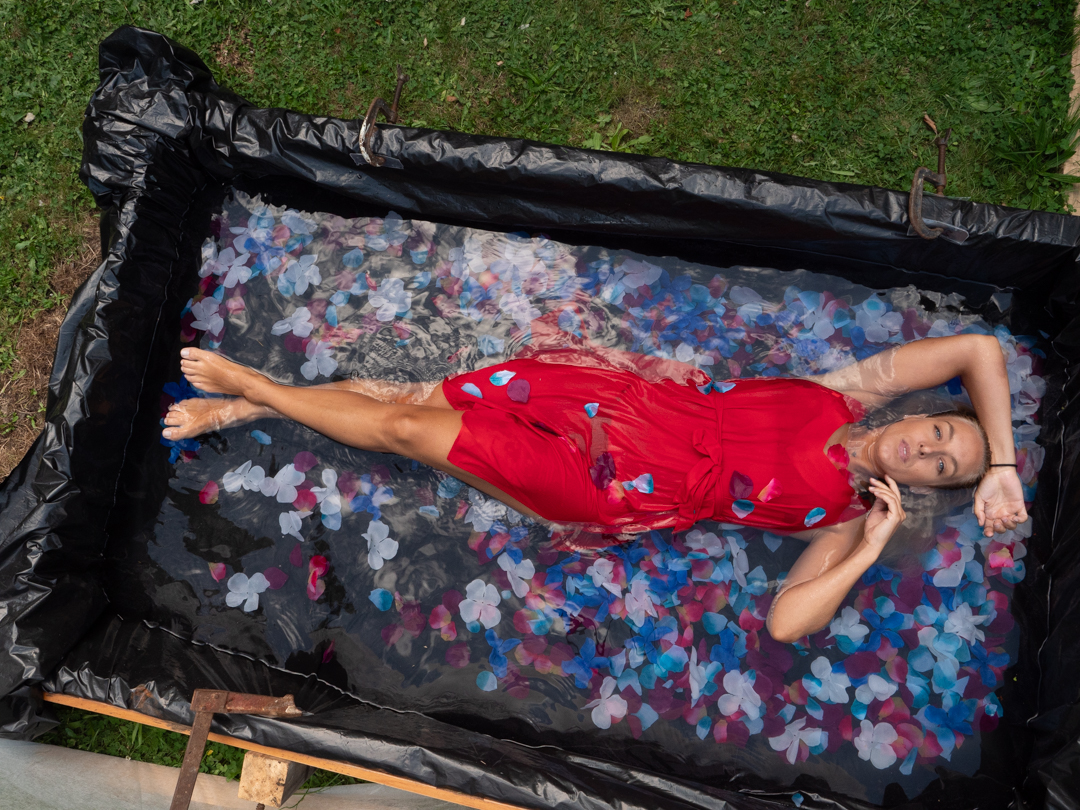
Morgane and I spent about half an hour shooting around the garden. It was then time to head into the pool. Unlike the previous three pool shoots, Morgane had a new preference. She did not want to use sheers but rather preferred to be in a bikini and coverings.
As I mentioned in my previous post Morgane wanted to do her own editing of the photos. Therefore, several images on this page are straight out of the camera. They show the surroundings of the pool.
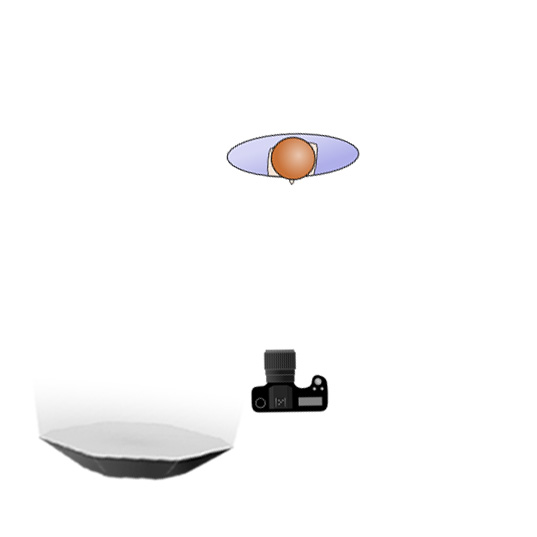
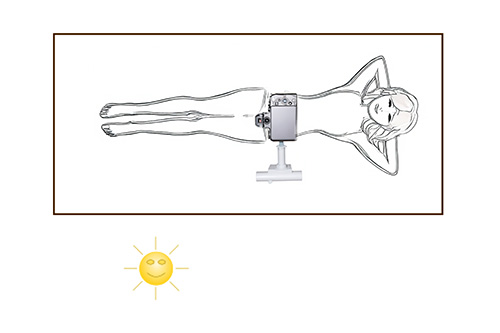
We started the shoot around 6:00pm in the evening. We did not have to worry about high overhead light. As the day was also reasonably warm we also had time so I positioned my Lumix G9 on the end of the boom. The image below shows how the camera is connected to the boom arm.
The actual connection is not designed for this purpose. Rather it is a bracket to attach a collapsible soft box to a speedlight. It worked really well for the camera, especially as it enabled me to get it completely level to my subject. I was controlling the the camera via the Panasonic app on my iPad.
The camera was set in Aperture Priority at f8 as I wanted a decent depth of field. ISO was set at 800 as I wanted to ensure a reasonable shutter speed. The images ended up being between 1/125s and 1/200s.
I took the overhead shots. Then, I repositioned the camera. I shot close to the water, which enabled me to get Mogane’s reflection in it. Because it did not want too much focus on the background I stretched some frost cloth behind the pool
The light had faded somewhat by the stage. So, I positioned a speed light with an orange gel at a very low power to camera right. This added a kick of golden light into the images.
We are both pleased with the results of the shoot. It was interesting shooting the same scenario with four different models at different times of day. I would learn heaps from each shoot that I would then apply to the next one.
I had thought that Morgane was the last of the pool shoots. However, the following month, I did one more. That will be covered in a subsequent post.
The final pool shoot in the series that I had booked was with Morgane. She is both an experience model as well as a photographer. The shoot was different on a number of rules from the previous three.
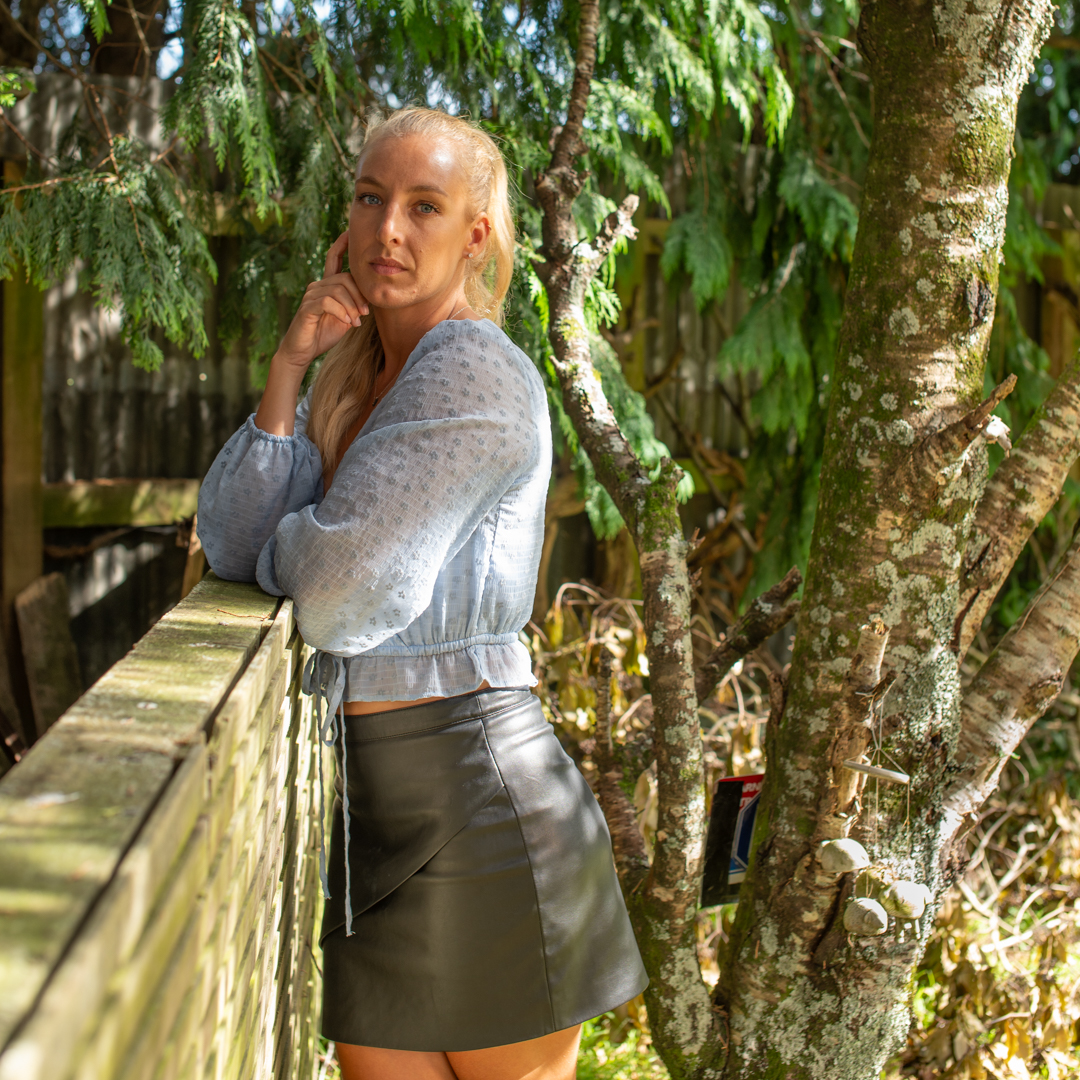
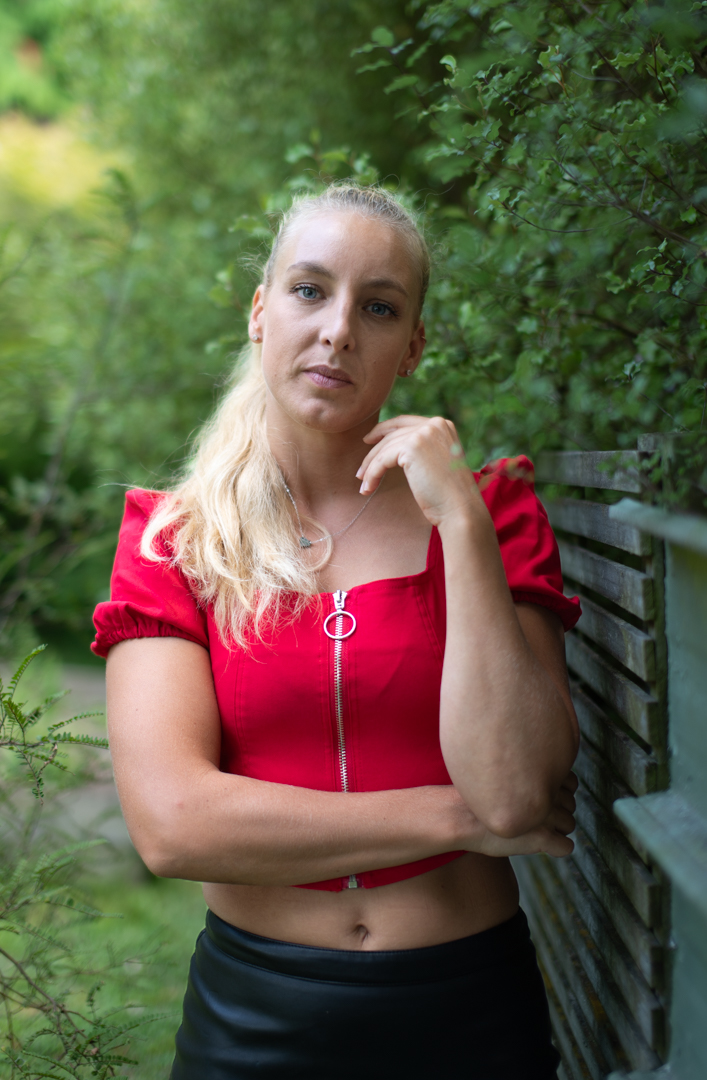
Firstly she was not interested in doing a shoot in the studio. She requested that we shoot around the garden under natural light. The second difference was that she likes to edit her own images so images from the shoot receive minimal processing from Me before they were provided to her.
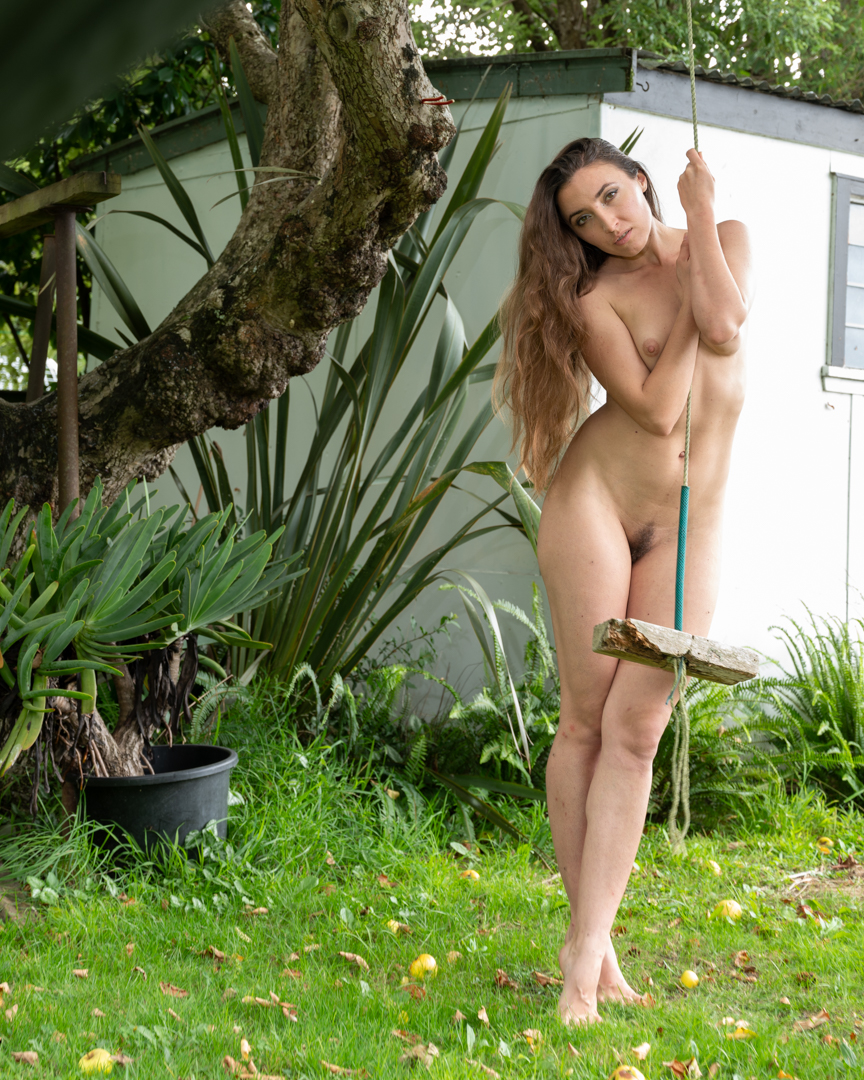
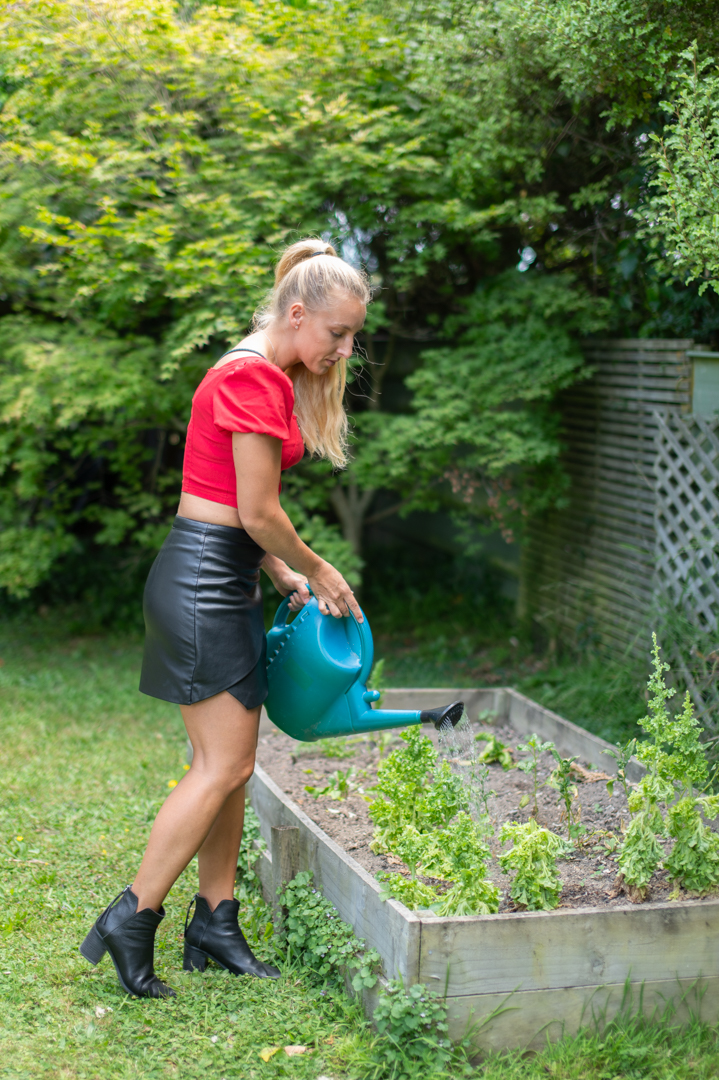
We planned the shoot for the early evening to ensure that we had the best light based on the experience from the previous three pool shoots. As I was not going to be restricted by the size of my studio I decided to shoot differently. I fitted my Sigma 50mm f1.4 prime to my Nikon Z6ii and all of the images were taken with that. It is a great lens but not when you are in a tight situation and trying for full length images.
Because I did not want the background to be in focus the camera was shooting at f1.4 using aperture priority. This meant that the shutter speeds ranged from 1/160s to 1/400s.
Morgane brought some variations in her outfit and towards the end of the shoot we brought in the watering can so that it was not static posing.
At the end of the shoot I had a pose with my vintage camera that I incorporate in all of my model shoots.
My second pool shoot of 2023, and the third in the series, was with Kaylene. As before it started in the studio. It had been booked the previous week but the weather conditions that I had faced on that shoot were either worse where Kaylene lives. She drives a Tesla which auto systems did not like driving in low cloud.
For the shoot I was using my Nikon Z6ii tethered into the computer. The settings where F8 1/100s at ISO 100. The settings gave me full control over the ambient light.
The main light was positioned in a large softbox camera right at a 45° angle to Kaylene. A second light was at the rear of the room firing into a 7 foot umbrella fitted with a diffusion panel. This was set at a low power to simply fill in the shadows.
Kaylene was an experienced model so we were only using the studio shoots first is to get her comfortable with me. As such unlike the previous two shoots it only took around 30 minutes.
Kaylene has bought two outfits that we shot with both full lengths and with her sitting on the posing stool. I then grabbed one of the outfits that I had bought previously from thrift shops and we had a bit of fun with it and some other props.
Kaylene was easy to work with and it was no trouble nailing great images of her. The only issue that needed fixing in practically every shot was an annoying gap at the bottom of the backdrop and the floor. I had ordered the backdrop at what I thought was an adequate size. As it turned out they had included the area that was rolled over in the size in the printed size so the usable surface was about 10cm short.
We finished the shoot with an image for the selfie series.
As I planned to shoot the four sessions within a week of each other I had not bothered to empty the pool. The shoot with Camila took place nine days after the previous one with Shirley.
As I mentioned previoulsy, the pool that I constructed for these shoots was built on a wooden frame with an internal measurement of 1.1m (3’ 9”) wide and 2m (6’ 7”) long. It was fitted with a double liming of black polythene. It was then filled with water at approximately depth of 30cm. As the ground sloped it was actually deeper at one end.
Once we had finished the studio shoot Camila stripped down to her underwear and we headed out to the pool. While the conditions were ok for photography with a lot of cloud cover they were less than ideal for the pool. We had not had much sun over the previous three days so the water was very cold. In addition the air temperature was only sitting around 18°c (64.4°F).
Therefore no that we did not have time to muck around. While the camera positioned on the boom does give you the best viewpoint it was not really an option. Getting it positioned and linked to the app on the iPad can prove problematic and takes time.
As both the camera and ipad go into sleep mode it is not something that you can set up in advance. I therefore decided to ditch it and simply handhold the Camera.
This then introduced the problem of a reflection of me in the image. I knew that I would have to fix this in post. This was achieved using a combination of content aware fill and the clone stamp.
It is interesting that the latest version of Adobe Cameron Raw has introduced a reflection removal tool. While it seems to work well on window reflection, I tried to run one of these images through it and it totally failed at removing my reflection.
The camera was set in aperture priority mode shooting at f5 ISO200. We only shot for a little over a minute. It is a reflection of the lack of light that the camera used shutter speeds between 1/60s and 1/80s. The previous shoot with Shirley was between 1/400s and 1/800s.
The total time from the first to last image was a little over a minute. Despite it being a very short shoot we got the images we were after and Camila really liked the end results.
The most important factor in getting the most out of any model is their comfort in the shooting environment. Uncomfortable models will never give you great results. That is unless you are looking for an uncomfortable model look.
I also want them to feel safe. I know that going into a strange environment and meeting somebody for the very first time can be unsettling. Therefore, I always make it plain that I have no problem with them bringing a support person to the shoot.
In addition to making the model feel safer they can also provide an extra pair of hands. It is also not unusual that they will end up in front of the camera as well.
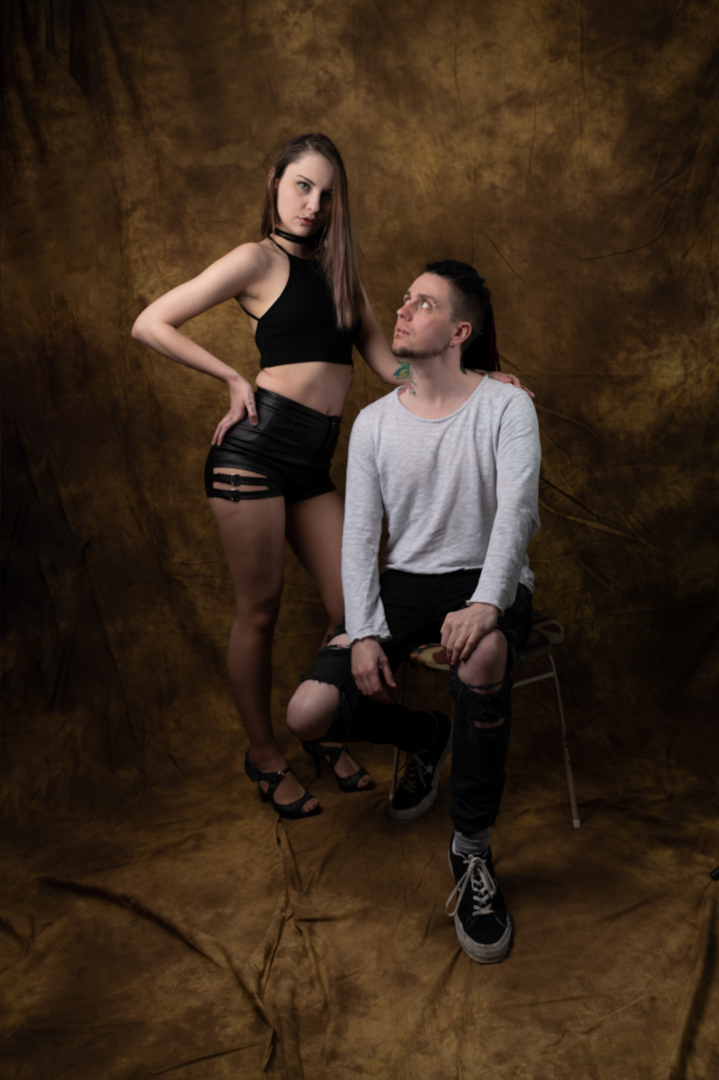
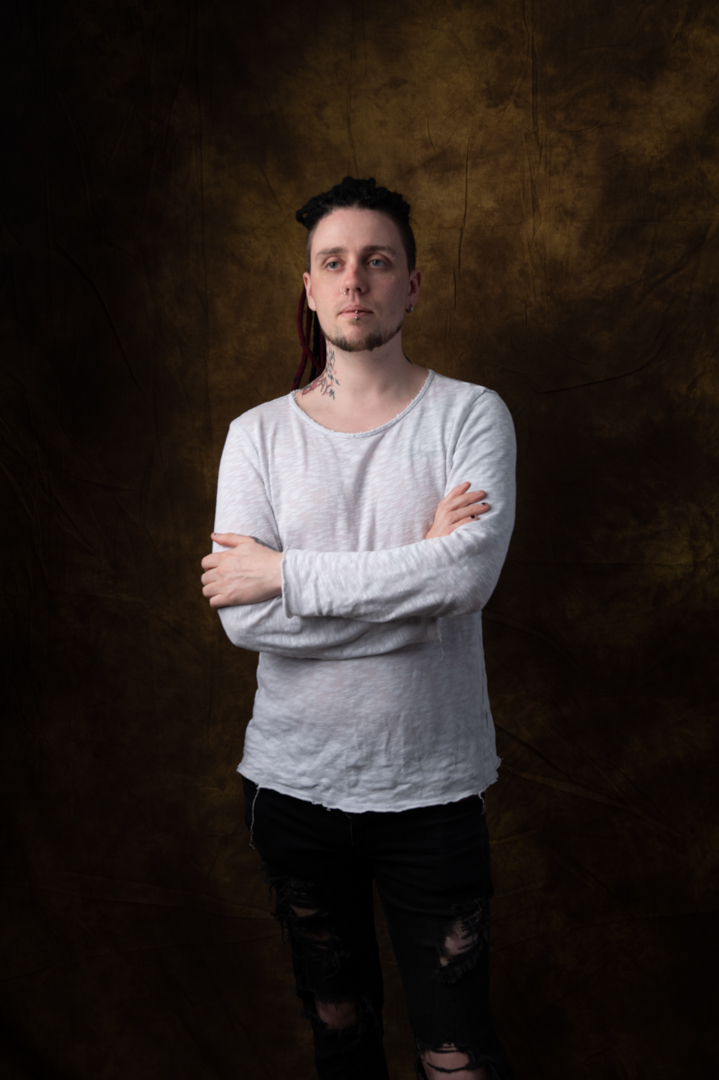
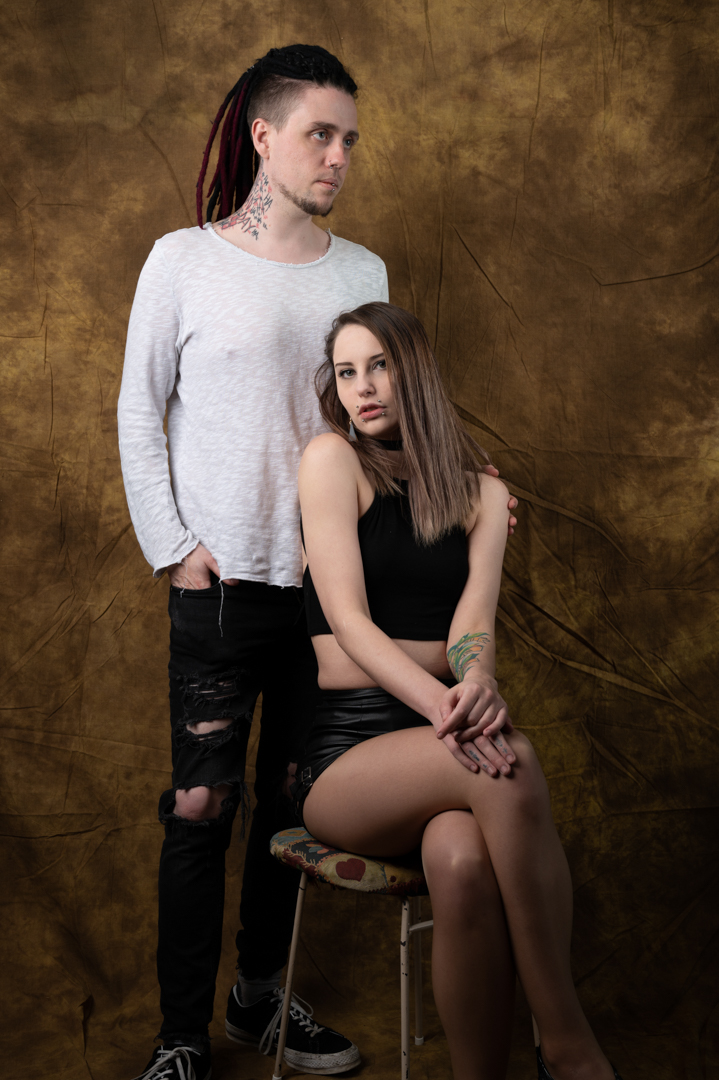
This was certainly the case when Cassie brought her boyfriend Connor to our shoot. I took one look at his features and said we have to shoot. Fortunately, he was happy to oblige after some initial hesitation.
While Cassie was getting changed I got Connor in front of the lens and we shot some simple images just to warm him up. Then we took a series of images with him and Casey which he was happy to pose. He was also willing to help me with another shit but that is a subject of the next post.
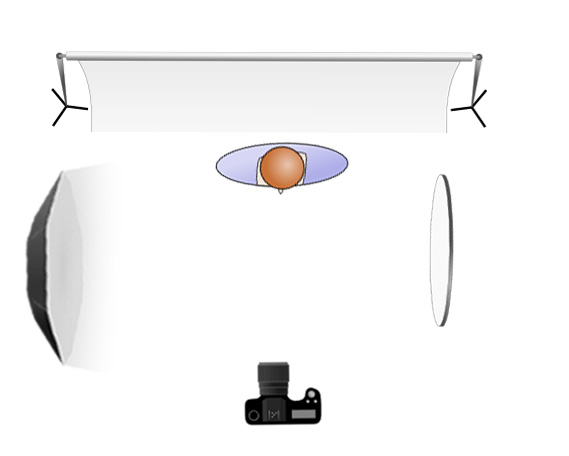
The main light was my Godox AD600 in a 1.5 m octabox positioned at a 45° angle camera left. This provided for in coverage and insured that we got catchlight in the eyes. A reflector camera right provided a bit of fill.
All of the images we shot with my Nikon Z6ii camera using a 24 -70 4.0 lens. The camera was in manual mode set a 1/200s f8 at ISO100. This is my standard setting for studio work. It provides a reasonable depth of field as well eliminating all ambient light. This means that I am in full control of the light.
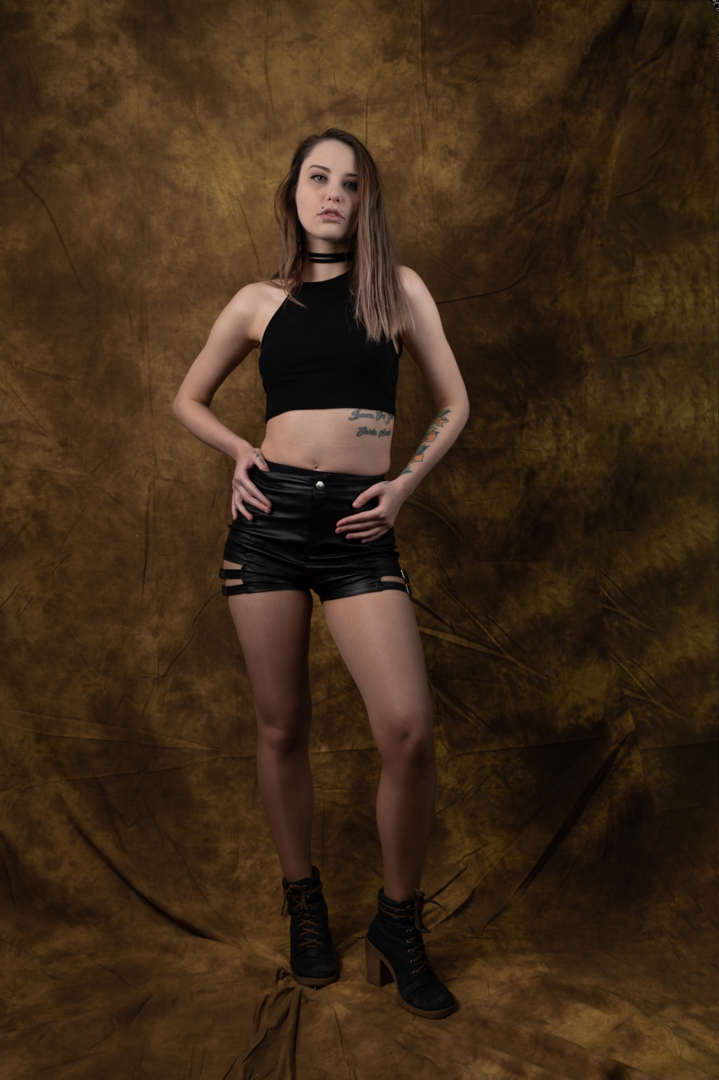
Cassie answered one of my modeling calls and we scheduled a shoot in the studio. I wanted to go dramatic. So, I decided to use a single light. I also chose one of my old school backdrops.
The main light was my Godox AD600 in a 1.5 m octabox. Initially the light was positioned camera right at 90° angle with Cassie standing at the rear of the light. This creates the classic Rembrandt look.
Some models have the notion that they have a “right side” when it comes to photography. This belief is rooted in the idea that people have a more photogenic side of their face. They prefer this side to be captured. This preference can be due to slight asymmetries in facial features. It may also stem from personal insecurities. Sometimes, it’s simply a matter of habit and comfort. As a photographer, it is essential to respect these preferences. You need to accommodate them to ensure the model feels confident. This helps ensure the results are flattering. Taking the time to discuss and identify the model’s preferred side can lead to a more successful and harmonious photoshoot.
The reality is that your model may have a strong preference for one side. If you shoot from the other side, then the odds are high. Two things will likely happen. Firstly, the model will be uncomfortable during the shoot and secondly they won’t like the resulting images. You may
So after discussions with Cassie the light was changed to camera left. On the opposite side a large reflector was placed to fill in the shadows a little.
After the initial shots were taken the light was moved closer to the camera and at a 45°. This provided for in coverage and insured that we got catchlight in the eyes.
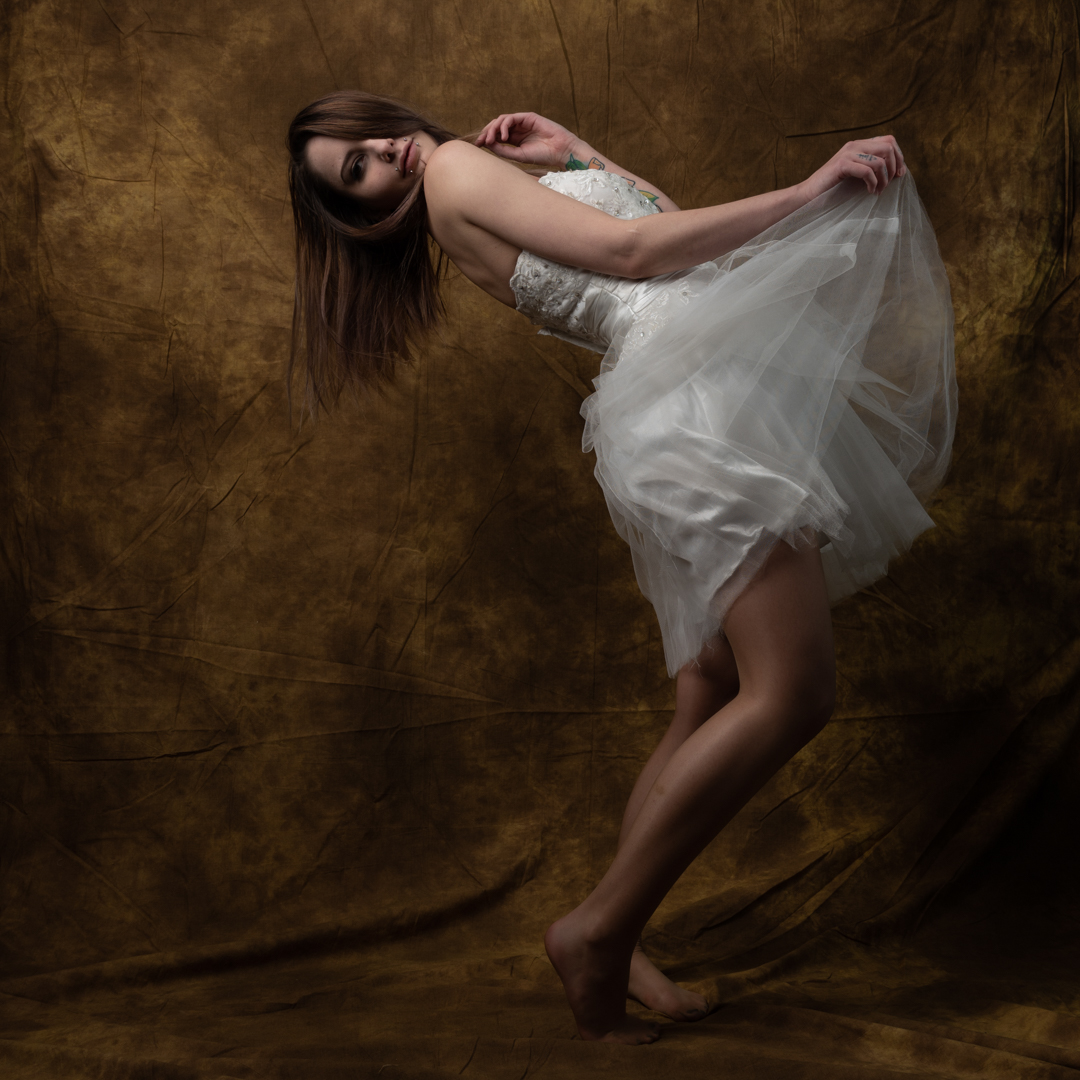
The wardrobe that Cassie brought with her consisted almost entirely of dark items. At the end of the show, I dressed in a white short wedding dress. This change was to add some variety. She had fun with these shoes in these shots and it showed in the final images.
All of the images we shot with my Nikon Z6ii camera using a 24 -70 4.0 lens. The camera was in manual mode set a 1/200s f8 at ISO100. This is my standard setting for studio work. It provides a reasonable depth of field as well eliminating all ambient light. This means that I am in full control of the light.
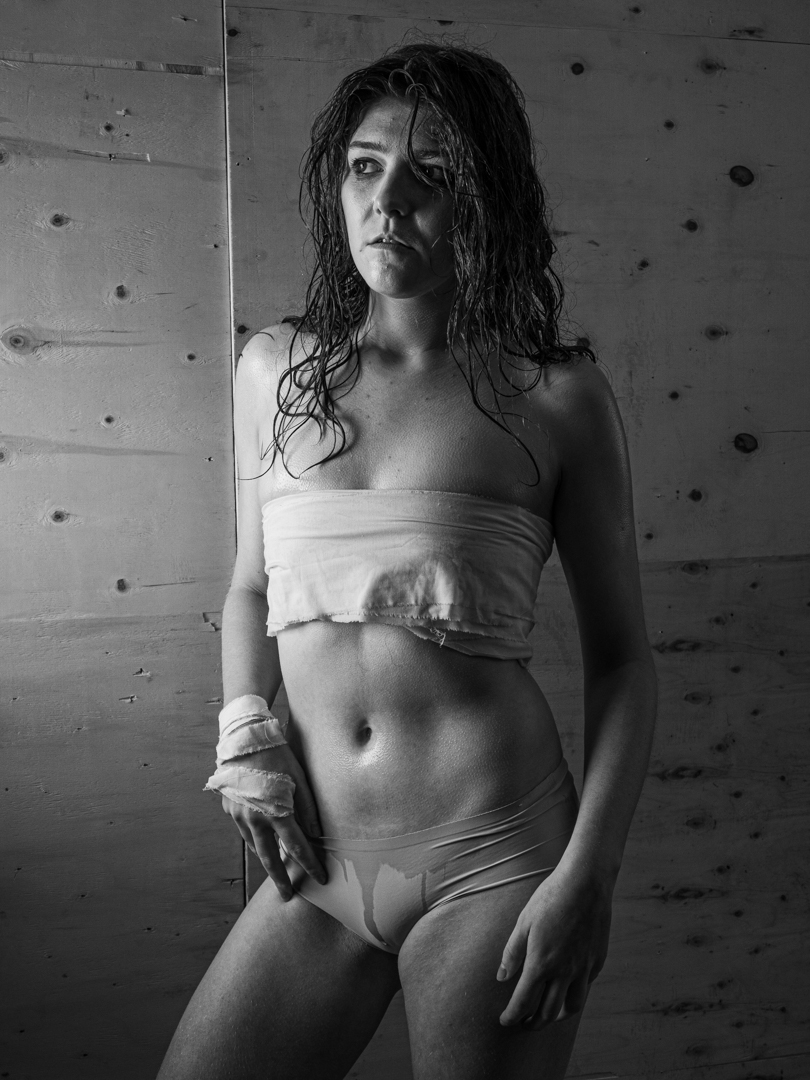
The second set with Devon involved water. She wanted to look like an athlete that had been competing really hard and was covered in sweat. She had brought some strips of fabric that she fashioned into a top and gloves.
The example images she had shown me had a high degree of contrast. I knew that we needed to go with a punchy hard light. We essentially used it to create shadows in the previous post. It was a simple matter of removing the blinds. Then, we slightly adjusted the strength of the light.
Devon is a real trooper when it comes to getting into a character. She was not phased when she was asked to put baby oil over her skin. Then she was sprayed with water. The oil has two effects. Firstly it prevents the water from absorbing quickly into the skin and secondly it increases the skins reflection. Both of these add to a higher contrast image.
All images were shot using my Lumix G9 1/200s f8 ISO 200 at an equivalent focal length of 50mm. These settings ensured that I had full control over the ambient light.
Devon was really happy with the way that shoot turned out..