This is the third post from my 2022 Halloween themed shoot.
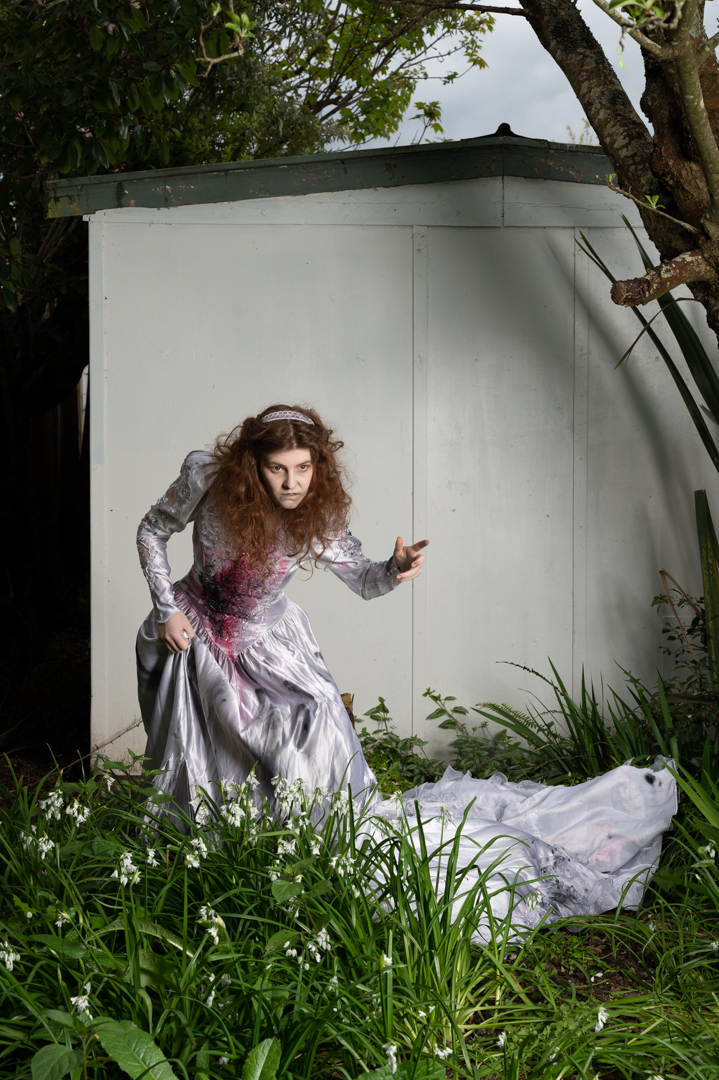
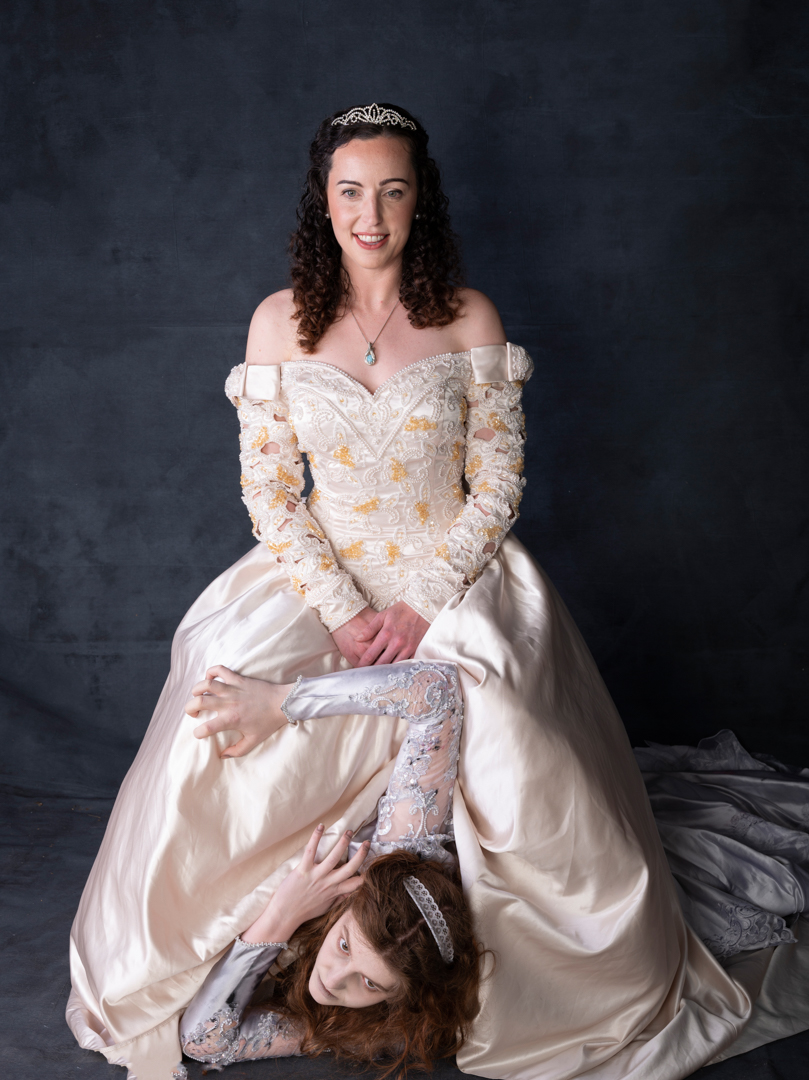
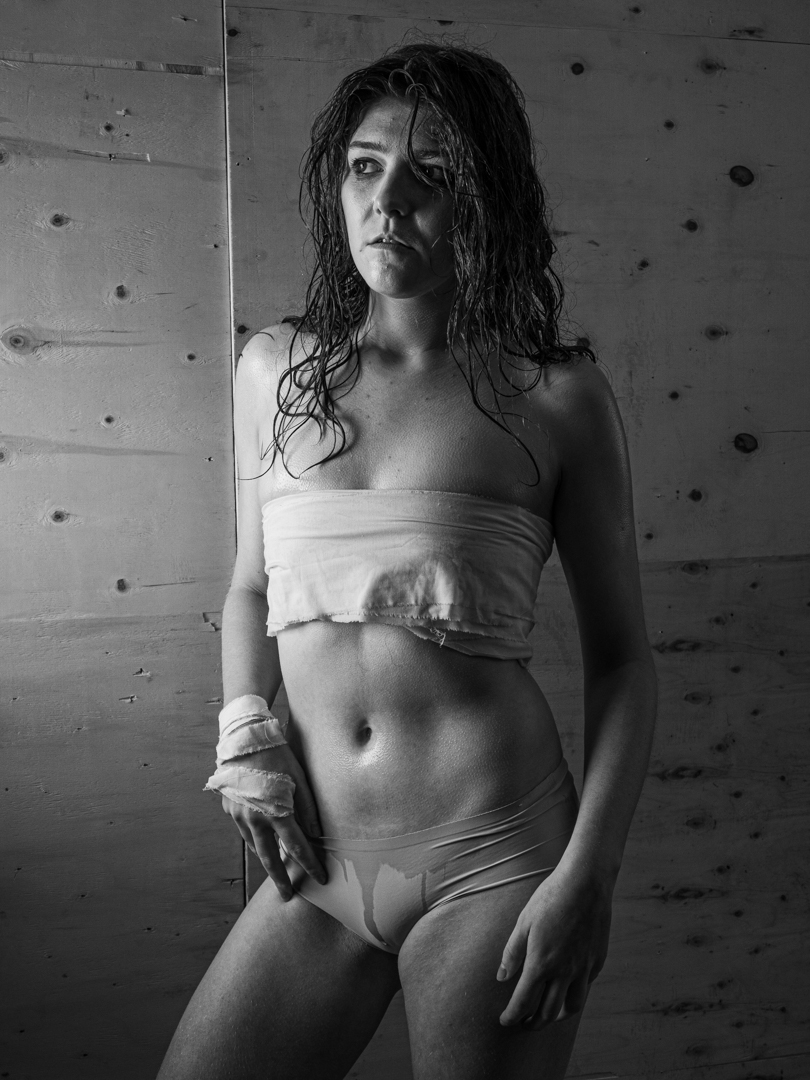
After getting the shot for the ghost image, we then brought Katy into the image and we had Devon interact with her in a most threatening way.


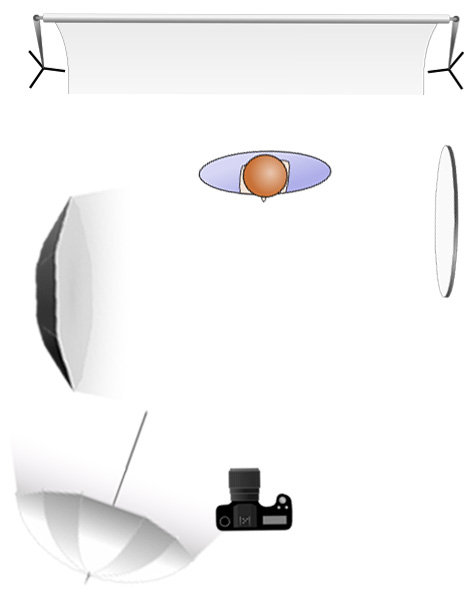
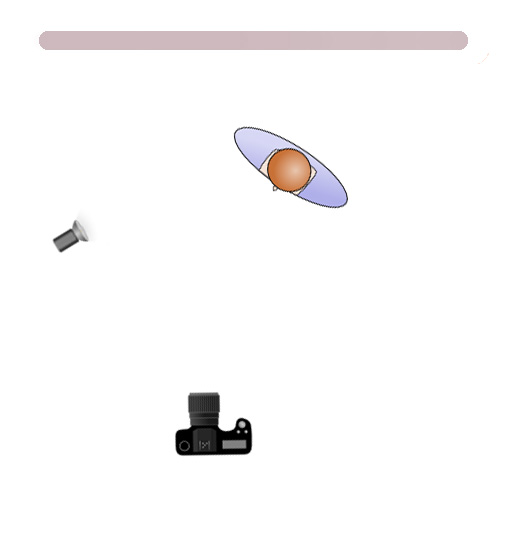
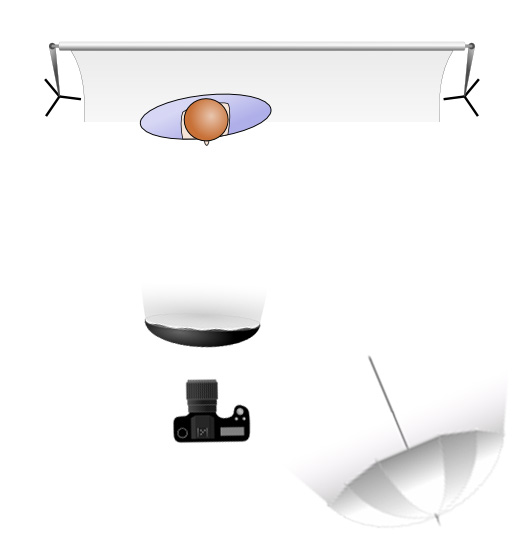
As mentioned previously the area was in shade and I was finding that there was not enough light. So I brought out my Godox V1 speed light in a small 24 inch soft box and positioned it camera right. This added sufficient light for what I needed.

All of the images we shot with my Nikon Z6ii camera using a 24 -70 4.0 lens. camera was in manual mode set a 1/200s f8 at ISO100.
Most of the final images from this sequence received relativey simple adjustments in photoshop but the main one received an extensive edit. The video below shows the layers in the Photoshop file.
The first step involved removing items that had come into frame such as flex leaves. Although Eden had done a great make up on Devon I decided for this image I wanted more. So I added a hue/saturation layer and completely desaturated Devon.
I then dodged down the highlights on Devon’s face. This was done by creating a 50% Gray layer setting the blend mode to soft light and then painting with a black brush. After this I add a Colour Lookup layer the image using the moonlight option. This was then lightly masked around my character and the layers opacity was set to 57%
Finally I created a stamp visible layer and on this used Color Effex Pro to get the final look I was going for.