
This is the second post from my 2022 Halloween themed shoot.
If I’m going to the effort of costuming a model I want to get the maximum amount of shots from the session. Given that the theme was corpse bride I thought that it was quite appropriate to have her as a ghost in a graveyard.
Not far from home is an old church with a section a small section of graves that date from the late 1800s. I am always mindful of the sensitivity about shooting in graveyards. For this reason I decided that I would composite the image rather than take Devon to the site.

The actual show was scheduled for a Sunday so on the Saturday I went to the graveyard at around the same time that I figured we would be shooting the next day. I did this so that light would be as close as possible to that on the day.
The back of our old garage has a plain wall and the ground was covered in onion plant. This had two advantages. Firstly, the wall made it easier to cut Devon out from the background. Secondly the plants covered her feet. Composing a person’s feet into an image is one of the most difficult parts of the process. Therefore, if you can cover them or not show them it makes the process much easier.
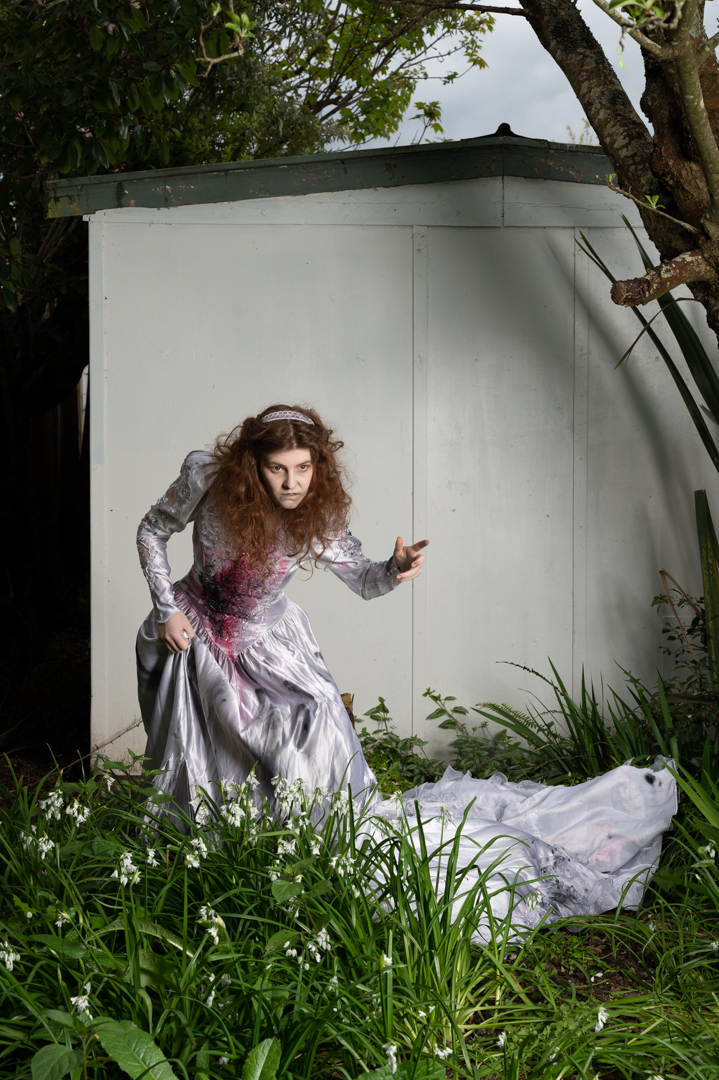
The area that Devon was in shade and I was finding that there was not enough light. So I brought out my Godox V1 speed light in a small 24 inch soft box and positioned it camera right. This added sufficient light for what I needed.

All of the images we shot with my Nikon Z6ii camera using a 24 -70 4.0 lens. The ones in the graveyard were shot at f8 ISO100 using aperture priority which set a shutter speed of 1/80s. For the ones in the garden the camera was in manual mode set a 1/200s f8 at ISO100.
Once ahead of the images it was a matter of choosing the best background and the best image of Devon and bringing them together in Photoshop as shown in this video.
Once Devon had been positioned and masked I applied both exposure curve adjustment to her. This was to balance her more to the background. Once I was happy with that I created a stamp visible layer (SVL) onto which I applied the moonlight LUT which is one of the standard colour look up tables. After that I tweaked the hue/ saturation particularly around Devon.
Once this was done another SVL was created. I did a slight brightness correction before creating another SVL where I masked out everything but Devon. This layer’s blend mode was set to softlight so that the effect was very subtle. Finally I created another SVL and on this used Color Effex Pro to get the final look I was going for.
